Contributors:
 bboyho
 Introduction
The SparkFun LiPo Fuel Gauge - MAX17043 connects your LiPo battery to your project and uses a sophisticated algorithm to detect the relative state of charge and direct A/D measurement of battery voltage. In other words, it tells your microcontroller how much 'fuel' is left in the tank. The LiPo Fuel Gauge Breakout communicates with your project over I2C and an alert pin also tells you when the charge has dropped below a certain percentage.
TOL-20680
The LiPo Fuel Gauge communicates with your project over I2C and an alert pin also tells you when the charge has dropped below…
Required Materials
To follow along with this tutorial, you will need the following materials at a minimum. You may not need everything though depending on what you have. Add it to your cart, read through the guide, and adjust the cart as necessary. Below is a wishlist of the parts that you need to get started.
Microcontroller
You will need a microcontroller with an I2C port when connecting to the LiPo Fuel Gauge. For the scope of this tutorial, we will be focusing on the Arduino Library for the LiPo Fuel Gauge.
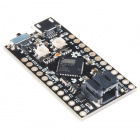
DEV-11114
SparkFun's minimal design approach to Arduino. This is a 3.3V Arduino running the 8MHz bootloader.
DEV-14812
If you’re ready to step up your Arduino game from older 8-bit/16MHz microcontrollers, the SparkFun RedBoard Turbo is a form…
DEV-15443
The RedBoard Artemis Nano is a miniature extremely versatile implementation of the Artemis module.
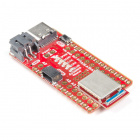
DEV-15423
The SparkFun Qwiic Micro is molded to fit our standard 1" x 1" Qwiic board size which makes it our smallest SAMD21 micro-cont…
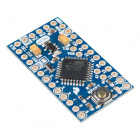
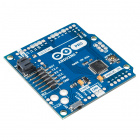
DEV-10914
It's blue! It's skinny! It's the Arduino Pro! SparkFun's minimal design approach to Arduino. This is a 3.3V Arduino running t…
Note: Depending on the microcontroller that you receive, there may already be a built-in LiPo Fuel Gauge! The following are a few boards that include the MAX1704X. Note that some boards like the ESP32 Thing Plus, IoT RedBoard ESP32, and QDuino Mini use the MAX17048. The MAX17048 is similar to the MAX17043 but it can provide a few more readings from your LiPo battery (i.e. charge rate, disharge rate, 1% change in SOC, undervoltage, overvoltage, etc.). The Arduino Library that we are using is also compatible with MAX17048!
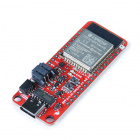
WRL-20168
The USB-C variant of ESP32 Thing Plus is a development board with WiFi, SPP, BLE, Qwiic connector, 21 I/O pins, RGB status LE…
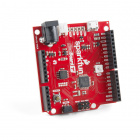
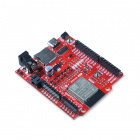
WRL-19177
The IoT RedBoard is an ESP32 WROOM-equipped development board that has everything you need in an Arduino Uno with extra perks…
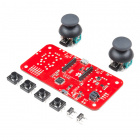
KIT-14051
The SparkFun Wireless Joystick Kit provides an easy way to control your next XBee project.
Retired
DEV-13614
The Qduino Mini is a tiny, Arduino-compatible board with a battery connector and charger built-in as well as a fuel gauge tha…
Display
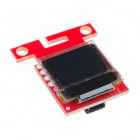
The example code can be used to print the voltage and state of charge of a single cell, LiPo battery using a serial monitor. For those that want to monitor a battery remotely, you can add a display to the setup. Below is the Qwiic Micro OLED breakout that can be used. You can also use a different display. However, you will need to adjust the code to display the readings properly.
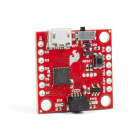
LCD-14532
The SparkFun Qwiic Micro OLED Breakout is a Qwiic enabled version of our popular MicroView and micro OLED display!
Retired
Single Cell LiPo Battery
Of course, you will also need a single cell LiPo battery. Below are a few LiPo batteries to choose from in the SparkFun catalog.
PRT-13851
This is a very small, extremely lightweight battery based on Lithium Ion chemistry, with the highest energy density currently…
PRT-13854
These are very slim, extremely light weight batteries based on Lithium Ion chemistry. Each cell outputs a nominal 3.7V at 850…
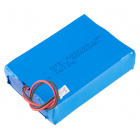
PRT-13856
If you need some juice, this 6Ah Lithium Ion Battery is for you. These are very compact batteries based on Lithium Ion chemis…
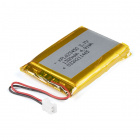
PRT-18286
Slim, extremely light weight batteries based on Lithium Ion chemistry. Each cell outputs a nominal 3.7V at 1250 mAh and is IE…
Retired
Tools
Building a circuit using this breakout requires some assembly and soldering. You may already have a few of these items but if not, the tools and hardware below help with that assembly.
PRT-11375
There is nothing quite as essential as a neatly organized assortment of colored wire on your workbench. This pack of Hook-Up …
TOL-14681
This assortment of tools is great for those of you who need a solid set of tools to start your workbench on the right foot!
Retired
Prototyping Accessories
Depending on your setup, you may want to use IC hooks for a temporary connection. However, you will want to solder header pins to connect devices to the plated through holes for a secure connection. Depending on your application, you could use straight headers or right angle headers. Of course, you could also solder wire as well.
PRT-12002
This is your tried and true white solderless breadboard. It has 2 power buses, 10 columns, and 30 rows - a total of 400 tie i…
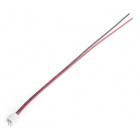
PRT-09914
This is a simple two wire cable. Great for jumping from board to board or just about anything else. There is a 2-pin JST conn…
PRT-00116
A row of headers - break to fit. 40 pins that can be cut to any size. Used with custom PCBs or general custom headers.
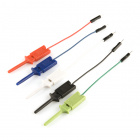
CAB-09741
When you are trying to analyze the tiny legs of a surface-mount component, standard alligator clips just won't cut it. These …
PRT-08431
This is a SparkFun exclusive! These are 155mm long, 26 AWG jumpers with male connectors on both ends. Use these to jumper fro…
PRT-00553
A row of right angle male headers - break to fit. 40 pins that can be cut to any size. Used with custom PCBs or general custo…
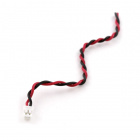
PRT-08670
This is a simple two wire cable. Great for jumping from board to board. 2-pin JST connector on one end, bare cable on the opp…
For those that want to take advantage of the Qwiic enabled devices, you'll want to grab a Qwiic cable. Users can cut, strip, and solder half of a cable to easily connect the LiPo Fuel Gauge to a Qwiic-enabled microcontroller. For those that soldered male header pins to the board when prototyping, users can use a Qwiic cable with male pins or female sockets to connect without desoldering the header pins on the board. Note that this causes the board to have a higher height profile than soldering wires straight to the board.
KIT-15081
To make it even easier to get started, we've assembled this Qwiic Cable Kit with a variety of Qwiic cables from 50mm to 500mm…
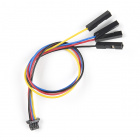
CAB-17261
This polarized I2C cable insulation is made from silicon making it more flexible than our original Qwiic cable particularly i…
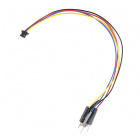
PRT-17912
This polarized I2C cable insulation is made from silicon making it more flexible than our original Qwiic cable particularly i…
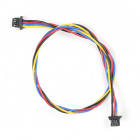
PRT-17258
This polarized I2C cable insulation is made from silicon making it more flexible than our original Qwiic cable particularly i…
Recommended Reading
If you aren’t familiar with the following concepts, we also recommend checking out a few of these tutorials before continuing.
Battery Technologies
The basics behind the batteries used in portable electronic devices: LiPo, NiMH, coin cells, and alkaline.
Electric Power
An overview of electric power, the rate of energy transfer. We'll talk definition of power, watts, equations, and power ratings. 1.21 gigawatts of tutorial fun!
I2C
An introduction to I2C, one of the main embedded communications protocols in use today.
What is a Battery?
An overview of the inner workings of a battery and how it was invented.
LilyPad Basics: Powering Your Project
Learn the options for powering your LilyPad projects, LiPo battery safety and care, and how to calculate and consider power constraints on your projects.


