LiPo Fuel Gauge (MAX1704X) Hookup Guide
 bboyho
Example 4: MAX17048 KitchenSink
In this example, we will be checking a single cell LiPo battery's voltage and the state of charge using the MAX17048. The output will be sent to the Serial Monitor.
Hardware Hookup
For this example we will use the following parts from the wishlist.
- 1x Reversible USB A to C Cable - 0.8m
- 1x SparkFun IoT RedBoard - ESP32 Development Board
- 1x LiPo Battery
In this case, we did not need to solder anything! The IoT RedBoard - ESP32 has a built in LiPo Fuel Gauge (MAX17048). By simply connecting a LiPo battery to the 2-pin JST connector and uploading code, we should be good to go!

Upload Code
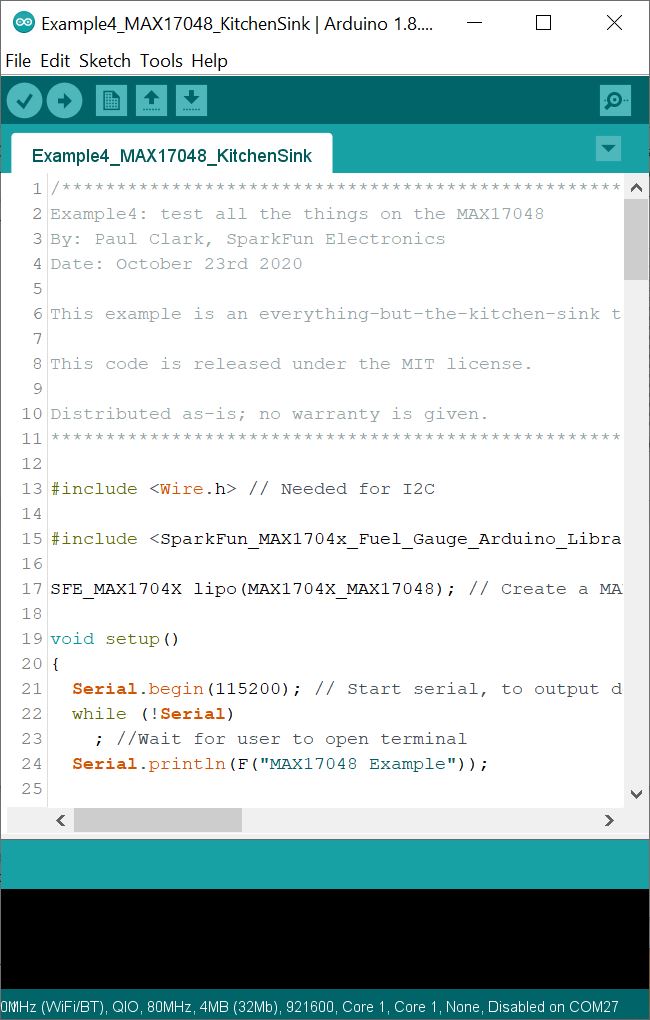
From the menu, select the following: File > Examples > SparkFun_MAX1704x_Fuel_Gauge_Arduino_Library > Example4_MAX17048_KitchenSink. If you have not already, select your Board (in this case the SparkFun ESP32 IoT RedBoard), and associated COM port (in this case COM27). Then hit the upload button.
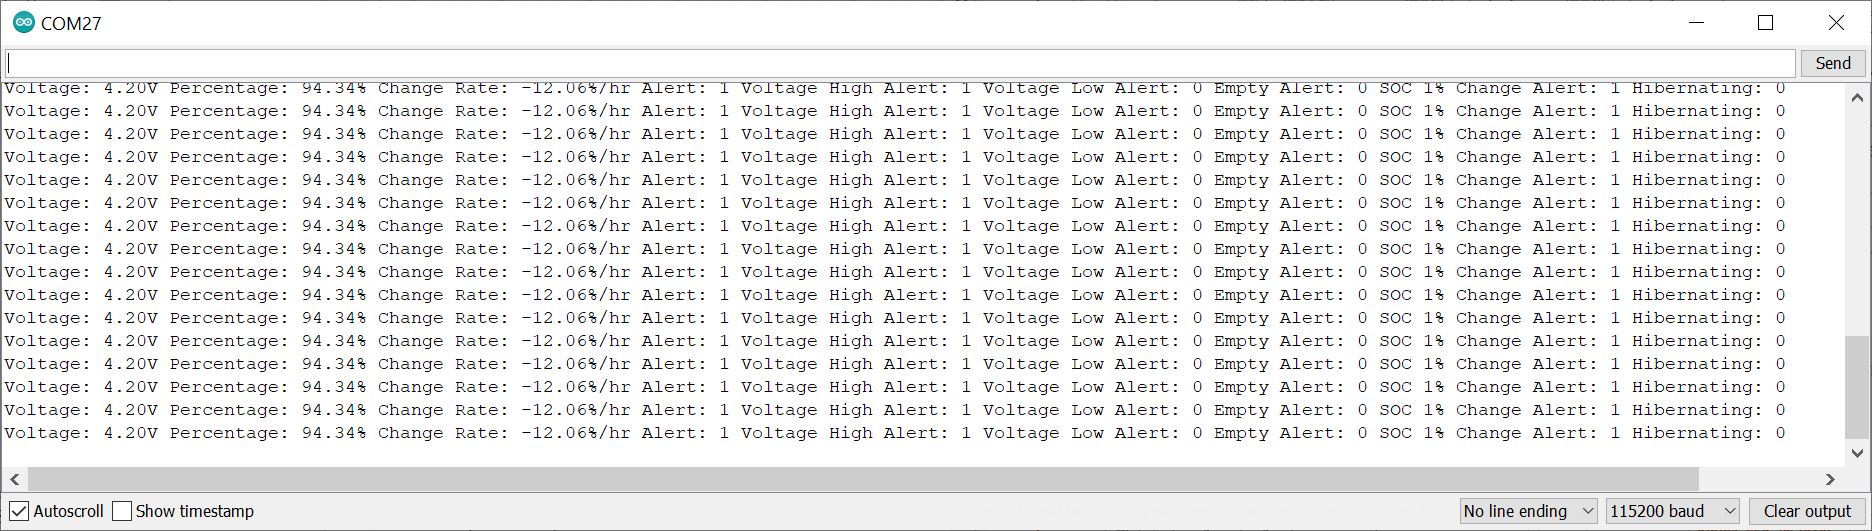
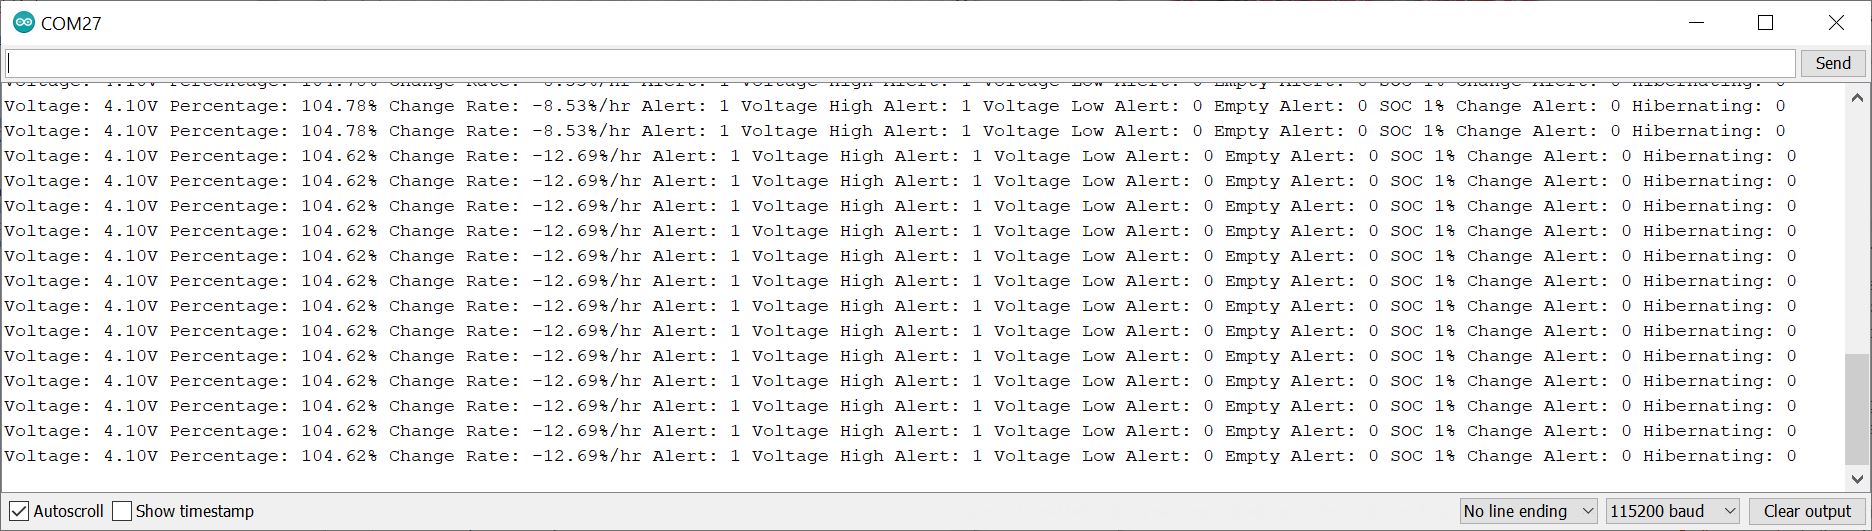
Open the Arduino Serial Monitor and set it to 115200 baud to view the serial output. You should see the voltage, battery percent, alert flag, and several more readings. In this case, the single cell LiPo battery that was connected to the IC was fully charged and at about 4.10V.
But wait! Remember the previous example? If you looked closely at the circuit of the SparkFun IoT RedBoard - ESP32 Development Board, there is also... you guessed it: a charge circuit built in. Try closing out the Arduino Serial Monitor, disconnecting the USB, and disconnecting the LiPo battery. Then reinsert the LiPo battery, connect the USB cable, and reopen the Arduino Serial Monitor. The IC will recalculate everything. In the image below, the voltage is a bit misleading since the charge IC is charging the LiPo battery and may not be the true representation of the LiPo battery's voltage. The remaining charge was closer to what was expected.