Contributors:
 jimblom
,
 bboyho
 Introduction
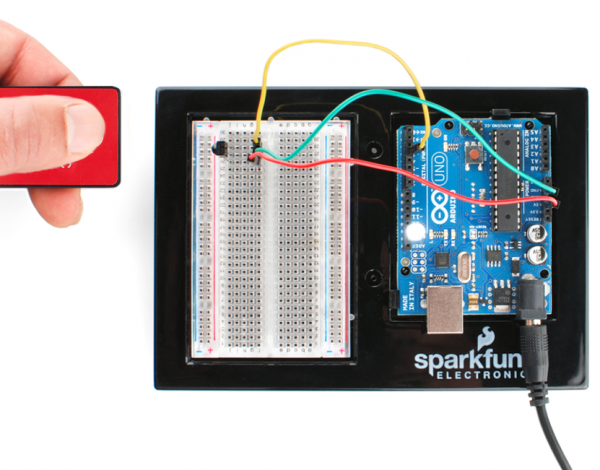
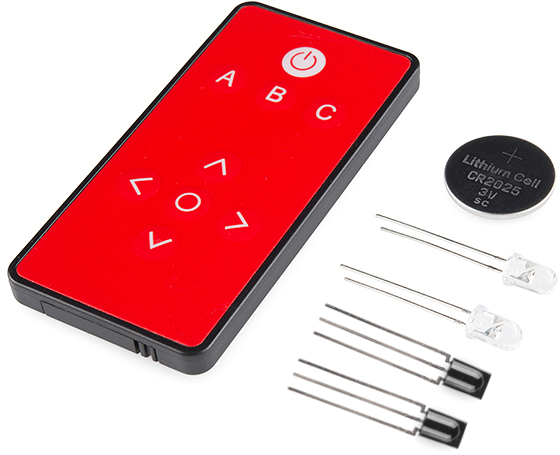
Infrared (IR) is a cheap and (as you'll soon discover) easy way to add wireless control to your project. The IR Control Kit gives you everything you need to take control of the extravisible light waves (or are they particles?), so you can remotely control your custom music box or build a controller for your TV or stereo.
In this tutorial we'll show you how to hook up all of the components included with the IR Control Kit, which includes:
Required Materials
In this tutorial, we'll be using an Arduino to both transmit and interpret received IR data. On top of the components included with the IR Control Kit, you'll also need these to follow along with this tutorial:
- An Arduino (or Arduino-compatible board) and a means to program it.
- A breadboard is optional but recommended to help with the hardware hookup.
- As with the breadboard, jumper wires are optional but the recommended tool to wire between breadboard and Arduino.
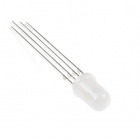
- The second of the examples uses a common cathode RGB LED to create a fun, IR-controlled RGB LED project. This is optional.
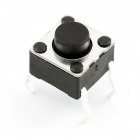
- The third example uses a simple momentary push-button to trigger an IR code transmission. Optional again.
DEV-13975
The SparkFun RedBoard combines the simplicity of the UNO's Optiboot bootloader, the stability of the FTDI, and the shield com…
COM-09264
Ever hear of a thing called RGB? Red, Green, Blue? How about an RGB LED? These 5mm units have four pins - Cathode is the long…
PRT-11026
If you need to knock up a quick prototype there's nothing like having a pile of jumper wires to speed things up, and let's fa…
COM-00097
We use these little buttons on everything! These Miniature Single Pole Single Throw switches have a good click to them and ar…
CAB-11301
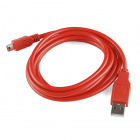
This is a USB 2.0 type A to Mini-B 5-pin cable. You know, the mini-B connector that usually comes with USB Hubs, Cameras, MP3…
PRT-12043
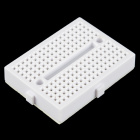
This white Mini Breadboard is a great way to prototype your small projects! With 170 tie points there's just enough room to b…
Suggested Reading
If you aren't familiar with the following concepts, we recommend checking out these tutorials before continuing.
Light
Light is a useful tool for the electrical engineer. Understanding how light relates to electronics is a fundamental skill for many projects.
IR Communication
This tutorial explains how common infrared (IR) communication works, as well as shows you how to set up a simple IR transmitter and receiver with an Arduino.
What is an Arduino?
What is this 'Arduino' thing anyway? This tutorials dives into what an Arduino is and along with Arduino projects and widgets.
Button and Switch Basics
A tutorial on electronics' most overlooked and underappreciated component: the switch! Here we explain the difference between momentary and maintained switches and what all those acronyms (NO, NC, SPDT, SPST, ...) stand for.
Light-Emitting Diodes (LEDs)
Learn the basics about LEDs as well as some more advanced topics to help you calculate requirements for projects containing many LEDs.
Serial Terminal Basics
This tutorial will show you how to communicate with your serial devices using a variety of terminal emulator applications.
