Interactive 3D Printed LED Diamond Prop
 bboyho
Functional Art
To blend the copper tape on the holder, I decided to add copper tape on the sides of a diamond. This is an optional step but it helped to distinguish the diamond's holder from the diamond itself. I decided to use the RedBoard's traces as a guide. Using the board layout files (with layers 16, 22, and 51 turned off), I was able to print out the top layer out. The angles from the traces helped as a guide when manually cutting. Manually cutting holes for vias was considered but was left out of the design.
Print out the file and cut out holes loosely based on the RedBoard's layout to make a stencil. Make sure that the traces are no less than 1/4 of an inch. Trace the outline with a semi-sharp tip. I used a multimeter prob tip to create a loose outline of the a few different traces.

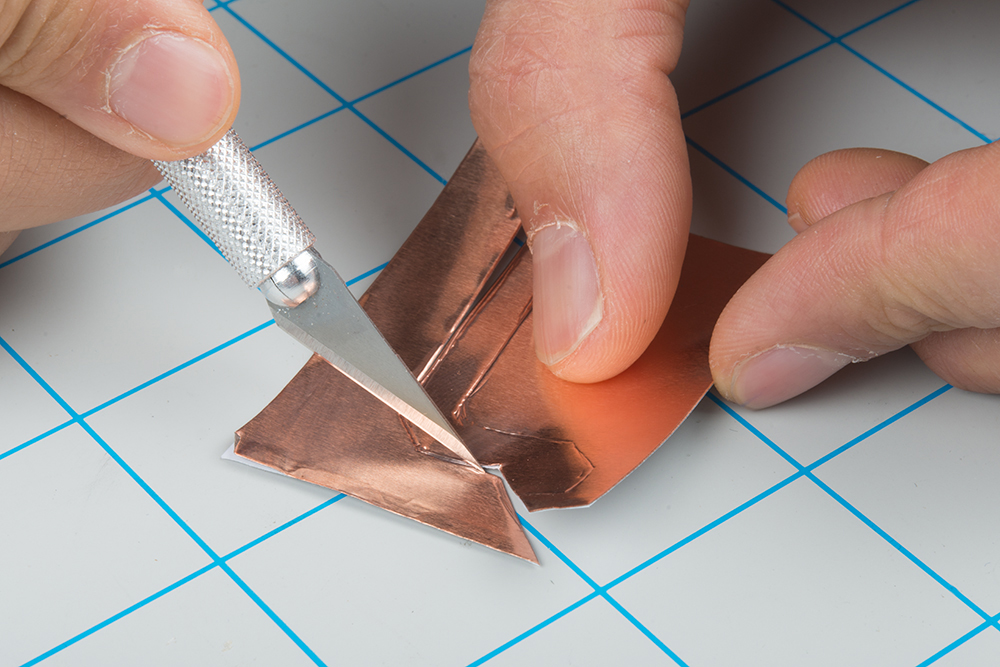
Carefully cut with hobby knife and ruler on a cutting board.
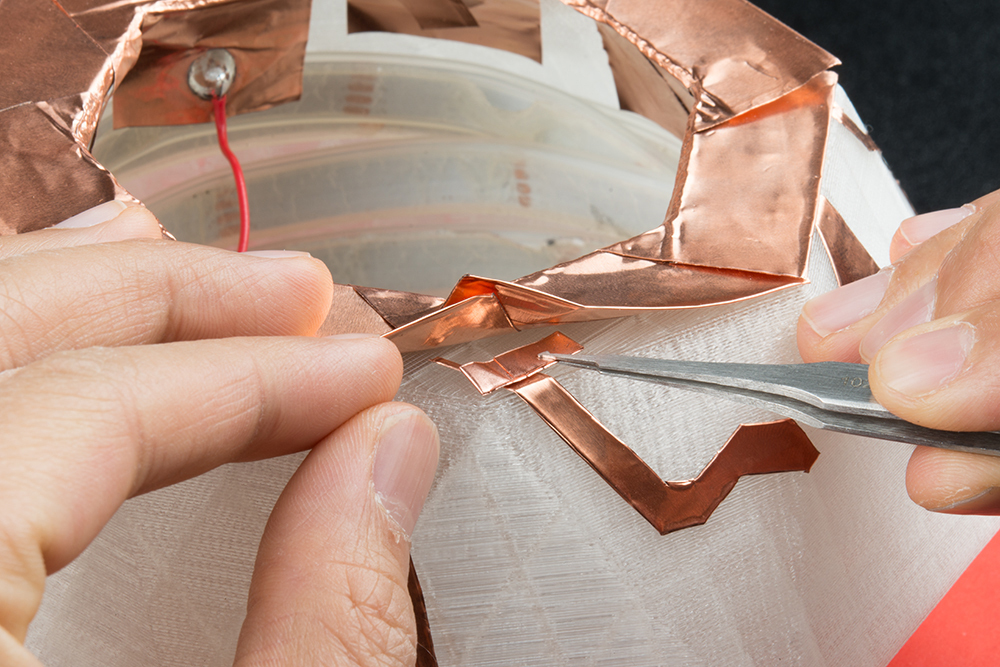
Using a small piece of 5mm conductive adhesive tape, I made a loop with the conductive adhesive on the outside and stuck it between each layer of copper to ensure that each piece was conducting.