Importing Custom Images into Eagle
Introduction
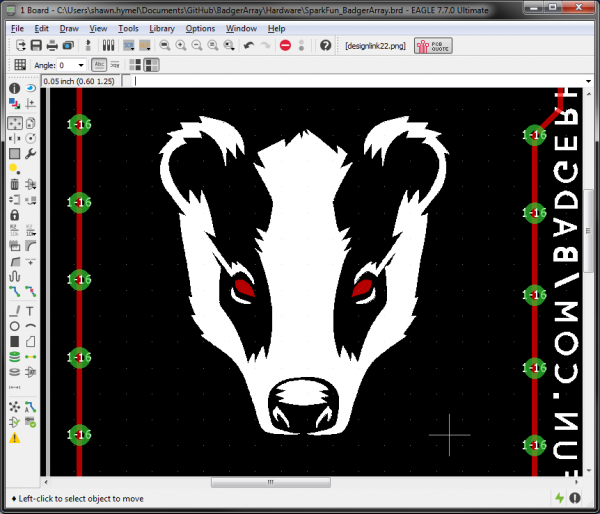
Creating custom artwork on your PCB can be a fun way to personalize your project, add a company logo, or go crazy with pin numbering fonts. In this tutorial, we'll show you 3 different methods of importing custom images into Eagle. Note that each of the three ways has pros and cons.
We recommend trying Method #1 (SVG to Polygon) first. It is the most complicated, but, if it works, you'll have a set of polygons for your custom image that are much easier to work with than the lines/rectangles created by methods 2 and 3. If that fails, try method 2 or 3 to import an image as a series of lines, but be warned that having that many shapes can slow down your computer.
Additionally, you can import an image with method 2 or 3 and then trace over them with polygons in Eagle.
Recommended Reading
Before starting with this tutorial, we recommend that you be familiar with the basics of Eagle CAD:
- How to Install and Setup EAGLE
- Using EAGLE: Schematic
- Using EAGLE: Board Layout
- Designing PCBs: Advanced SMD
- Designing PCBs: SMD Footprints
