How to Make a Magic Mirror with Raspberry Pi
Finishing Touches
There are so many options when making the box and the mirror. Googling "Magic Mirror Frame" is a little bonkers. I went with a shadow box I got on sale from Michaels, and some outdoor reflective film I bought from Amazon. I also had to get some right angle HDMI adapters so that the cable would lay somewhat flat and fit into the frame.
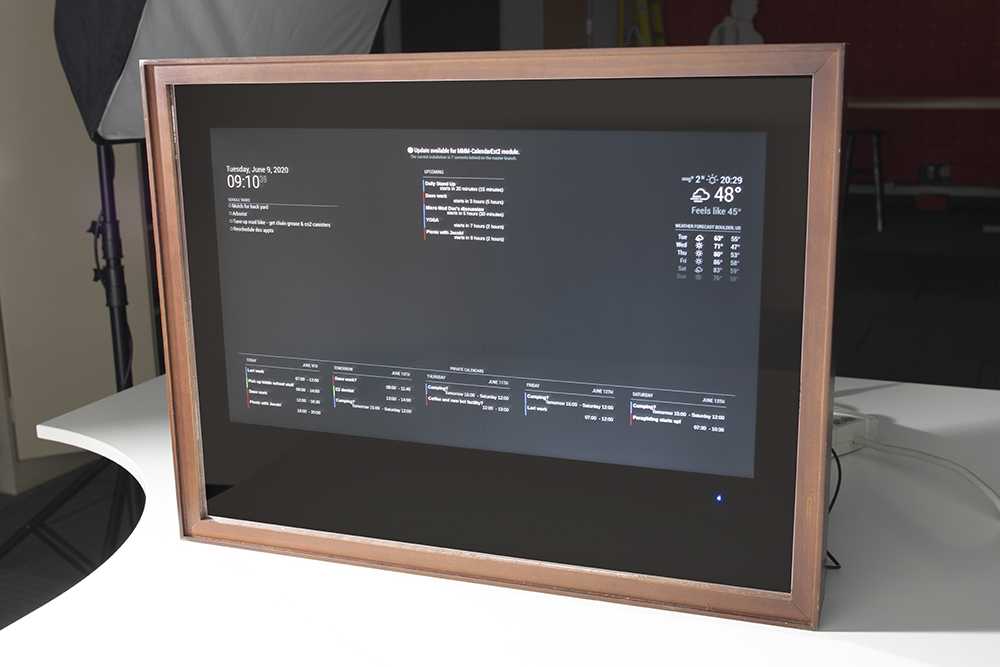
Since the frame was bigger than the screen, I had to do some finagling to get the screen to fit where I wanted it to.
Making It Better
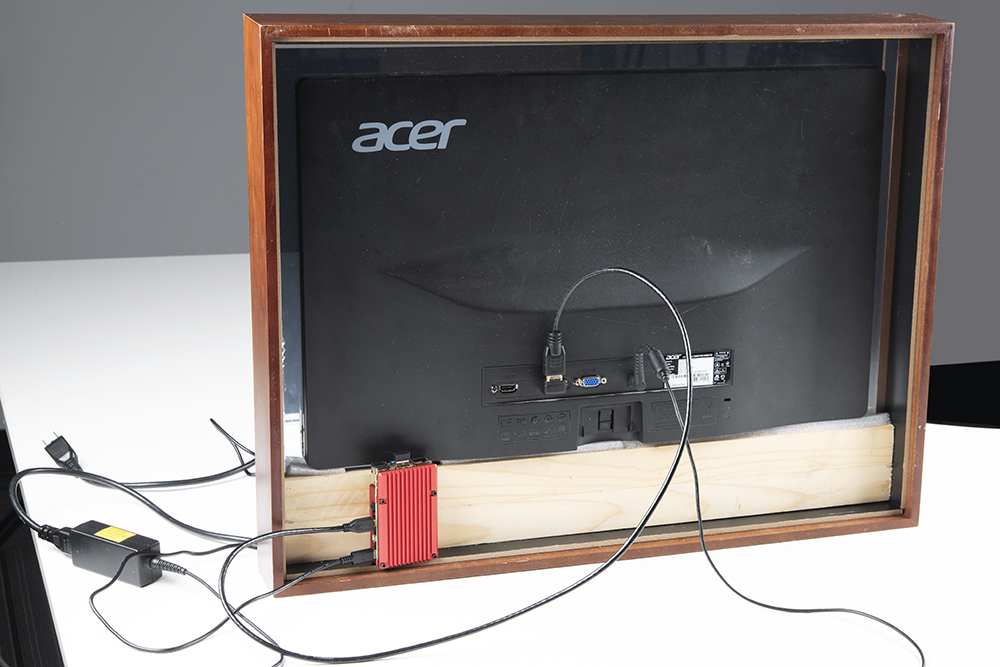
The Raspberry Pi 4 runs hot enough that I bought the Heatsink Case. I still needed to drill a few extra holes on the top of the mirror frame to provide enough ventilation but it's worth it to have the possibility of future expansion.
When time permits, I'll likely add a safe reboot and shutdown button with the Qwiic PHat like Bobby does here:
Raspberry Pi Safe Reboot and Shutdown Button
I may also use the Qwiic PHat to extend the Qwiic ecosystem. It'd be nice to add a proximity sensor such that it's not just on all the time. As you can see in the images above, I've already used css to customize our calendars and added Google Tasks in. Super handy to know what you need to do each day!