How to Make a Magic Mirror with Raspberry Pi
config.js
This file is essentially the brains of the operation. This is where you layout how you want your Magic Mirror to look. You can add modules, delete modules, move modules, and customize to your heart's content.
Navigate to your /home/pi/MagicMirror/config directory and open up config.js in Geany (right click and select Geany).
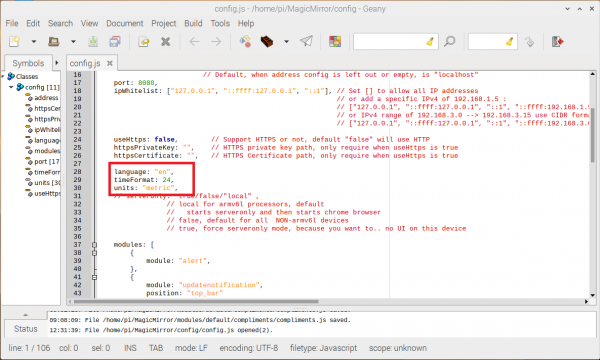
We're going to skip over most of the setup code. That said, let's look at one little bit here - scroll down until you see the outlined bit below:
Outlined in the image are the following settings:
- language: defaults to english, but can be set to
nl,ru,fr, etc - timeFormat: defaults to 24. Change this to 12 if you prefer.
- units: metric or imperial? the battle rages on... (I prefer metric)
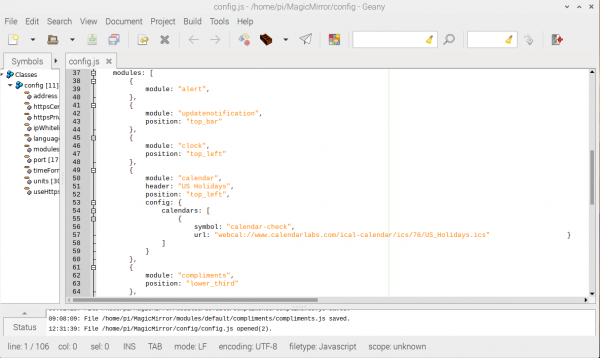
Scroll a little further down and you'll find the modules section:
Hopefully, this section is also fairly straight forward. You'll notice that for each module:, you'll need the position: you'd like it to be on the screen. Possible values are:
top_bartop_lefttop_centertop_rightupper_thirdmiddle_centerlower_thirdbottom_leftbottom_centerbottom_rightbottom_barfullscreen_abovefullscreen_below
If you put multiple modules in the same position, they will be shown in the order they are listed in the config file.
Moving the Clock
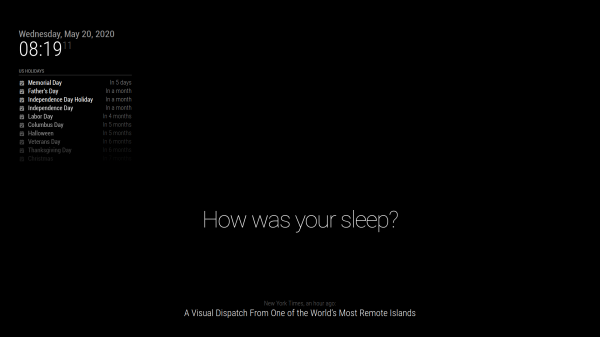
Remember the initial Magic Mirror image above?
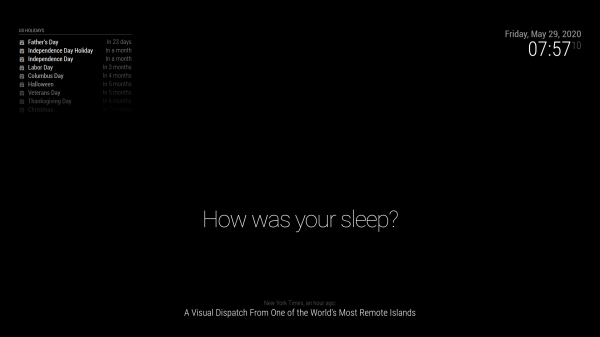
Let's move that clock from the top left to the top right!
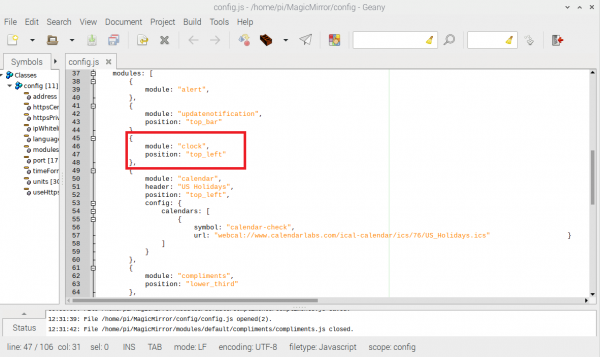
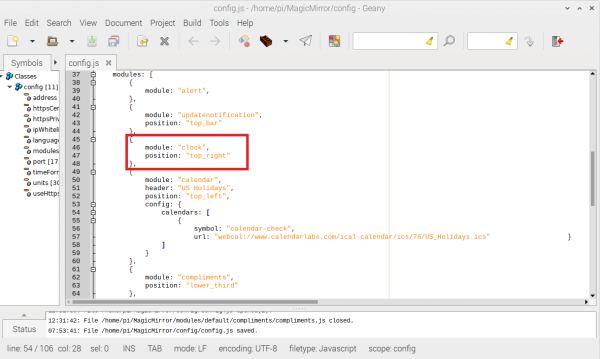
Find the following in your config file:
Change top_left to top_right:
Save the config file, go back to your terminal window, and start up Magic Mirror (npm start) aaaaaaand...
VOILA! Easy peasy, right? Each module has its own default requirements and in the default config.js file, these requirements are set up for us. We'll look at some more customization in subsequent sections.
