How to Load MicroPython on a Microcontroller Board
 Shawn Hymel
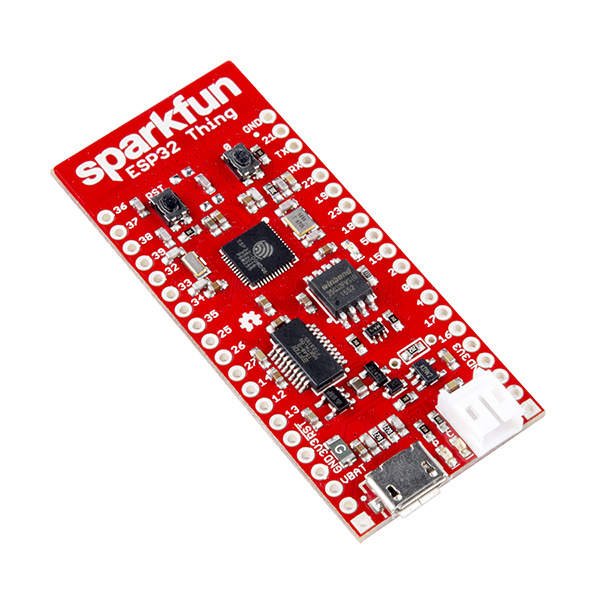
 ESP32 Thing
The SparkFun ESP32 Thing is based around Espressif's powerful ESP32 chip. It includes onboard WiFi, making it a perfect endpoint platform for Internet of Things (IoT) products and projects.
By default, the ESP32 Thing comes with the Arduino bootloader pre-installed. To get it to work with MicroPython, we will need to perform some extra steps.
Install FTDI Drivers
To communicate with the ESP32, the Thing board has an FTDI FT231x USB-to-Serial chip. Most versions of Linux and macOS come with the drivers necessary to talk to this chip. Windows users will need to install special drivers. If you need to install the drivers, refer to our How to Install FTDI Drivers tutorial.
To check if your driver is working, plug in your ESP32 Thing board into an available USB port (and make sure no other development boards or USB-to-Serial boards are plugged in).
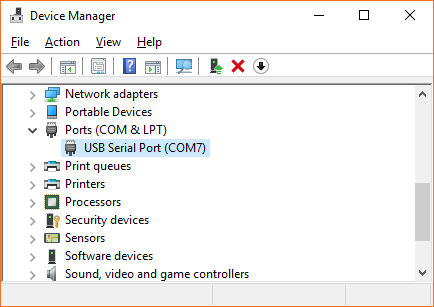
On Windows, open up the Device Manager, and look for the Ports category. Expand it, and if you see something labeled USB Serial Port, it means your FTDI driver is working properly.
On macOS, enter the command:
language:sh
ls -l /dev/tty.usb*
Or on Linux, enter the command:
language:sh
ls -l /dev/ttyUSB0
You should see a statement showing the existence of the /dev/tty.usbserial (or /dev/ttyUSB0) file. If you see "No such file or directory," that means the driver was not installed. If you run into any issues with drivers in Linux or macOS, refer to the FTDI VCP drivers page for more information.
Download the Latest MicroPython Firmware
Head to the MicroPython downloads page and download the latest "firmware for ESP32 boards." You will want the .bin file listed under standard firmware.
Update: This information appears to be outdated as the layout of the MicroPython website has changed. It has been suggested that users, now, use one of the "GENERIC: esp32-"blah-blah".bin" files listed under "Firmware built with ESP-IDF...".
(*As a heads up, we are not in control of the MicroPython webiste, so future changes may occur. Please, adapt as necessary for those changes.)
Install Python
To install MicroPython on the ESP32, we need to install full Python on our host machine. Weird, right? As it turns out, the esptool is a Python script that we'll run to upload the MicroPython interpreter to the ESP32.
Head to python.org and download the latest Python for your operating system. The esptool reportedly works with Python 2.7 and Python 3.4 (or newer). Follow the directions to install Python on your computer.
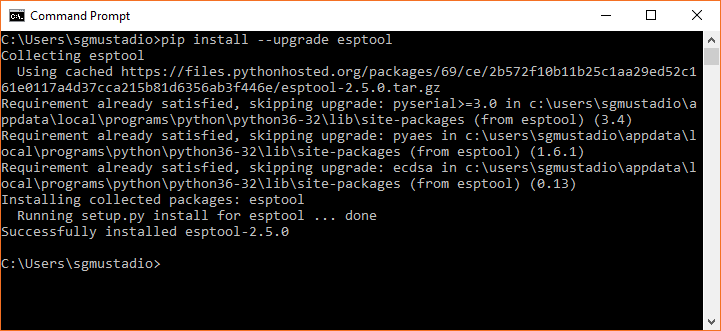
Install esptool
Open a command prompt and enter the following line:
language:shell
pip install --upgrade esptool
The pip utility should automatically download and install esptool for you.
Flash MicroPython
Make sure your ESP32 is plugged into your computer. If you are on Windows, open the Device Manager and find out which COM port or device file your ESP32 is associated with (mine is COM7 as per the image above).
Before flashing the firmware to the ESP32, we'll want to erase everything in the chip's flash memory. To that, enter the following command (replace <USB-to-Serial Port> with your particular port name, such as COM7 on Windows, /dev/tty.usbserial-<letters and numbers> on macOS, or /dev/ttyUSB0 on Linux):
language:shell
esptool.py --chip esp32 -p <USB-to-Serial Port> erase_flash
You should see some output explaining that the ESP32 has been erased and reset.

Next, flash the firmware with the following command (replace <USB-to-Serial Port> with your particular port name, and replace <path to .bin> with the location of your downloaded firmware file, such as ~/Downloads/esp32-20180822-v1.9.4-479-g828f771e3.bin):
language:shell
esptool.py --chip esp32 -p <USB-to-Serial Port> write_flash -z 0x1000 <path to .bin>
Once the firmware has been uploaded, you should see the message: "hash of data verified."

At this point, your ESP32 Thing should be running MicroPython.
Test It
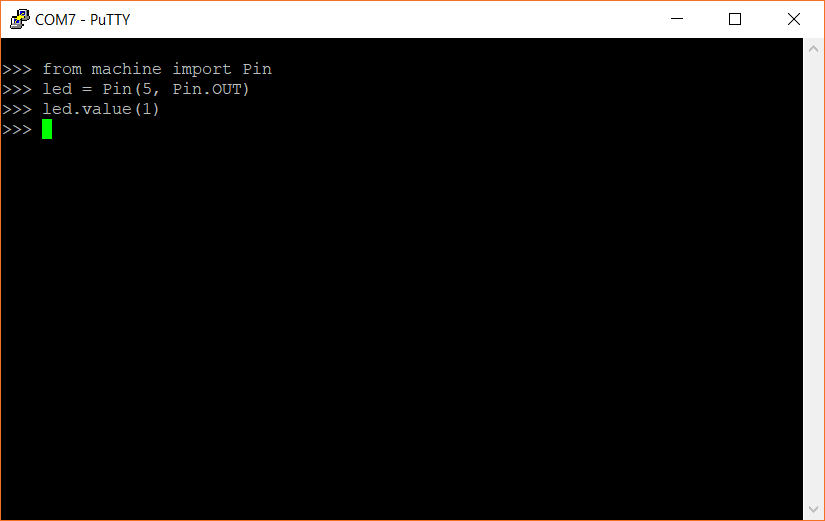
Download and install one of the many available serial terminal programs. If you are on Windows, open the Device Manager and find out which COM port your ESP32 Thing is associated with (for example, COM7). On macOS, it will likely be /dev/cu.usbserial-<some letters/numbers>, and on Linux, it’s probably something like /dev/ttyUSB0.
Open up your serial terminal program, and connect to your ESP32 Thing using the associated serial port and a baud rate of 115200. Press the enter key, and you should be presented with the MicroPython REPL command prompt (>>>). Enter the following commands:
language:python
from machine import Pin
led = Pin(5, Pin.OUT)
led.value(1)
This should turn on the LED attached to pin 5 on the ESP32 Thing board.
To turn off the LED, enter the following command:
language:python
led.value(0)
This simple test shows that you can control the ESP32 pins with MicroPython. You should be ready to start programming!