How to Load MicroPython on a Microcontroller Board
 Shawn Hymel
Teensy 3.x
The Teensy is development platform that easily fits on a breadboard, can be programmed with the Arduino IDE, and offers many advanced features over most basic Arduino boards. It is well-loved among many embedded engineers and hobbyists for its powerful microcontroller while still being relatively inexpensive.
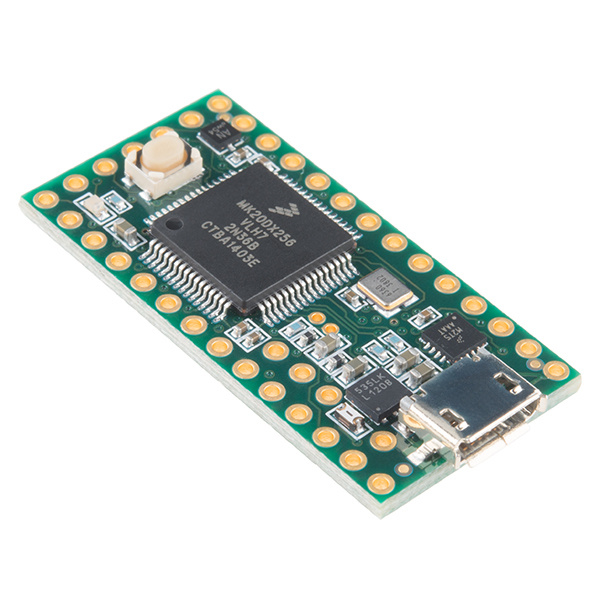
Teensy 3.2
DEV-13736As of the time of this writing (Aug. 2018), MicroPython is compatible with the following Teensy boards:
Note that while it is possible to install the ARM toolchain and build MicroPython on Windows, the instructions and scripts were written for Linux. As a result, they might work on macOS, and to use them on Windows, you will need something like the Cygwin environment. For now, the steps will be shown for Linux only (and only for certain Debian variants).
Install the ARM Toolchain
In a terminal, enter the following commands:
language:shell
sudo add-apt-repository ppa:team-gcc-arm-embedded/ppa
sudo apt-get update
sudo apt-get install -y gcc-arm-embedded
This should install the GCC ARM Embedded toolchain.
If you run unto any problems or want to download the packages (or source code), head to GNU Arm Embedded Toolchain page.
Build MicroPython for Teensy
Download the latest ZIP file from the MicroPython GitHub repository:
language:shell
wget https://github.com/micropython/micropython/archive/master.zip
Unzip the repository and navigate to the Teensy port directory:
language:shell
unzip master.zip
cd micropython-master/ports/teensy
Determine which Teensy board you are using (MicroPython has thus far only been ported to the Teensy 3.x variants). The BOARD argument will be set to one of the following:
- For Teensy 3.1 or 3.2, use
TEENSY_3.1 - For Teensy 3.5, use
TEENSY_3.5 - For Teensy 3.6, use
TEESNY_3.6
Since I tested this process with a Teensy 3.2 board, I will show TEENSY_3.1 in the following commands. Replace TEENSY_3.1 with the argument for your particular board.
language:shell
make BOARD=TEENSY_3.1
If you wish to create MicroPython build for a different board, call make clean first before calling make BOARD=TEENSY_3.x again.
For more information on how to build MicroPython for the Teensy, see the MicroPython Teensy wiki page.
Build the Teensy Flashing Tool
To upload the build MicroPython interpreter to the Teensy, we will use Paul Stroffregen's teensy_loader_cli tool (the repository for which can be found here). We need to download the repository, make it, and install it.
To start, install the libusb library:
language:shell
sudo apt-get install -y libusb-dev
If you have not already done so, head back to your home directory and delete the MicroPython master.zip file:
language:shell
cd ~
rm master.zip
Download and build the tool:
language:shell
wget https://github.com/PaulStoffregen/teensy_loader_cli/archive/master.zip
unzip master.zip
cd teensy_loader_cli-master
make
Install the tool to the local user's application directory:
language:shell
sudo cp teensy_loader_cli /usr/local/bin
Flash the Teensy
To avoid having to use sudo to upload programs to the Teensy, install the following udev rule:
language:shell
cd ~
wget http://www.pjrc.com/teensy/49-teensy.rules
sudo cp 49-teensy.rules /etc/udev/rules.d/
sudo udevadm control --reload-rules
Plug in your Teensy board to an available USB port (if it was already plugged in, unplug it first to allow udev to see it after reloading the new udev rules).
To flash the MicroPython firmware, determine which board you have and use the microcontroller name as the mcu argument for teensy_loader_cli:
- For Teensy 3.1 or 3.2, use
mk20dx256 - For Teensy 3.5, use
mk64fx512 - For Teensy 3.6, use
mk66fx1m0
Finally, we flash the built MicroPython firmware. Note that as I am using the Teensy 3.2 board, I will use mk20dx256 as the mcu argument. Change it to match your Teensy board.
language:shell
cd micropython-master/ports/teensy
teensy_loader_cli --mcu=mk20dx256 -w build/micropython.hex
After entering that last command, your terminal should wait for your Teensy to show up in bootloader mode. With the Teensy plugged in to your computer, press the reset button on the Teensy. After a few seconds, the Teensy's LED should flash twice rapidly, and the teensy_loader_cli command should finish executing in the terminal.
MicroPython should now be installed on your Teensy!
Test It
Install the minicom utility:
language:shell
sudo apt-get install minicom
Open a serial connection to REPL running on the Teensy:
language:shell
minicom -D /dev/ttyACM0 -b 115200
Press enter once to see the REPL command prompt (>>>). Enter the following commands:
language:python
import pyb
led = pyb.Pin.board.LED
led.value(1)
This should turn on the Teensy's LED. Turn it off with:
language:python
led.value(0)

Exit out of minicom by pressing Ctrl+A followed by pressing X. Press enter when you are asked if you really want to leave.