Graphic LCD Hookup Guide
Introduction
Remember the days when cell phones were still "dumb," and they had physical keypads and just a tiny monochrome LCD for a display? Now that iPhones, Galaxies, and the like have revolutionized that market, those little LCDs have to find a new purpose in life: adding customized graphical displays to projects!
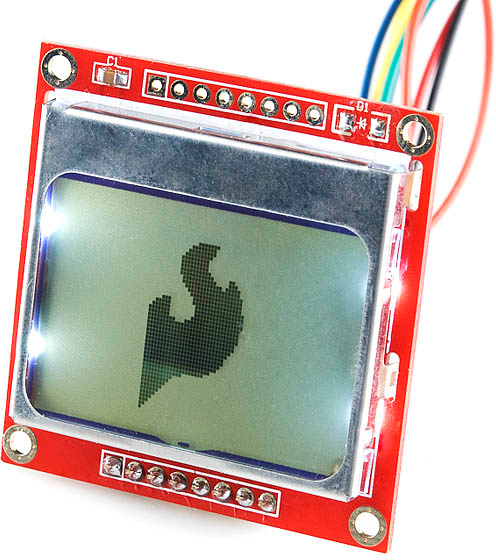
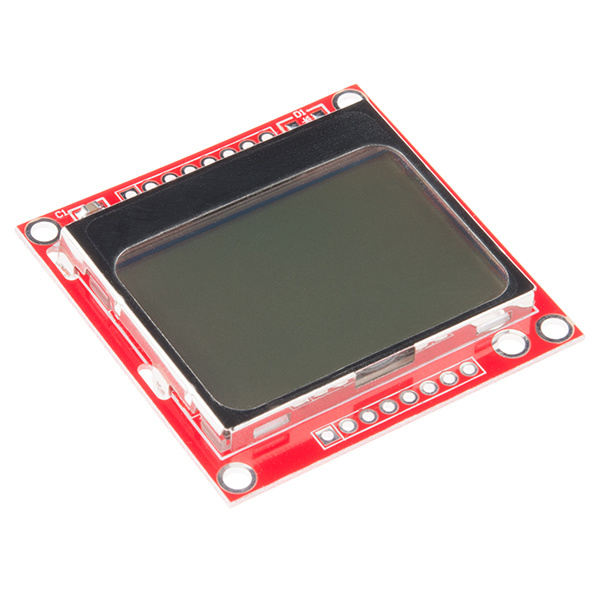
These 84x48 pixel black and white LCDs are what you might have found in an old Nokia 3310. They're not flashy, and they don't have a lot of display real-estate. But, they are easy to control. If you're looking to step up your project's user interface (UI) game from simple displays or LEDs, this graphic LCD is a good place to start.
Graphic LCD 84x48 - Nokia 5110
LCD-10168In this tutorial we'll show how to control these graphic LCDs with just an Arduino and a few wires in between. We'll cover everything from hardware assembly to example code, and beyond.
Required Materials
- Arduino, RedBoard or any Arduino-compatible board.
- Male headers (included with Retail Kit) to solder to the display and make it breadboard compatible.
- Jumper wires to connect from breadboard to Arduino.
- Breadboard to tie everything together.
Suggested Reading
- What is an Arduino? -- We'll use an Arduino to send commands and display data to the LCD.
- Serial Peripheral Interface (SPI) -- An SPI-like interface is used to control the LCD.
- How to Use a Breadboard -- The breadboard ties the Arduino to the LCD.

