Getting Started with the Raspberry Pi Zero 2 W
Introduction
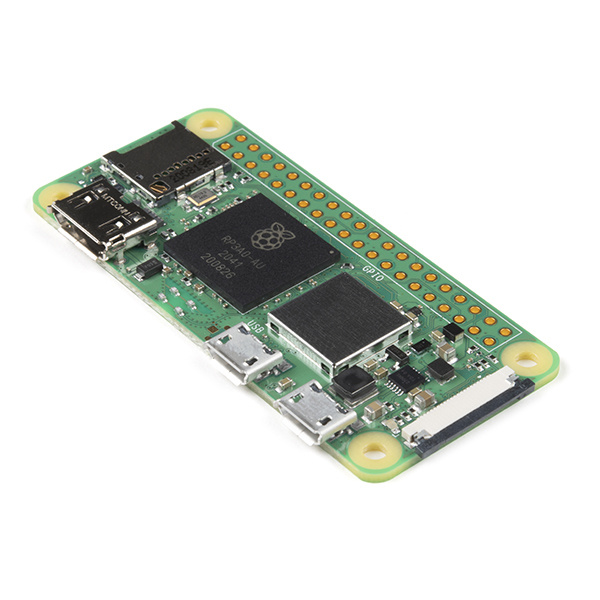
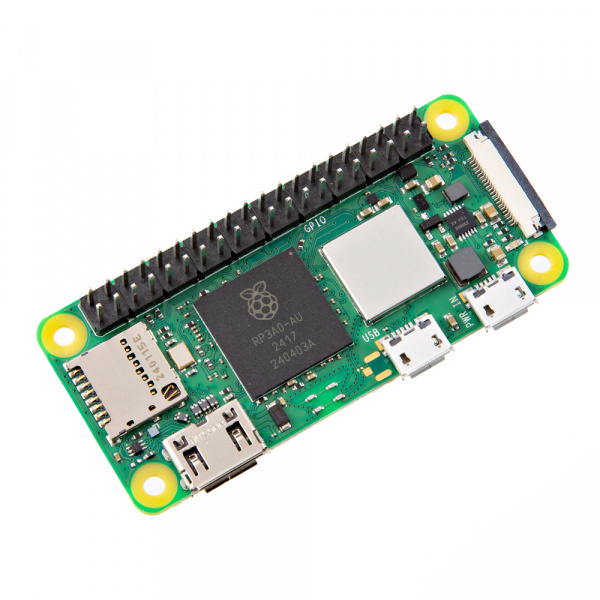
The latest entry into the immensely popular Raspberry Pi Single Board Computer (SBC) catalog, the Raspberry Pi Zero 2 W, provides an upgraded drop-in replacement to the Pi Zero W powered by a quad-core 64-bit Arm Cortex-A53 CPU. This guide highlights the improvements in hardware on the Pi Zero 2 W, how to set it up in a desktop configuration as well as installing and the basics of using the Raspberry Pi OS.
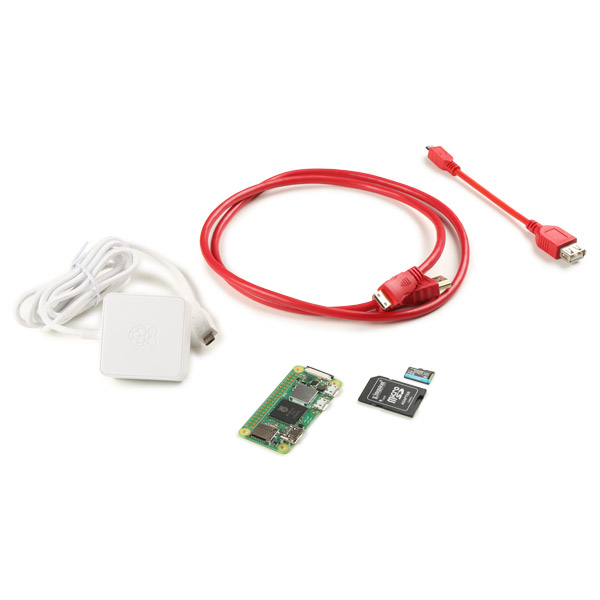
The Raspberry Pi Zero 2 W Basic Kit provides the bare bones of a Pi Zero 2 W setup. The kit includes a Pi Zero 2 W, Raspberry Pi 12.5W Micro-USB Power Adapter, mini HDMI cable, USB OTG cable and a 64GB MicroSD Card with adapter.
Required Materials
This guide assumes users have the Pi Zero 2 W Basic Kit so if you do not have the kit, make sure you have the necessary accessories (power adapter, mini HDMI cable, USB OTG cable or USB hub & a microSD card). Along with the Basic Kit, you will need a monitor (or TV), keyboard, mouse and USB hub (for more than one USB device) to follow this tutorial. Users in need of a keyboard/mouse combo may want to consider the Logitech K400 Plus Wireless Touch Keyboard.
Suggested Reading
Users unfamiliar with the concepts covered in the tutorials below may want to read through them before continuing with this guide:


