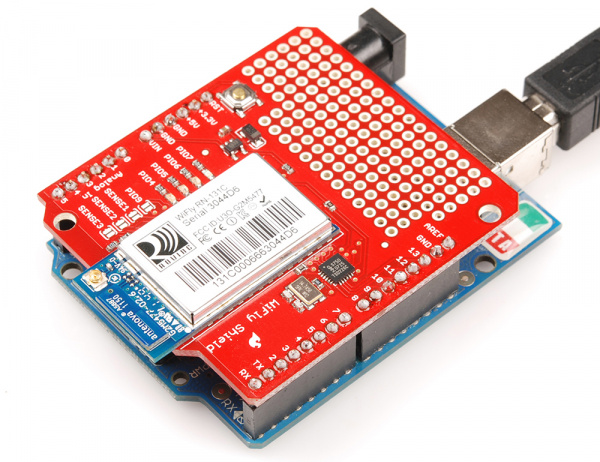
WiFly Shield Hookup Guide
Contributors:
 Joel_E_B,
  CTaylor
Connecting the WiFly Shield to the Arduino
What You Will Need
To get the WiFly Shield up and networking, you’ll need the following things:
- WiFly Shield
- Arduino UNO or similar Arduino compatible boards
- Stackable Headers or another way to connect the shield to the Arduino
- USB A-to-B Cable or whichever USB cable your Arduino board needs
- A Computer
- A WiFi Access Point
Assembly
Connecting the WiFly Shield to the Arduino is easy. Solder on the headers, and attach the shield to the Arduino board. You can use male headers or stackable headers, depending on how you intend to use your WiFly. For detailed instructions on how to connect headers to the WiFly shield, please see the Arduino Shields tutorial.
WiFly Shield with standard strait male headers.
Next, connect the Arduino to the computer through the USB cable. Some of the LEDs on the WiFly shield should now be blinking. You should see the yellow LED blinking quickly and the green LED blinking slowly. This indicates that the WiFly is open for new connections.
