Vernier Photogate
 bri_huang
Introduction
In this project tutorial, we will show you how to create a cheap but accurate photogate (similar to the one pictured below) for use in classroom applications, particularly physics experiments.

This project started as part of a grant I co-authored for my classroom. The grant, called Physics and Instructional Resource (PAIR), is designed to help support physics teachers in need of content or material resources. The grant pairs together a classroom teacher with a physics professional to develop new materials and resources for the classroom. I had the idea of integrating an Arduino with and LCD screen to create a hand-held photogate timer like this one:
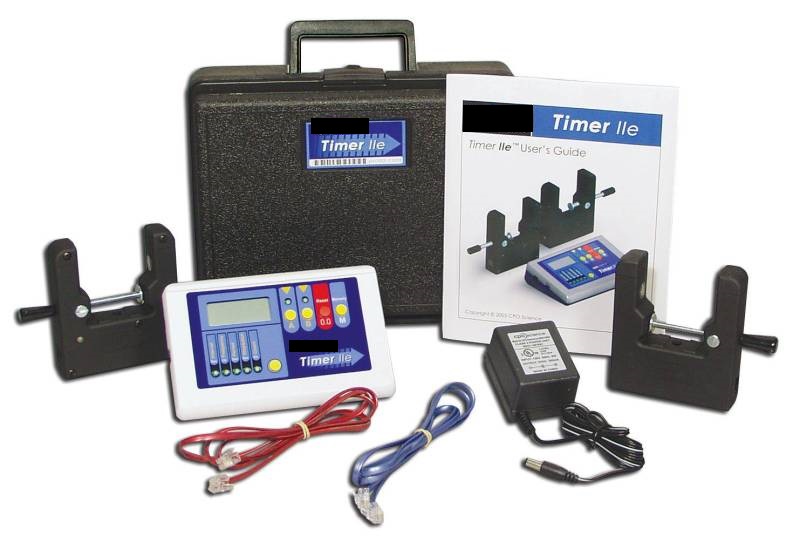
These smart timer units are costly ($200-$300 each), they require a power adapter, and the user interface is not customizable. With the flexibility and low cost of the Arduino platform, we set out to develop a unique solution that we could integrate into a Physics First program for freshman at the high school. Our school has access to a large supply of Vernier hardware and photogates, but but the use of these are restricted to the physics lab where we have computers to perform the data collection and analysis.
I was looking for a simple, portable device to interface these sensors. Using an Arduino seemed like a pretty straight-forward solution.
Required Materials
If you would like to follow along an build your own photogate timer(s), you will need the following:
Suggested Reading
This tutorial builds on several other concepts. Please familiarize yourself with the concepts below if you are familiar already.
- What is an Arduino
- Installing the Arduino IDE
- Arduino Comparison Guide
- Powering Your Project
- Buttons and Switches
- Light