TeensyView Hookup Guide
Contributors:
 MTaylor
MTaylor 
Resources and Going Further
The TeensyView was designed to be as flexible as possible while still being able to nest down into a low-profile addition to the Teensy.
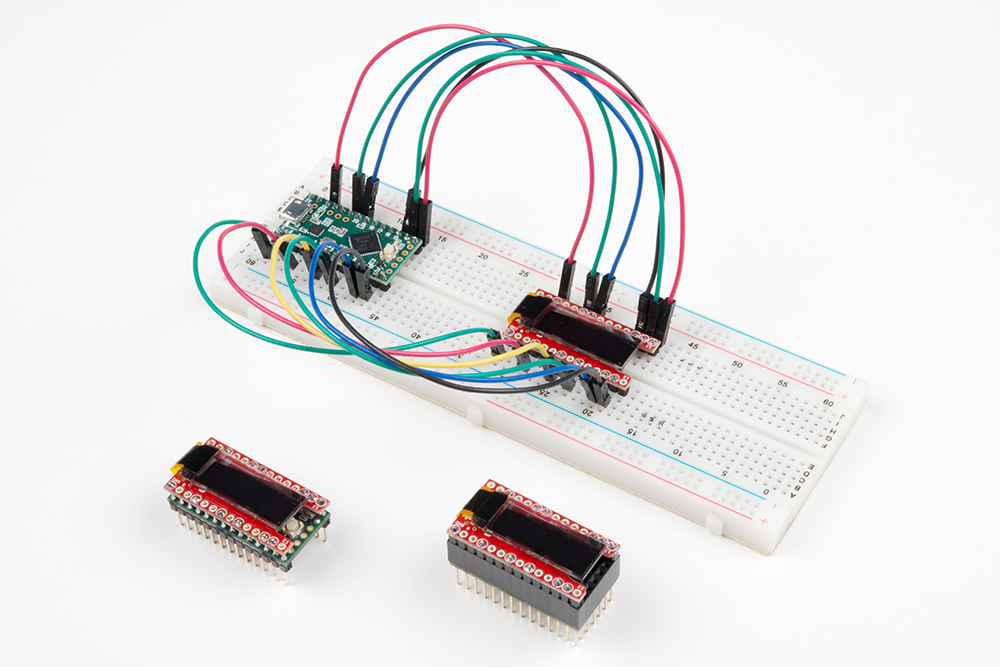
Some various TeensyView-Teensy connections. The bottom centermost TeensyView was created using this guide, while the left is a minimal non-separable configuration. Using a breadboard is also an option.
The TeensyView works with some really heavy examples, but they're really only demonstrations. What to do with it is up to you! They're great for adding simple debug info to a mobile project, while a diligent pixel artist could implement a whole menu system.
More information about the SSD1306 controller and the TeensyView design can be found here:
- Product GitHub Repository
- Library GitHub Repository
- Drawing Bitmaps --- How to make a bitmap array
- OLED Memory Map --- Talks about screen geometry and making fonts
Additional projects and sketches that use the TeensyView:
- The HighSpeedTest, in the examples folder, draws alternating pixels as fast as possible. This can be used to experiment with the limits of the TeensyView's OLED.
For additional inspiration, check out these other tutorials based on displays:
Micro OLED Breakout Hookup Guide
Learn how to hook up the Micro OLED breakout to an Arduino. Then draw pixels, shapes, text and bitmaps all over it!
AVR-Based Serial Enabled LCDs Hookup Guide
The AVR-based Qwiic Serial Enabled LCDs are a simple and cost effective solution to include in your project. These screens are based on the HD44780 controller, and include ATmega328P with an Arduino compatible bootloader. They accept control commands via Serial, SPI and I2C (via PTH headers or Qwiic connector). In this tutorial, we will show examples of a simple setup and go through each communication option.
Everything You Should Know About HyperDisplay
This is a tutorial to go in-depth about the SparkFun HyperDisplay Arduino Library.
LiPo Fuel Gauge (MAX1704X) Hookup Guide
Monitor your LiPo battery with the LiPo fuel gauge! In this tutorial, we will be using the MAX17043 and MAX17048 to monitor a single cell, LiPo battery over the Arduino Serial Monitor. We will also connect a display to view the output without the need to connect the microcontroller to a computer.