Qwiic Transparent OLED HUD Hookup Guide
Introduction
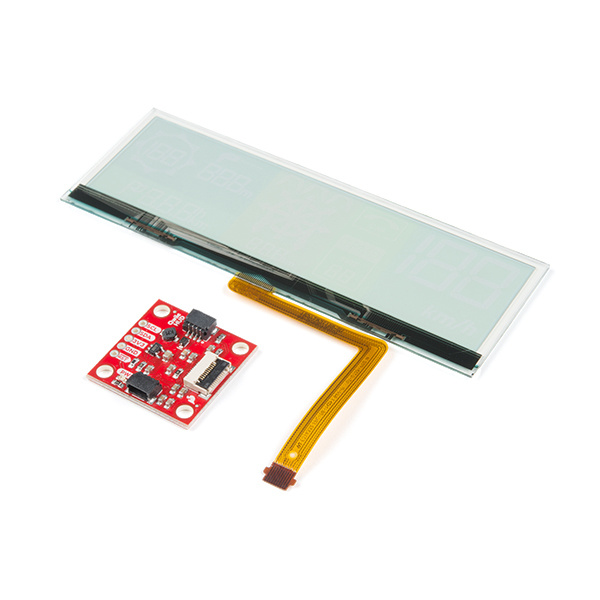
Clear screens are no longer a thing of the Sci-Fi world! The Qwiic Transparent OLED HUD (Head Up Display) is SparkFun's answer to all of your futuristic transparent HUD needs. While you can see through the display, each segment is area colored, meaning that while no one segment can change colors, there are different colored segments on the display.
Required Materials
To follow along with this tutorial, you will need the following materials. You may not need everything though depending on what you have. Add it to your cart, read through the guide, and adjust the cart as necessary.
Microcontroller
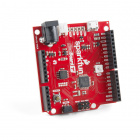
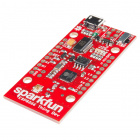
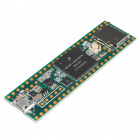
The Transparent OLED HUD requires quite a bit of RAM, so you'll need a microcontroller with at least 5500 bytes of RAM to control everything. Check out the below for some possible options.
Teensy 3.6
DEV-14057Cable
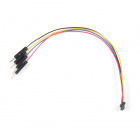
Now to get into the Qwiic ecosystem, the key will be using a Qwiic shields to match your preference of microcontroller. In this tutorial, we'll be using Qwiic-to-breadboard adapter cable. You will also need a cable to upload code to your microcontroller.
Qwiic Cable - Breadboard Jumper (4-pin)
PRT-14425Suggested Reading
If you aren't familiar with the Qwiic system, we recommend reading here for an overview.
| Qwiic Connect System |
We would also recommend taking a look at the following tutorials if you aren't familiar with them.
Serial Communication
I2C
Serial Terminal Basics
Hardware Overview
First let's check out some of the characteristics of the Qwiic HUD we're dealing with, so we know what to expect out of the board.
| Characteristic | Range |
|---|---|
| Operating Voltage | 1.65V-3.3V |
| Supply Current | 400 mA |
| I2C Addresses | 0x30, 0x31 |
Notice that the OLED can pull about 400 mA of current, so ensure you have a robust enough power supply, especially if the OLED isn't the only thing you're powering. Also notice that the OLED sits on two I2C addresses, so make sure that any other I2C devices don't take up addresses 0x30 and 0x31.
Pins
The following table lists all of the transparent OLED's pins and their functionality.
| Pin | Description | Direction |
|---|---|---|
| GND | Ground | In |
| 3.3V | Power | In |
| SDA | Data | Bi-directional |
| SCL | Clock | In |
Optional Features
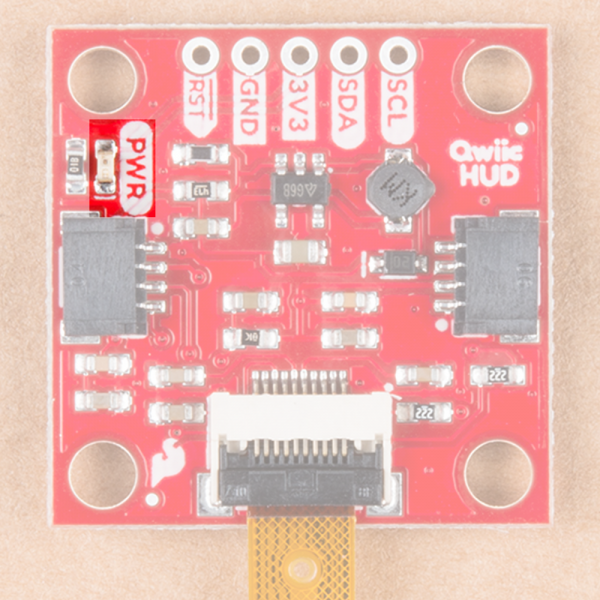
The Transparent OLED breakout has pull-up resistors attached to the I2C bus; if multiple sensors are connected to the bus with the pull-up resistors enabled, the parallel equivalent resistance will create too strong of a pull-up for the bus to operate correctly. As a general rule of thumb, disable all but one pair of pull-up resistors if multiple devices are connected to the bus. If you need to disconnect the pull-up resistors they can be removed by cutting the traces on the corresponding jumpers highlighted below.
The onboard LED (highlighted below) will light up when the board is powered.
Hardware Assembly
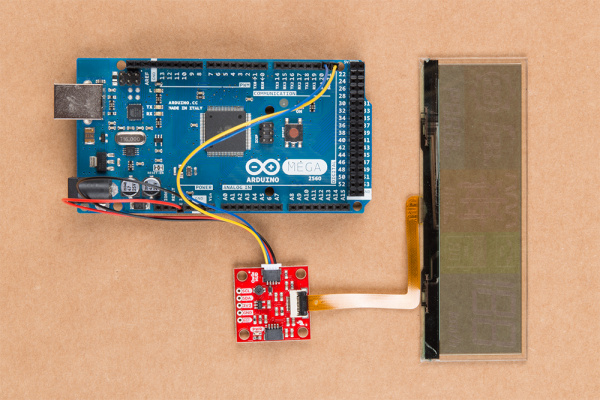
The Transparent OLED HUD requires quite a little bit of RAM (Around 5500 bytes) so you'll need to connect to your I2C pins directly to devices without Qwiic Shields. Connect yellow to SCL, blue to SDA, red to 3.3V and black to ground using the Qwiic jumper adapter cable to the respective pins of your board. In this case, we connected the board to an Arduino Mega 2560's I2C pins.
Library Overview
Note: This example assumes you are using the latest version of the Arduino IDE on your desktop. If this is your first time using Arduino, please review our tutorial on installing the Arduino IDE. If you have not previously installed an Arduino library, please check out our installation guide.
First, you'll need the SparkFun Transparent OLED HUD Arduino library. You can obtain this library through the Arduino Library Manager. Search for Sparkfun Wisechip HUD to install the latest version. If you prefer downloading the libraries from the GitHub repository and manually installing it, you can grab them here:
Before we get started developing a sketch, let's look at all of the functions we can use to control segments on the transparent HUD. The below code initializes the functions for the individual segments in the compass circle (CCx() functions), compass arrows (D0x() functions), tire pressure indication, destination distance(H01(), K01(), M01() for hours, kilometers, and meters), turn distance (K02() and M03() for kilometers and meters), the phone and TPMS icons (P0x() and T0x()) and finally, the 1's on the speedometer and compass (S01_BAR() and S15_BAR()). You won't need to use most of these functions, as most are used in higher level functions like setSpeedometer(), but we've given you access to these segments anyway. Turning any segmetn on is as simple as calling it with an argument of 1. Calling with a 0 will turn it off.
language:c
void D01(uint8_t Action);
void CC1(uint8_t Action);
void D02(uint8_t Action);
void CC2(uint8_t Action);
void D03(uint8_t Action);
void CC3(uint8_t Action);
void D04(uint8_t Action);
void CC4(uint8_t Action);
void D05(uint8_t Action);
void CC5(uint8_t Action);
void D06(uint8_t Action);
void CC6(uint8_t Action);
void D07(uint8_t Action);
void CC7(uint8_t Action);
void D08(uint8_t Action);
void CC8(uint8_t Action);
void D0x(uint8_t Action);
void C01(uint8_t Action);
void C02(uint8_t Action);
void H01(uint8_t Action);
void K01(uint8_t Action);
void M01(uint8_t Action);
void C03(uint8_t Action);
void K02(uint8_t Action);
void M03(uint8_t Action);
void P01(uint8_t Action);
void P02(uint8_t Action);
void P03(uint8_t Action);
void T01(uint8_t Action);
void T02(uint8_t Action);
void S01_BAR(uint8_t Action);
void S15_BAR(uint8_t Action);
Higher Level Functions
The available functions for the transparent OLED can be more easily seen in the below photo.
All of the below functions will set a group of segments based on the argument passed into them
void compassCircle(uint8_t Select);- 0: All Off
- 1-8: All Off Except Selected
- 9: All On
- 10-17: All On Except Selected
void compassArrows(uint8_t Select);--- Same as compass circle.void radarDistanceUnits(uint8_t Action);--- turns on the m for radar distance.void flag(uint8_t Action);--- Turns on the flag segment.void tirePressureAlert(uint8_t Action);--- Displays TPMS text.void speedometerUnits(uint8_t Action);--- Displays KM/H segments.void destinationDistanceUnits(uint8_t iconUnits);- 0: Blank
- 1: h
- 2: m
- 3: km
void turnDistanceUnits(uint8_t iconUnits);- 0: Blank
- 1: m
- 2: km
The following functions display the road and tunnel segments, pass in a 1 to turn the segment on.
void leftTunnel(uint8_t Action);void middleTunnel(uint8_t Action);void rightTunnel(uint8_t Action);void leftRoad(uint8_t Action);void middleRoad(uint8_t Action);void rightRoad(uint8_t Action);
The following functions turn on the corresponding segments for the navigation
void nav_Group(uint8_t Action);--- Triggers the whole nav groupvoid nav_KeepLeft(uint8_t Action);void nav_TurnLeft(uint8_t Action);void nav_TurnRight(uint8_t Action);void nav_HardRight(uint8_t Action);void nav_HardLeft(uint8_t Action);void nav_UTurnLeft(uint8_t Action);void nav_UTurnRight(uint8_t Action);void nav_ContinueStraight(uint8_t Action);void nav_KeepRight(uint8_t Action);void radarDetector(uint8_t Level);- 0: No Radar Gun Icon
- 1: Radar Gun Only
- 2-8: Distance Meter
void setHeading(uint8_t SpeedNo);--- Set's the compass heading. Maximum of 199.void setDestinationDistance(uint16_t SpeedNo, uint8_t Mode);--- Set's the distance in the destination segments. Maximum of 999.void setRadarDistance(uint16_t SpeedNo, uint8_t Mode);--- Set's the distance in the radar segments. Maximum of 999.void setTurnDistance(uint16_t SpeedNo, uint8_t Mode);--- Set's the turn distance. Maximum of 999.void setTirePressure(uint8_t SpeedNo, uint8_t Mode);--- Set the tire pressure. Maximum of 99void setSpeedometer(uint8_t SpeedNo);--- Set the speedometer. Maximum of 199.void setCallIcon(uint8_t iconStatus);- 0: Blank
- 1: Outline
- 2: Outline + Phone
- 3: All Segments
void clearAll(void);--- Clears all segments.
Example Code
Now that we have our library installed and we understand the basic functions, let's run some examples for our Qwiic Transparent OLED HUD to see how it behaves.
Example 1 - All Segments
To get started with the first example, open up File > Examples > Examples from Custom Libraries > SparkFun WiseChip HUD > Example1_AllSegments. In this example, we begin by creating a WiseChipHUD object called myHUD and then initializing our sensor object in the setup() loop. The code to do this is shown below.
language:c
#include <WiseChipHUD.h>

WiseChipHUD myHUD;

void setup() {

  myHUD.begin();

}
Once we've initialized our HUD, we can start turning segments on. The main loop simply goes through and calls all of our available functions.
language:c
void loop() {

  myHUD.clearAll(); // Clears all of the segments

  /************************* Compass Group *************************/
  myHUD.compassCircle(9); // 0 = All Off; 1-8 = All Off Except Selected; 9 = All On; 10-17 = All On Except Selected
  myHUD.compassArrows(9); // 0 = All Off; 1-8 = All Off Except Selected; 9 = All On; 10-17 = All On Except Selected
  myHUD.setHeading(188);  // Max 199

  /************************* Radar Detector Group *************************/
  myHUD.radarDetector(8); // 0 = No Radar Gun Icon; 1 = Radar Gun Only; 2-8 = Distance Meter
  myHUD.setRadarDistance(888,0); // Max 999
  myHUD.radarDistanceUnits(1); // 0 = Blank; 1 = "m"

  /************************* Destination/Waypoint Group *************************/
  myHUD.flag(1); // 0 = Blank; 1 = flag icon
  myHUD.setDestinationDistance(888,2); // Max 999
  myHUD.destinationDistanceUnits(3); // 0 = Blank; 1 = "h"; 2 = "m"; 3 = "km"
  myHUD.H01(1); // 0 = Blank; 1 = "h"

  /************************* Exit Group *************************/
  myHUD.leftTunnel(1); // 0 = Blank; 1 = Tunnel; Also try leftRoad();
  myHUD.middleTunnel(1); // 0 = Blank; 1 = Tunnel; Also try middleRoad();
  myHUD.rightTunnel(1); // 0 = Blank; 1 = Tunnel; Also try rightRoad();

  /************************* Navigation Group *************************/
  myHUD.nav_Group(1); // 0 = Entire Nav Group Off; 1 = Entire Nav Group On
  myHUD.setTurnDistance(888,1); // Max 999
  myHUD.turnDistanceUnits(2); // 0 = Blank; 1 = "m"; 2 = "km"
  // Turn Groups:
  // nav_KeepLeft(1);
  // nav_TurnLeft(1);
  // nav_HardLeft(1);
  // nav_UTurnLeft(1);
  // nav_ContinueStraight(1);
  // nav_KeepRight(1);
  // nav_TurnRight(1);
  // nav_HardRight(1);
  // nav_UTurnRight(1);

  /************************* Call Group *************************/
  myHUD.setCallIcon(3); // 0 = Blank; 1 = Outline; 2 = Outline + Phone Icon; 3 = All Segments

  /************************* TPMS Group *************************/
  myHUD.tirePressureAlert(3); // 0 = Blank; 1 = "TPMS"; 2 = "TIRE"; 3 = All Segments
  myHUD.setTirePressure(88,1); // Max 99

  /************************* Speedometer Group *************************/
  myHUD.setSpeedometer(188); // Max 199
  myHUD.speedometerUnits(1); // 0 = Blank; 1 = "km/h"

  delay(5000);

  myHUD.clearAll(); // Clears all of the segments

while(1){};

}
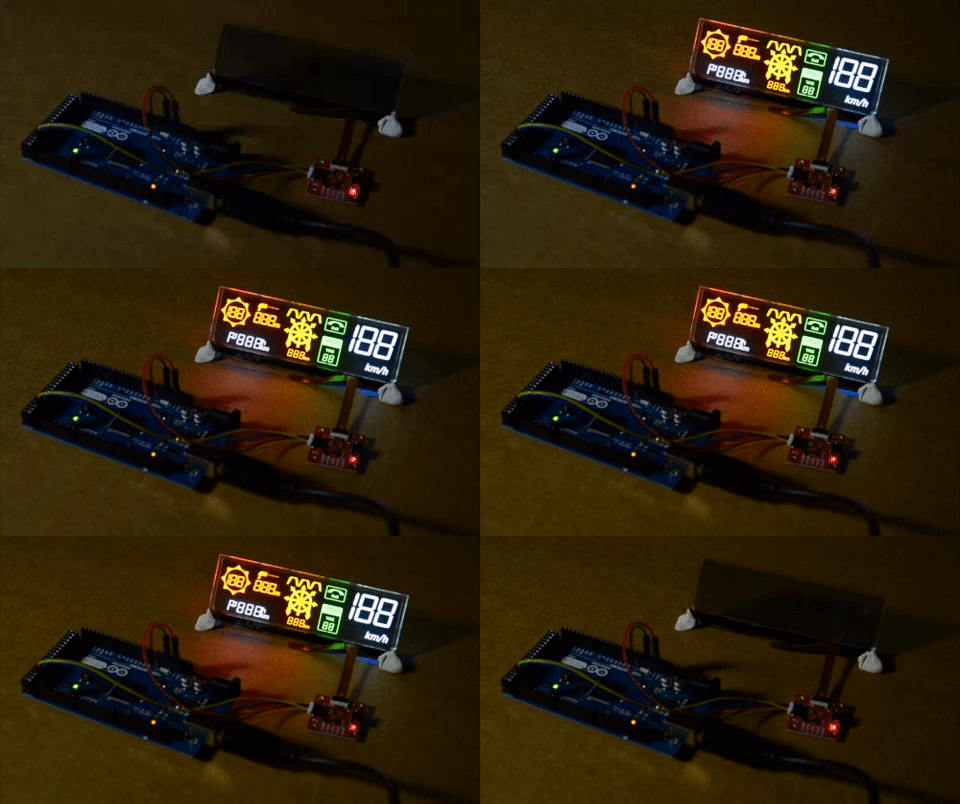
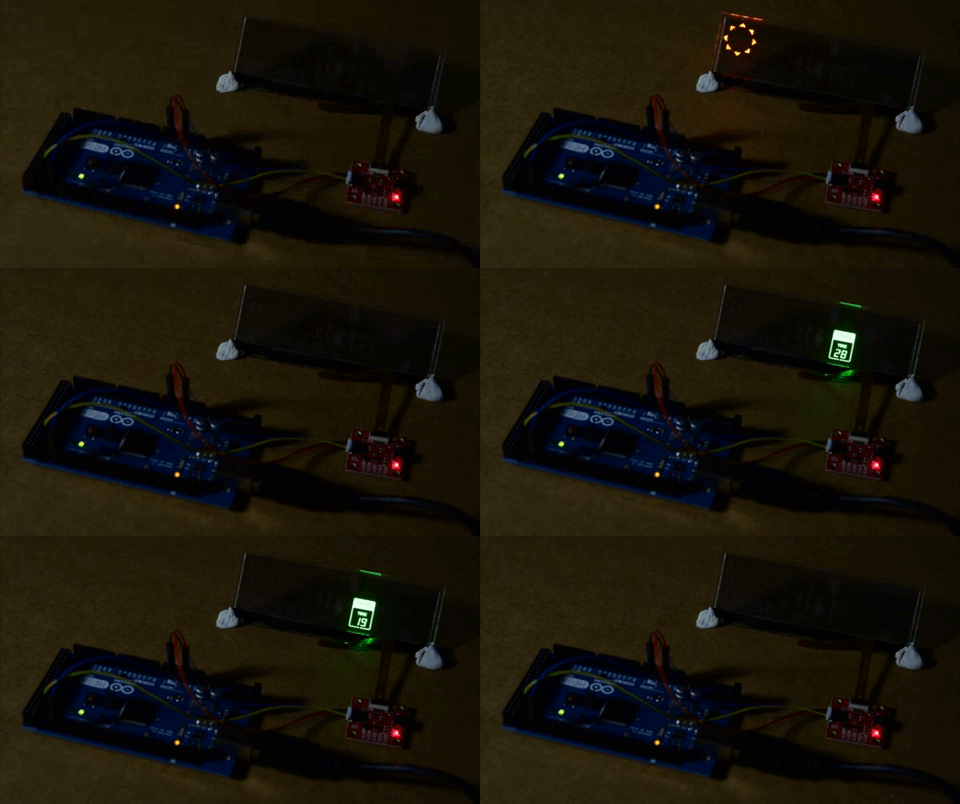
If you have not already, select the Arduino/Genuino Mega 2560 or Mega2560 as the board, COM port that it enumerated on, and hit upload! The OLED should look something like the below GIF.
Example 2 - Animated Icons
In the second example, we'll animate our display segments. To get started with the second example, open up File > Examples > Examples from Custom Libraries > SparkFun WiseChip HUD > Example2_AnimatedIcons. We initialize our HUD the exact same as we do in the first example. Then, we go ahead and use for loops to loop through each possible state of a group of segments to animate it. Each loop starts at 0 and goes to the maximum number of options for that particular group of segments. There is a small delay in each loop to allow for some time between frames.. We do this for the compass, radar, phone and TPMS icons. We clear the entire HUD in between each animation of a group of segments to ensure that we are only displaying one group at a time. The code that accomplishes this is shown below.
language:c
void loop() {

  myHUD.clearAll(); // Clears all of the segments

  for(int j = 0; j < 2; j++){
    for(int i = 1; i < 9; i++){
      myHUD.compassCircle(i);
      delay(50);
    }
  }

  for(int j = 0; j < 2; j++){
    for(int i = 10; i < 18; i++){
      myHUD.compassCircle(i);
      delay(50);
    }
  }

  myHUD.compassCircle(0);

  for(int j = 0; j < 2; j++){
    for(int i = 1; i < 9; i++){
      myHUD.compassArrows(i);
      delay(100);
    }
  }

  for(int j = 0; j < 2; j++){
    for(int i = 10; i < 18; i++){
      myHUD.compassArrows(i);
      delay(100);
    }
  }

  myHUD.compassArrows(0);

  for(int i = 0; i < 5; i++){
    myHUD.radarDetector(1);
    delay(100);
    myHUD.radarDetector(0);
    delay(100);
  }

  myHUD.radarDistanceUnits(1);

  for(int j = 800; j >= 0; j = j - 10){
    myHUD.setRadarDistance(j,0);
    myHUD.radarDetector(j/100);
  }

  myHUD.clearAll();

  for(int j = 0; j < 5; j++){
    for(int i = 0; i < 4; i++){
      myHUD.setCallIcon(i);
      delay(100);
    }
  }

  myHUD.setCallIcon(0);

  myHUD.tirePressureAlert(3);
  myHUD.setTirePressure(30,1);
  delay(2000);

  for(int j = 30; j > 14; j--){
    myHUD.setTirePressure(j,1);
    delay(random(100,1000));
  }

  for(int j = 0; j < 10; j++){
    for(int i = 1; i < 3; i++){
      myHUD.tirePressureAlert(i);
      delay(100);
    }
  }
  myHUD.tirePressureAlert(3);

  myHUD.clearAll();

while(1){};

}
If you have not already, select the Arduino/Genuino Mega 2560 or Mega2560 as the board, COM port that it enumerated on, and hit upload! The transparent HUD should look something like the below GIF after uploading the code.
Example 3 - Counting
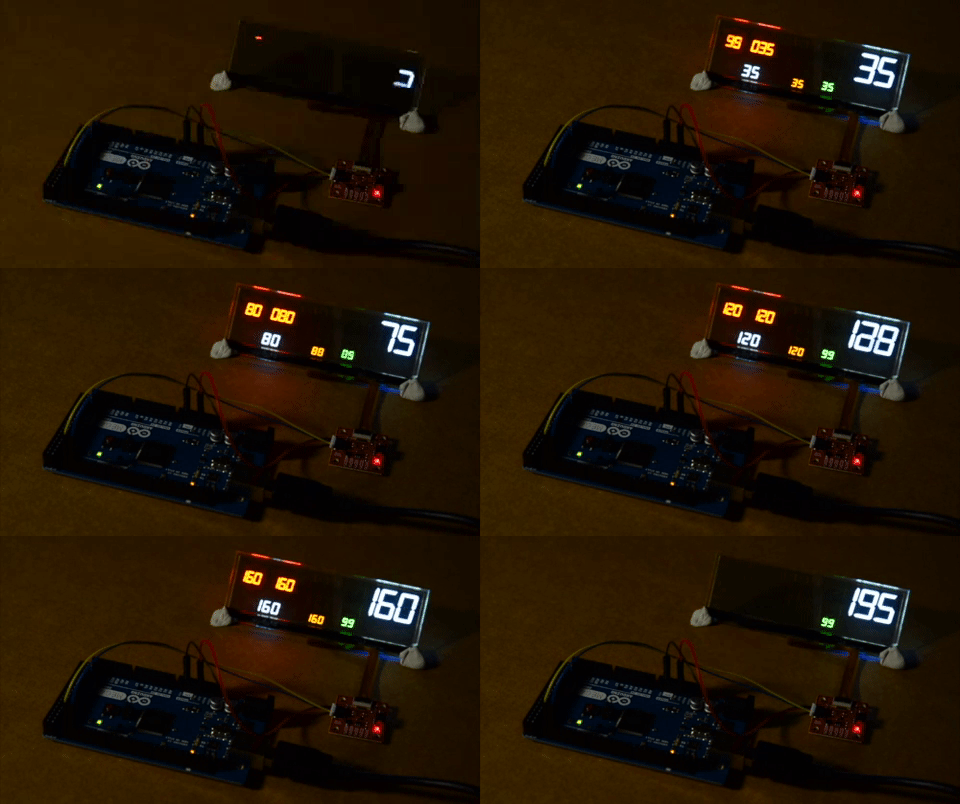
In the third example, we'll have each of the available number displays count up to 200. To get started with the third example, open up File > Examples > Examples from Custom Libraries > SparkFun WiseChip HUD > Example2_AnimatedIcons. In this example, we initialize the OLED the same way we have been doing in our previous two examples. Then, in our void loop(), we clear the HUD, then begin a for loop that counts by 5's. We write the value of the index variable to each of the segments. The code that accomplishes this is shown below.
language:c
void loop() {

  myHUD.clearAll(); // Clears all of the segments

  while (1) {

    for (int i = 0; i < 200; i += 5) {
      myHUD.setHeading(i);  // Max 199
      myHUD.setRadarDistance(i, 0); // Max 999
      myHUD.setDestinationDistance(i, 2); // Max 999
      myHUD.setTurnDistance(i, 1); // Max 999
      myHUD.setTirePressure(i, 1); // Max 99
      myHUD.setSpeedometer(i); // Max 199
      delay(200);
    }

    myHUD.clearAll();

  };

}
If you have not already, select the Arduino/Genuino Mega 2560 or Mega2560 as the board, COM port that it enumerated on, and hit upload! Uploading this code should make the OLED look like the below GIF. Notice how the number for the TPMS stops at 99. This is a demonstration of how these functions handle out of bounds numbers.
Resources & Going Further
Now that you've successfully got your Qwiic Transparent OLED HUD Hookup Guide up and running, it's time to incorporate it into your own project!
For more information, check out the resources below:
Need some inspiration for your next project? Check out some of these related tutorials:
