Contributors:
 Englandsaurus
 Introduction
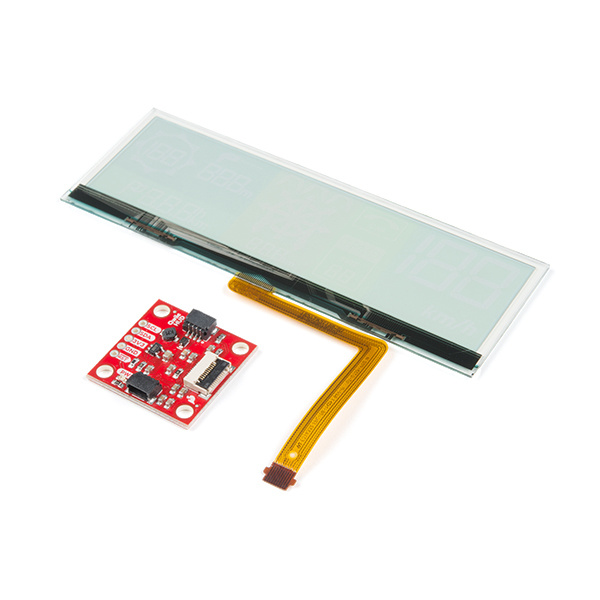
Clear screens are no longer a thing of the Sci-Fi world! The Qwiic Transparent OLED HUD (Head Up Display) is SparkFun's answer to all of your futuristic transparent HUD needs. While you can see through the display, each segment is area colored, meaning that while no one segment can change colors, there are different colored segments on the display.
LCD-15079
The Qwiic Transparent OLED HUD is SparkFun's answer to all of your futuristic transparent HUD needs.
Retired
Required Materials
To follow along with this tutorial, you will need the following materials. You may not need everything though depending on what you have. Add it to your cart, read through the guide, and adjust the cart as necessary.
Microcontroller
The Transparent OLED HUD requires quite a bit of RAM, so you'll need a microcontroller with at least 5500 bytes of RAM to control everything. Check out the below for some possible options.
DEV-13664
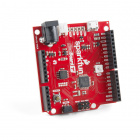
If you’re ready to step your Arduino game up from older 8-bit/16MHz microcontrollers, the SparkFun SAMD21 Mini Breakout is …
DEV-13907
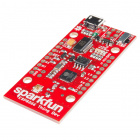
The SparkFun ESP32 Thing is a comprehensive development platform for Espressif’s ESP32, their super-charged version of the …
DEV-11061
Arduino is an open-source physical computing platform based on a simple i/o board and a development environment that implemen…
DEV-14812
If you’re ready to step up your Arduino game from older 8-bit/16MHz microcontrollers, the SparkFun RedBoard Turbo is a form…
WRL-13711
The SparkFun ESP8266 Thing Dev Board is a development board that has been solely designed around the ESP8266, with an integra…
DEV-14057
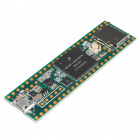
The Teensy 3.6 is larger, faster and capable of more complex projects, especially with its onboard micro SD card port and upg…
Retired
Warning! The Arduino sketch required to drive this display requires quite a bit of dynamic memory, meaning that it is not going to fit on a smaller controller like an ATmega328. Any controller with larger RAM should have no problem. It has been tested to run very well on an Arduino Mega 2560. In addition, your 3.3v source should be robust enough to supply around 400mA to the display.
Cable
Now to get into the Qwiic ecosystem, the key will be using a Qwiic shields to match your preference of microcontroller. In this tutorial, we'll be using Qwiic-to-breadboard adapter cable. You will also need a cable to upload code to your microcontroller.
PRT-14425
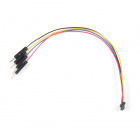
This is a jumper adapter cable that comes pre-terminated with a female Qwiic JST connector on one end and a breadboard hookup…
Retired
CAB-00512
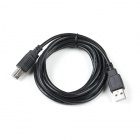
This is a standard issue USB 2.0 cable. This is the most common A to B Male/Male type peripheral cable, the kind that's usual…
Suggested Reading
If you aren't familiar with the Qwiic system, we recommend reading here for an overview.
We would also recommend taking a look at the following tutorials if you aren't familiar with them.
Serial Communication
Asynchronous serial communication concepts: packets, signal levels, baud rates, UARTs and more!
I2C
An introduction to I2C, one of the main embedded communications protocols in use today.
Serial Terminal Basics
This tutorial will show you how to communicate with your serial devices using a variety of terminal emulator applications.
