SparkFun WiFi IR Blaster Hookup Guide
Introduction
With the advent of WiFi-connected "smart" devices, IR remotes are quickly becoming a thing of the past. Why sort through a coffee table-full of remotes when you probably have a much smarter, WiFi-connected device device sitting conveniently in your hand?
The WiFi IR Blaster is designed to connect all of those old, legacy IR-controlled devices to a WiFi network -- exposing them to a new method of control. Want to control your TV via a web-browser? Want to ask Alexa to mute your stereo? Want to schedule triggers to your IR-controlled LED strip? These are all applications that the WiFi IR Blaster is perfect for.
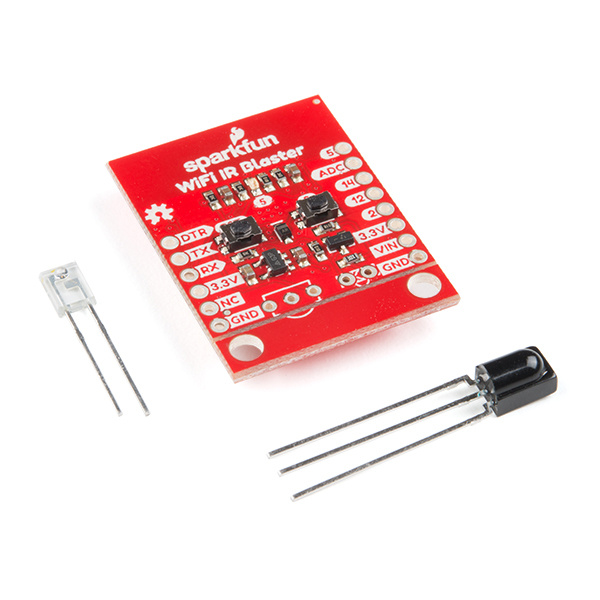
The WiFi IR Blaster combines an ESP8266 -- a powerful WiFi/microcontroller SoC -- with IR emitters and receivers. With built-in WiFi support, the ESP8266 can be programmed to provide an interface between HTTP, MQTT, TCP, etc. and infrared-controlled devices.
This tutorial will explain how to assemble the WiFi IR Blaster and it will detail how to program the ESP8266 using the Arduino IDE. Once complete, you'll have a simple web server than can emit infrared signals at the click of a browser-page.
Required Materials
The WiFi IR Blaster includes the board, an infrared emitter and an infrared receiver. You'll need a handful of other tools and components to get it powered and programmed:
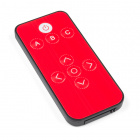
Infrared Remote Control
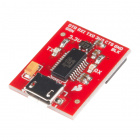
COM-14865The SparkFun Beefy 3 - FTDI Basic Breakout is primarily used to program the ESP8266, but it's also able to supply the 3.3V/300mA power required by the Blaster. Although you can use any 3.3V USB-to-serial converter, this is the one we recommend.
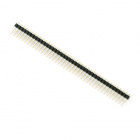
Headers -- either right-angle or straight are the recommended interface between your board, the programmer, a breadboard, perfboard, etc.
If you don't have an IR remote handy, the SparkFun IR RemoteControl is a useful tool for testing. It may even accidentally work with your TV!
In addition to those components, you'll need a soldering iron, solder, and general soldering accessories.
To add, you'll also need a local WiFi network that you can connect your ESP8266 up to. It also helps to have a second device -- smartphone or computer -- that's also connected to that network.
Suggested Reading
If you aren’t familiar with the following concepts, we recommend checking out these tutorials before continuing.


