SparkFun WiFi IR Blaster Hookup Guide
Testing the Receiver
ESP8266 IR Remote Arduino Library
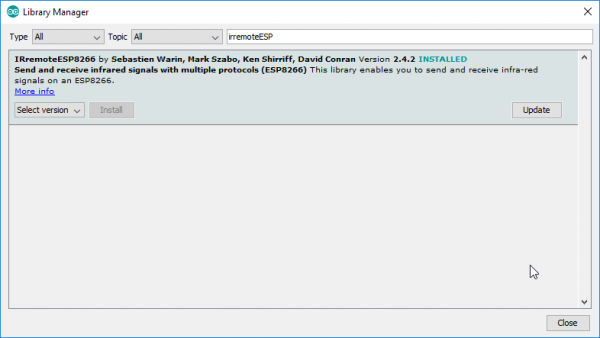
IRremoteESP8266 -- an IR Arduino library specific to the ESP8266 -- gets our recommendation for sending and receiving IR signals with this board. You can download the library from their GitHub page, or by searching out IRremoteESP8266 in your Arduino library manager.
The IR remote library includes an exhaustive collection of examples which demonstrate how to send and receive IR signals. To test out the receiver, open up the IRrecvDumpV2 example by navigating to the File > Examples > Examples from Custom Libraries > IRremoteESP8266 menu.
Before uploading the sketch, you need to modify the kRecvPin pin definition where global variables are defined.. This sets the ESP8266 pin connected to your IR receiver. Set it to 13.
language:c
uint16_t kRecvPin = 13;
Once that modification has been made, upload away! (Make sure the board is set correctly to "NodeMCU 1.0 (ESP-12E Module)".) Then open up the serial monitor and set the baud rate to 115200.
You should see a "IRrecvDumpV2 is now running and waiting for IR input on Pin 13" message print out. If you don't try tapping the board's reset button.
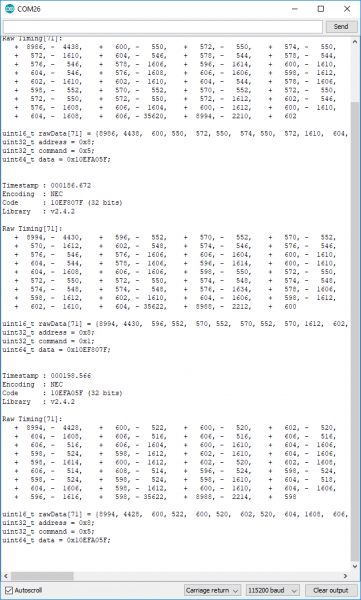
Then aim an IR remote at the board and hit a button. You should see a stream of data shoot by.
The most important bits of this output are the last 4 lines, which should look a lot like C variable declarations. For example:
uint16_t rawData[71] = {8994, 4428,  600, 522,  600, 520,  602, 520,  604, 1608,  606, 516,  606, 516,  606, 516,  606, 516,  606, 1604,  600, 1610,  604, 1606,  598, 524,  598, 1612,  602, 1610,  604, 1606,  598, 1614,  600, 1612,  602, 520,  602, 1608,  606, 514,  608, 514,  596, 524,  598, 524,  598, 524,  598, 524,  598, 1610,  604, 518,  604, 1606,  598, 1612,  600, 1610,  604, 1606,  596, 1616,  598, 35622,  8988, 2214,  598};  // NEC 10EFA05F
uint32_t address = 0x8;
uint32_t command = 0x5;
uint64_t data = 0x10EFA05F;
These lines will be used in the next example, where we test the emitter.

