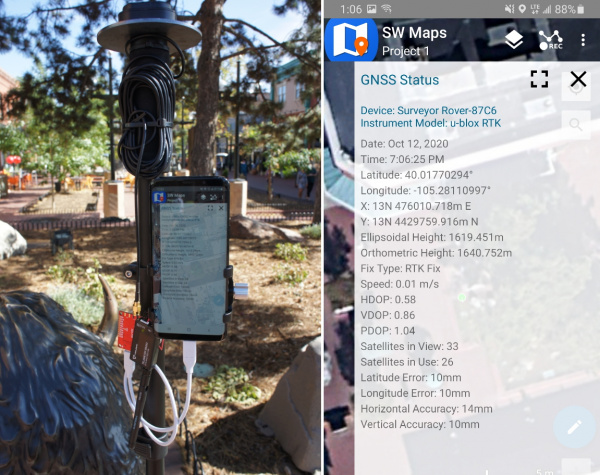
Setting up a Rover Base RTK System
Introduction
This tutorial will walk you through setting up a base and rover so that your rover can have the ~14mm accuracy that surveyors use! This can be useful for all sorts of projects including agriculture, drones, mapping, and even some extreme geocaching.
We’ve been using the ZED-F9P from u-blox for a few years now. While it is a bit pricey (~$200) it is a fraction of the cost of other RTK systems ranging from $3,000 to $20,000 or more! The ZED-F9P is as impressively powerful as it is configurable. We will also be making liberal use of u-center from u-blox - don’t worry, we’ve got a tutorial for that. Unfortunately u-center is currently only for Windows. For the more adventurous, SparkFun has created a popular and powerful u-blox Arduino library that can do everything u-center can from an Arduino.
Do I really need RTK?
Great question. With a ZED-F9P and a u-blox L1/L2 antenna (and no RTK correction data) we’ve seen 30 or more satellites and horizontal positional accuracies better than 300mm. This is incredibly precise for a single receiver and should be adequate for many projects. RTK is a challenge to setup but once complete you should be able to obtain an RTK fix which has 14mm of accuracy (the precision is sub millimeter). To put the ZED-F9P in perspective, the SAM-M8Q is a great receiver, but can only receive L1 frequencies and has horizontal accuracy of 2.5m (2500mm). The ZED-F9P is far more accurate.
Note: It's best to get an RTK system worked out from the comfort of your desk. Don't go into the field with a laptop and try to get everything working outside.
Suggested Reading
Before getting started, be sure you are comfortable with Getting Started with U-Center and be sure to checkout our What is GPS RTK? tutorial.
