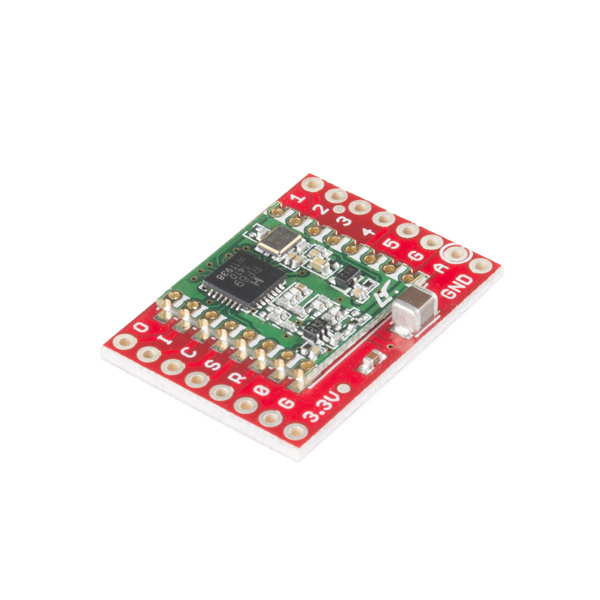
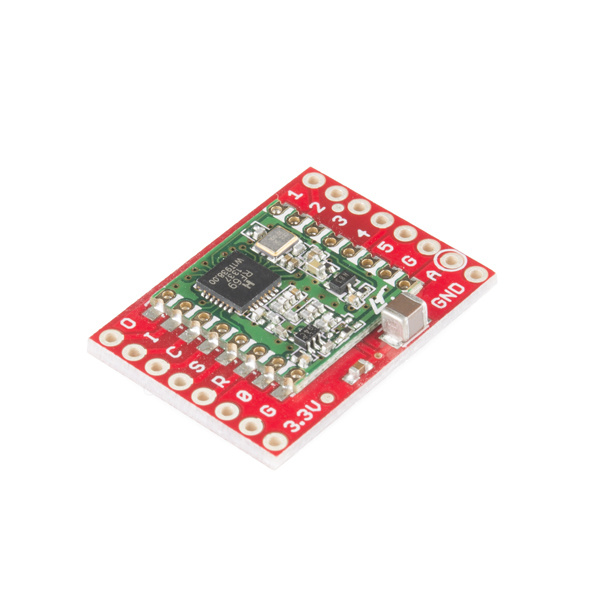
RFM69HCW Hookup Guide
Introducing the RFM69
The RFM69HCW is an inexpensive and versatile radio module. You can use it to send text or binary data between two or hundreds of modules. It's perfect for building inexpensive short-range wireless networks for home automation, citizen science, and more. The RFM69HCW comes in two frequency flavors; a 915 MHz version and a 434 MHz version. See the Hardware Overview below for tips on which one to choose.
Interface and Example Code
The RFM69HCW can't do anything by itself; it needs to be connected to a microcontroller such as an Arduino. The RFM69HCW uses a four-wire Synchronous Peripheral Interface (SPI) plus an interrupt line. Most microcontrollers, including the Arduino, offer an SPI interface.
Felix Rusu of LowPowerLab has written an excellent Arduino library for the RFM69 that handles the details of setting up the module and sending and receiving data. This guide will cover interfacing the RFM69HCW to an Arduino microcontroller using this library.
If you're using a different microcontroller, the information here plus the datasheet and the library source code should help get you up and running. (If you write example code for another system, we'll be glad to add it to the code repository).
Required Materials
In this tutorial we'll show you how to get two modules talking to each other, but keep in mind that you can use more than two modules in your projects.
Here's what you'll need:
Two RFM69HCW modules (with matching frequencies):
You'll need two Arduinos. You can use the RFM69HCW with any Arduino, but the 3.3V Arduino Pro is a good choice because the RFM69HCW is also a 3.3V part. We're using the "Beefy 3" FTDI board, because the standard FTDI board can't supply enough current to run the RFM69:
- 2 x Arduino Pro 328 3.3V
- 2 x Female Header Pack
- 2 x "Beefy 3" FTDI board
- 2 x USB Micro-B Cable
We'll connect these to the Arduinos using headers and jumper wires:
If you'd rather use 5V Arduinos you can, but you will need a Logic Level Converter for each 5V Arduino:
You'll need some wire to make antennas, and a couple of LEDs (optional) that we'll make blink when data is sent or received:
- About 1 foot of general-purpose wire (e.g. AWG22 Hook-Up Wire), or you can use a jumper wire in a pinch.
- 2 x general-purpose LEDs (e.g. Basic Red LED)
If you don't already have them, you will also need soldering tools and solder.
Suggested Reading
We recommend you be familiar with the following topics before working with the RFM69HCW. If you'd like to brush up on any of these things, follow the links and come back when you're done.

