Qwiic IR Array (MLX90640) Hookup Guide
 Englandsaurus
 Introduction
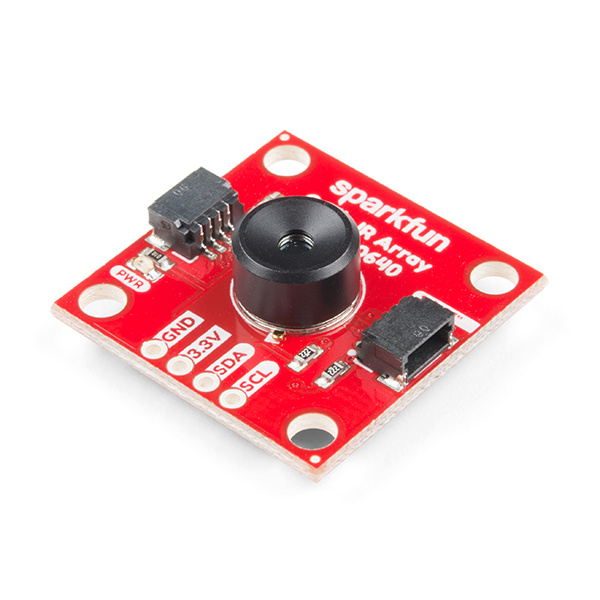
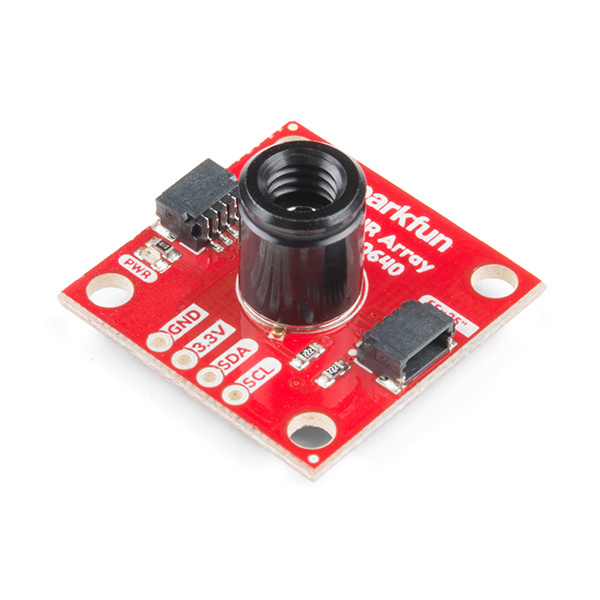
The Melexis MLX90640 (110° and 55° FOV) contains a 32x24 array of thermopile sensors creating, in essence, a low resolution thermal imaging camera. As the images show, you can detect surface temperatures from many feet away with an accuracy of ±1.5°C (best case). We’ve packaged the MLX90640 on an easy to use Qwiic board with mounting holes and a smattering of decoupling caps.
In this guide, we'll go over how to connect your Qwiic IR Array with MLX90640 and get it communicating with Processing to produce a nice thermal image.
Required Materials

Teensy 3.2
DEV-13736
Teensy 3.5 (Headers)
DEV-14056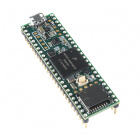
Teensy 3.6 (Headers)
DEV-14058We don't have any Qwiic shields available for Teensy, so you should snag yourself a breadboard and a breadboard friendly Qwiic cable if you haven't already to get the Teensy connected to the MLX90640.

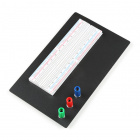
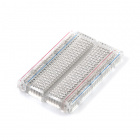

Qwiic Cable - Breadboard Jumper (4-pin)
PRT-14425Tools
Depending on your setup, you may need a soldering iron, solder, and general soldering accessories if you bought a headerless Teensy.


Weller WLC100 Soldering Station
TOL-14228Suggested Reading
If you aren't familiar with the Qwiic system, we recommend reading here for an overview.
| Qwiic Connect System |
Since we'll also be using Processing in one of these demos, we'd recommend looking up the tutorial on hooking your Arduino up to Processing. We would also recommend taking a look at the following tutorials if you aren't familiar with them.
How to Solder: Through-Hole Soldering
Connecting Arduino to Processing
I2C
Hardware Overview
First, let's check out some of the characteristics of the MLX90640 IR Array we're dealing with, so we know what to expect out of the board. Keep in mind that there are two options for the field of view 110°x75° and 55°x35°
| Characteristic | Range |
|---|---|
| Operating Voltage | 3V-3.6V |
| Current Consumption | ~18 mA |
| Measurement Range | -40 °C - 300°C |
| Resolution | ±1.5°C |
| Refresh Rate | 0.5Hz - 64 Hz |
| I2C Address | 0x33 |
Pins
The following table lists all of the MLX90640's pins and their functionality.
| Pin | Description | Direction |
|---|---|---|
| GND | Ground | In |
| 3.3V | Power | In |
| SDA | Data | In/Out |
| SCL | Clock | In |
Optional Features
The MLX90640 IR Array has pull up resistors attached to the I2C bus; if multiple sensors are connected to the bus with the pull-up resistors enabled, the parallel equivalent resistance will create too strong of a pull-up for the bus to operate correctly. As a general rule of thumb, disable all but one pair of pull-up resistors if multiple devices are connected to the bus. If you need to disconnect the pull up resistors they can be removed by cutting the traces on the corresponding jumpers highlighted below.

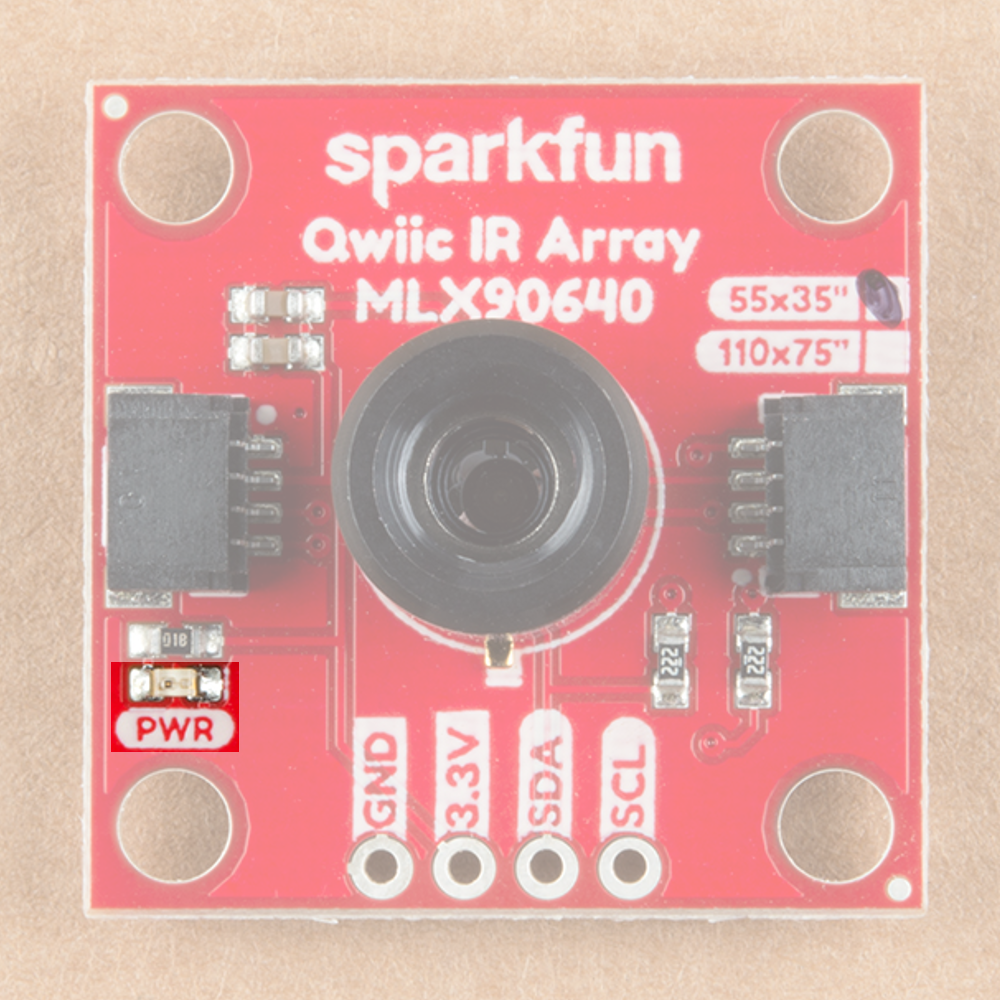
The onboard LED (highlighted below) will light up when the board is powered, and the sensor (also highlighted below) should be left uncovered in your application.
Hardware Assembly
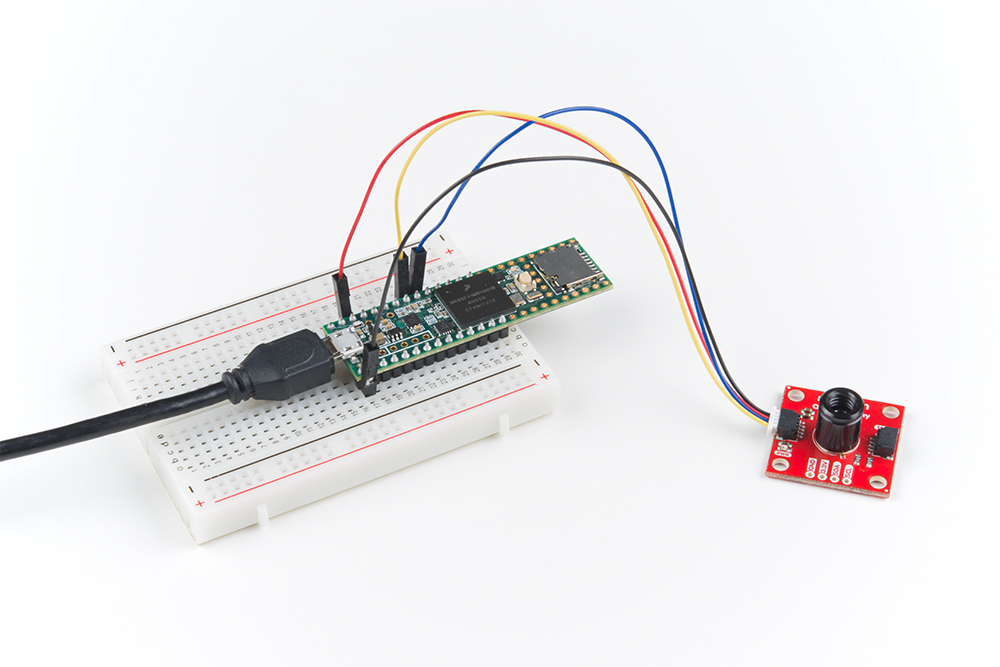
Since we don't have a Qwiic shield for the Teensy at this point in time, we'll need to connect our Qwiic Infrared Array through the breadboard compatible Qwiic cable. Check out the following table if you're unsure of how to connect your Qwiic cable. The Teensy 3.5 pinout is available here. For more pin assigments, refer to the Teensy's reference page.
| Color | Function | Pin |
|---|---|---|
| Black | Ground | Any GND pin |
| Red | Power (3.3V) | Any 3.3V pin |
| Yellow | Clock | 19 |
| Blue | Data | 18 |
Once you have your cable hooked up to the breadboard, go ahead and plug it into your MLX90640 IR Array and you'll be ready to go.
Example Code
Note: This example assumes you are using the latest version of the Arduino IDE on your desktop. If this is your first time using Arduino, please review our tutorial on installing the Arduino IDE.
Teensyduino Add-On
If you haven't used Teensy before, you'll probably need to download and install the extension for the Arduino IDE called Teensyduino, located here.
Library
Melexis has written a library to control the Qwiic IR Array with MLX90640. You can obtain these libraries by clicking the below button, which also includes the SparkFun written example sketches from the GitHub repository. Just makes sure the associated files are in the same path when opening each example.
Example 1 - Basic Readings
Once you've downloaded the example sketches and library, go ahead and open the first example under SparkFun_MLX90640_Arduino_Example-master > Firmware > Example1_BasicReadings > Example1_BasicReadings. To initialize the sensor, we first attempt to talk to the MLX90640 with the isConnected() function. Looking closer at our setup() loop reveals that we extract a set of paramaters from the MLX using MLX90640_DumpEE and MLX90640_ExtractParamaters. This only needs to be done once in the setup() loop before the board is ready to use, the code is shown below.
language:c
void setup()
{
  Wire.begin();
  Wire.setClock(400000); //Increase I2C clock speed to 400kHz

  Serial.begin(9600);
  while (!Serial); //Wait for user to open terminal
  Serial.println("MLX90640 IR Array Example");

  if (isConnected() == false)
  {
    Serial.println("MLX90640 not detected at default I2C addres. Please check wiring. Freezing.");
    while (1);
  }
  Serial.println("MLX90640 online!");

  //Get device parameters - We only have to do this once
  int status;
  uint16_t eeMLX90640[832];
  status = MLX90640_DumpEE(MLX90640_address, eeMLX90640);
  if (status != 0)
    Serial.println("Failed to load system parameters");

  status = MLX90640_ExtractParameters(eeMLX90640, &mlx90640);
  if (status != 0)
    Serial.println("Parameter extraction failed");

  //Once params are extracted, we can release eeMLX90640 array
}
Once you've selected your board and serial port, upload the sketch to your Teensy. Then open the serial monitor set at 115200 baud. The output should look something like the below image, with the temperature values of each pixel being displayed in °C.

Example 2 - Output To Processing
Note: Processing is a software that enables visual representation of data, among other things. If you've never dealt with Processing before, we recommend you also check out the Arduino to Processing tutorial. Follow the below button to go ahead and download and install Processing.
This next example involves the Processing IDE. Processing listens for serial data, so we'll need to get our Arduino producing serial data that makes sense to Processing. To pull up the next example, go to SparkFun_MLX90640_Arduino_Example-master > Firmware > Example2_OutputToProcessing > Example2_OutputToProcessing to open the example sketch. This sketch simply prints a comma separated list of our temperatures over serial for Processing to listen to.
Once this sketch is uploaded, we need to tell Processing how to turn this data into a visualization. The Processing sketch to do this is located in the same folder as Example 2. So go to the sketch folder to open the MLXHeatCam file in Processing. Attempting to run the sketch will show us available serial ports in the debug window.
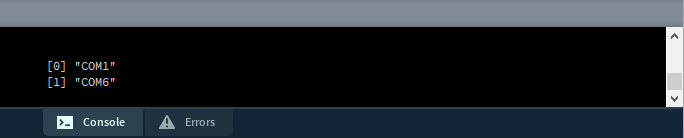
Identify which serial port your Teensy is on. For instance, my Teensy is on COM6, which corresponds to [1] in the above image, so I will need to change 0 to 1 in the following line to ensure Processing is listening in the right location.
language:c
myPort = new Serial(this, Serial.list()[0], 115200);
Once I've done this, we should be able to run the Processing sketch and it will give us a nice visualization of the pixels on our Qwiic IR Array with MLX90640. Move your face or hand in front of the sensor and see what it looks like on the screen. The output should look similar to the image below. Note that the camera can only hit about 4 Hz due to the data rate over I2C. The hypothetical refresh rate of the MLX90640 is 64 Hz, but unless you have a microcontroller capable of a much faster I2C rate, you won't be hitting framerates anywhere near that.
Resources and Going Further
Now that you've successfully got your Qwiic IR Array with MLX90640 up and running, it's time to incorporate it into your own project!
For more information, check out the resources below:
- SparkFun IR Array (MLX90640) 110° FOV
- SparkFun IR Array (MLX90640) 55° FOV
- SFE Product Showcase
Need some inspiration for your next project? Check out some of these related tutorials: