Pi Servo pHAT (v2) Hookup Guide
 QCPete, santaimpersonator
Hardware Assembly
Note: This tutorial assumes that users are familiar with the Raspberry Pi and have a general knowledge base of Python. If you have unfamiliar with these items, as a starting point, we suggest setting up your Raspberry Pi, familiarizing yourself with the graphics user interface (GUI), and then learning the basics of Python. Below are resources to get you started:
- Resources for getting started with the Raspberry Pi can be found on the Raspberry Pi Foundation's website. They also provide documentation for the Raspberry Pi, forum support for the Raspberry Pi, and there is a broad community so finding resources online is just a simple search online.
- Resources for getting started with the Python can be found on the Python website. They also provide extensive documentation and there is a relatively large community so accessing alternative resources online is simple.
Raspberry Pi
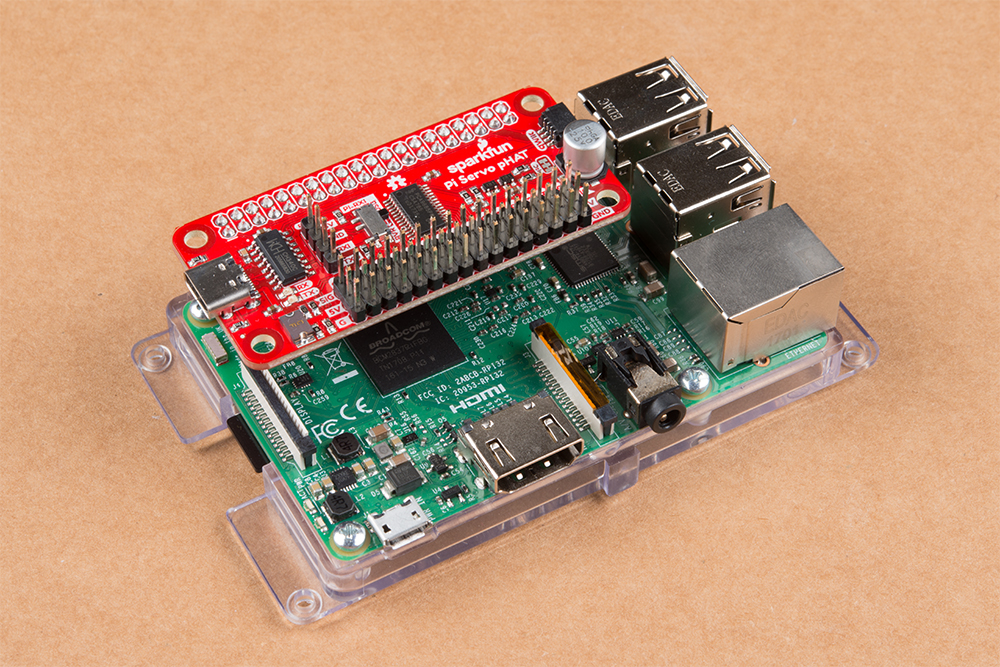
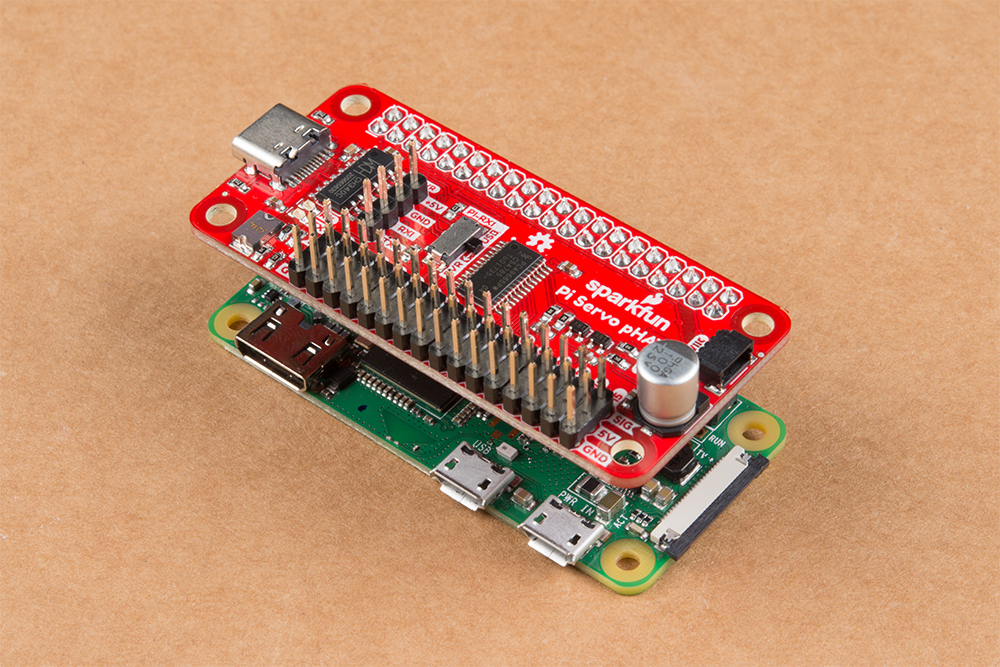
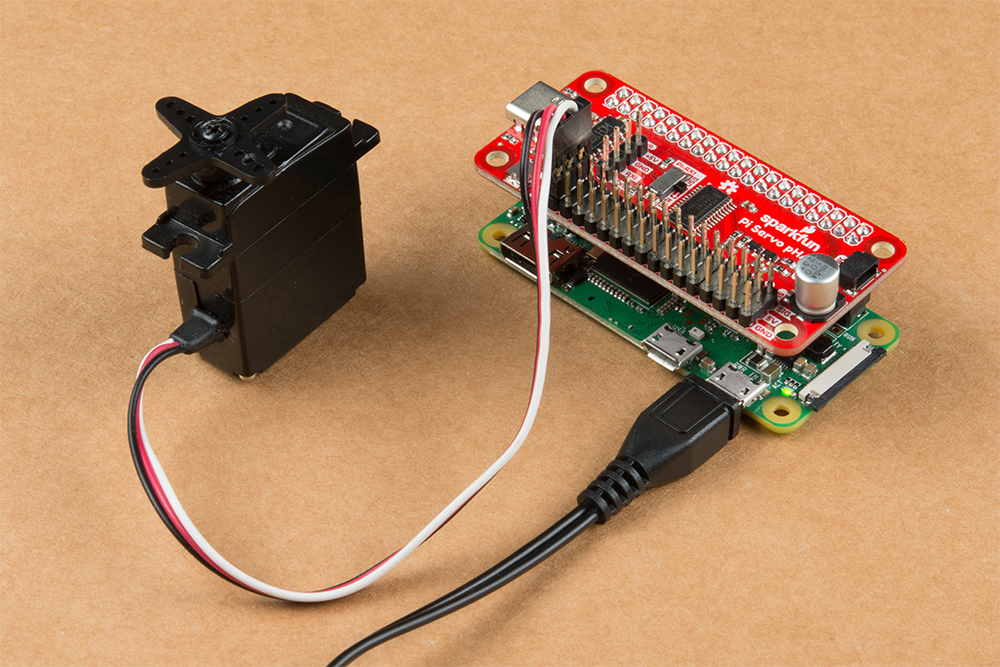
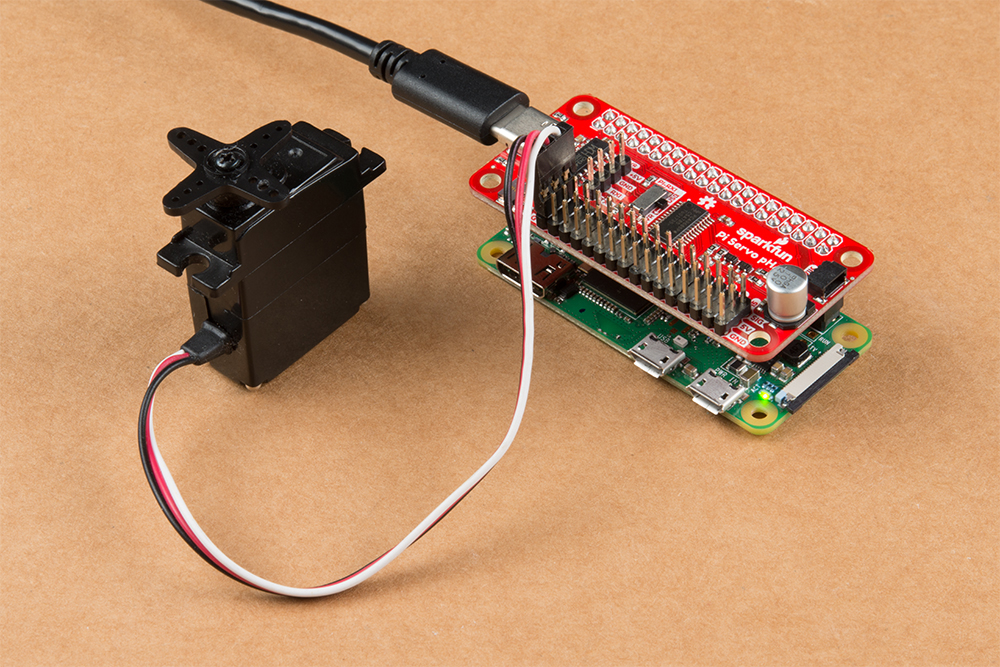
Assembling the Pi Servo pHAT (v2) with a Raspberry Pi is pretty straight forward. First make sure that nothing is powered. Then, just stack the board onto the Raspberry Pi so that the PCBs line up on top of each other; the Pi Servo pHAT is NOT meant to protrude out to the side.
- Stacking the Pi Servo pHAT with the PCB protruding to the side of the Raspberry Pi instead of on top (or above) will incorrectly connect pins and will most likely damage something.
- Although usually minimal, even when connecting a Raspberry hat there is a chance to short, brown-out, and/or damage something. As a best practice, you should never plug in a hat while anything is powered (including the hat, servos, LEDs, or additional qwiic boards).
- Make sure you aren't using a Raspberry Pi 4 or the Debian Buster image. Both have yet to be tested for use with this product.
- Never plug in a servo while your Raspberry Pi is running. The sudden current spike needed to power your servo will reset your Raspberry Pi. Always plug in all of your servos first, and then boot up.
Never plug in a servo while your Raspberry Pi is running. The sudden current spike needed to power your servo will reset your Raspberry Pi. Always plug in all of your servos first, and then boot up.
Sphero RVR
Unfortunately, this tutorial won't cover the use of the Pi Servo pHAT with the Sphero RVR. However, links to the assembly guides and getting started tutorial are provided below.
Basic Autonomous Kit for Sphero RVR Assembly Guide
Advanced Autonomous Kit for Sphero RVR Assembly Guide
Getting Started with the Autonomous Kit for the Sphero RVR
Other Single Board Computers
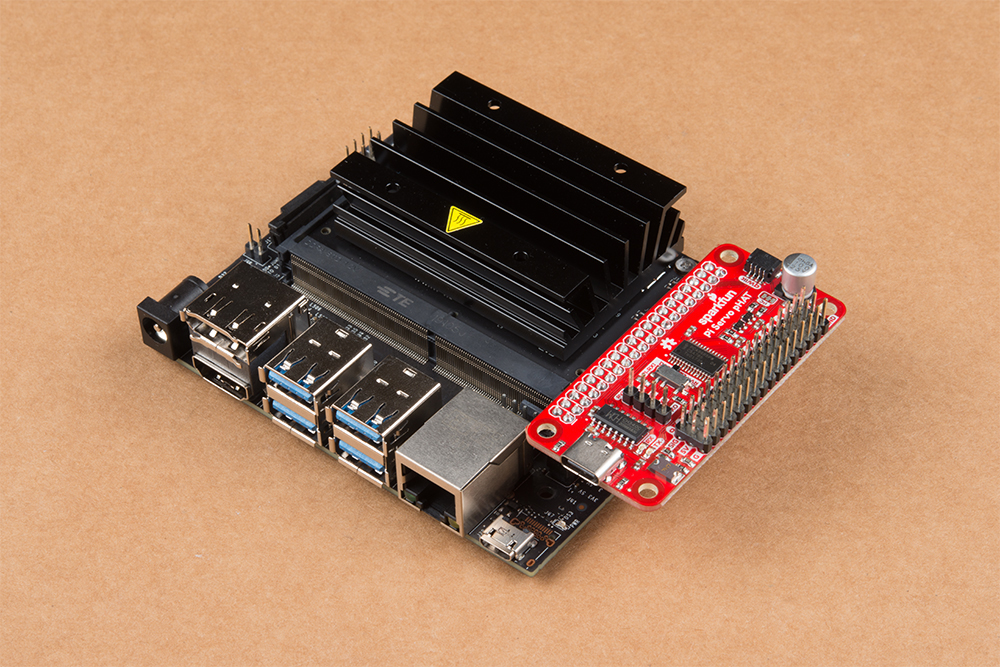
Using this hat with other single board computers (SBCs) like the Nvidia Jetson or Google Coral is a similar process. Just make sure that you have the HAT aligned in the proper orientation. For example, with the Nvidia Jetson, the hat should be protruding outwards from the board (do not try to remove the heatsink to make the HAT fit, that is the wrong orientation).
Power
As described in the Hardware Overview, 5V power to the servo headers is provided through three different sources.
Servos
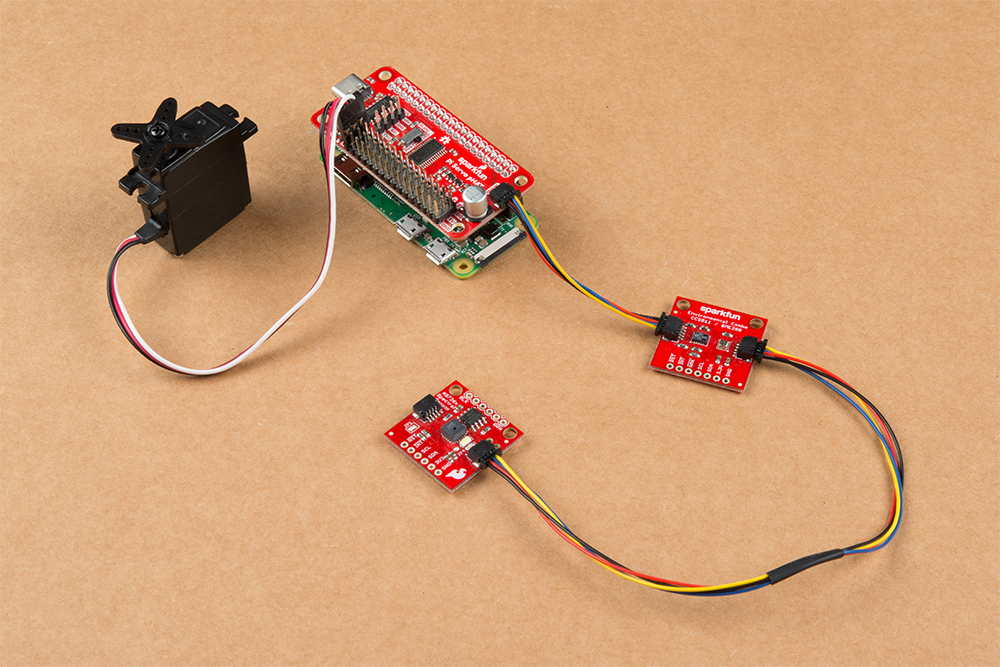
In this tutorial we will be testing out a hobby servo on channel "0". Based on the servo that you are using, try looking at the hobby servo's datasheet or referring to some of the standard servo connector pinouts listed in this tutorial.
Qwiic Devices
The Qwiic connection system makes it easy to add your favorite Qwiic compatible sensor or device.