MYST Linking Book
 Nick Poole
Programming with 4D ViSi
In order to make the linking panel for my book, I needed a full color LCD screen and enough computing power behind it to play a short video loop. The obvious choice was one of 4D Systems' display modules. I figured it would be as easy as working something up in the ViSi Genie and plugging in a battery, and it nearly was. The only problem is that there doesn't seem to be any method for looping a video object in ViSi Genie. No big deal, let's take a look under the hood...
First step? We'll start a new project in the ViSi environment:

Once you've selected your target and opened a new ViSi project, you should have something like this:
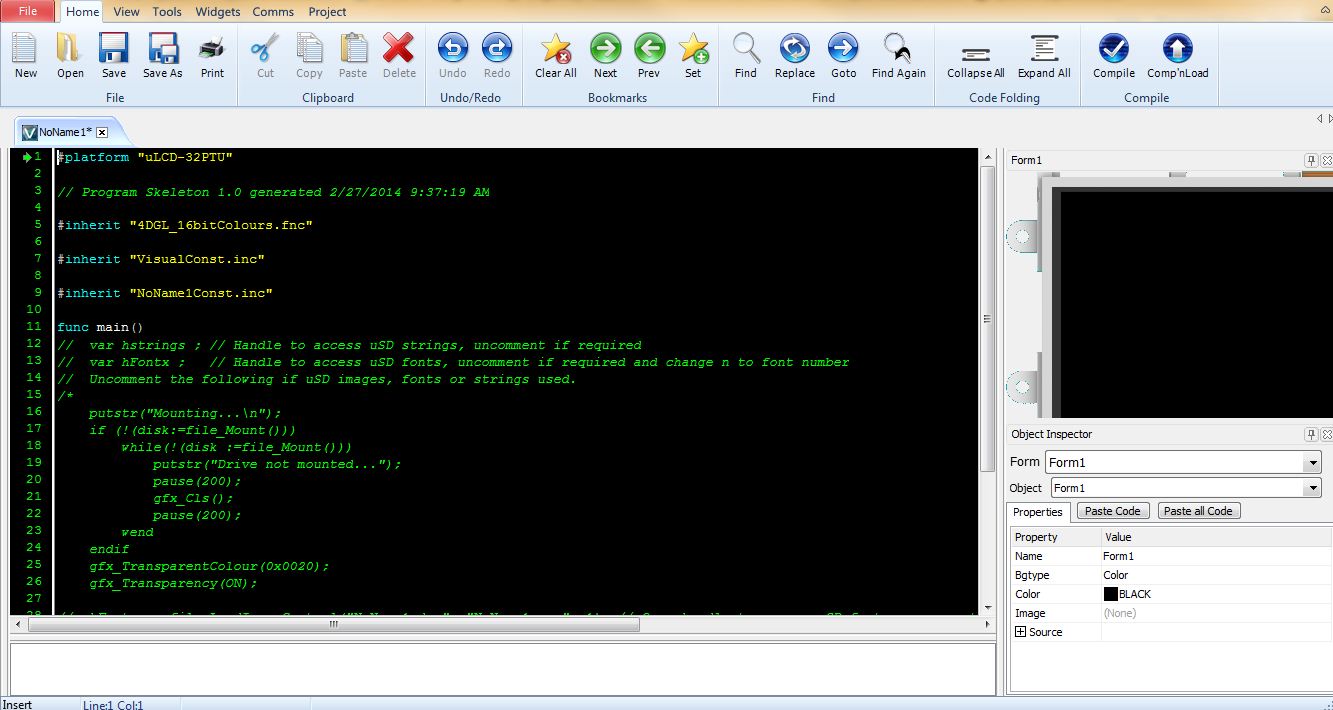
The large text input field is where you'll write the 4DGL code that controls the screen. You'll notice that there's already an outline of a program there, which was generated by 4D Workshop and includes a library specific to your target device. Nifty! To the right you'll see a picture of the target device. This will be familiar to anyone who has used the ViSi Genie. In fact, using the ViSi editor, you can click and drag widgets onto the target device the same way you would in the Genie. Before we get ahead of ourselves, though, let's take a look at that skeleton code:
#platform "uLCD-32PTU"

// Program Skeleton 1.0 generated 2/27/2014 10:25:58 AM

#inherit "4DGL_16bitColours.fnc"

#inherit "VisualConst.inc"

#inherit "NoName1Const.inc"

func main()
//  var hstrings ; // Handle to access uSD strings, uncomment if required
//  var hFontx ;   // Handle to access uSD fonts, uncomment if required and change n to font number
//  Uncomment the following if uSD images, fonts or strings used.
/*
    putstr("Mounting...\n");
    if (!(disk:=file_Mount()))
        while(!(disk :=file_Mount()))
            putstr("Drive not mounted...");
            pause(200);
            gfx_Cls();
            pause(200);
        wend
    endif
    gfx_TransparentColour(0x0020);
    gfx_Transparency(ON);

//  hFontn := file_LoadImageControl("NoName1.dan", "NoName1.gcn", 1); // Open handle to access uSD fonts, uncomment if required and change n to font number dropping a and c if > 9
//  hstrings := file_Open("NoName1.txf", 'r') ; // Open handle to access uSD strings, uncomment if required
    hndl := file_LoadImageControl("NoName1.dat", "NoName1.gci", 1);
*/

    gfx_Set(SCREEN_MODE,LANDSCAPE) ;

    repeat
    forever
endfunc
It looks like a lot of code for a simple framework, but, once you dive into it, you'll find that it's mostly routines related to pulling resources from the uSD card. Because you won't always need to pull strings, fonts, or images from the uSD, these lines are commented out by default. Underneath the uSD stuff there's a call to gfx_Set(), which is just to set up the screen mode. Finally, there's an empty forever loop, which you can fill with the infinitely repeating code of your choice.
Right off the bat, we already know that we'll have to access some images, so we'll go ahead and remove the block comment symbols. This will uncomment the following two chunks of code:
putstr("Mounting...\n");
    if (!(disk:=file_Mount()))
        while(!(disk :=file_Mount()))
            putstr("Drive not mounted...");
            pause(200);
            gfx_Cls();
            pause(200);
        wend
    endif
    gfx_TransparentColour(0x0020);
    gfx_Transparency(ON);
This routine checks to see if the display module can access the uSD card. If it can't, then it will flash the error message "Drive not mounted..."
hndl := file_LoadImageControl("NoName1.dat", "NoName1.gci", 1);
This line gives the names of the resources that you're storing on the uSD card.
The next order of business is to use the video widget to import a video. At this point, it's wise to save your progress. If you select a video file that 4D Workshop can't handle because of its size or format, the IDE could crash (as of version 4.0.2.16). The video that I ended up using was the Mechanical Age flyover from the original MYST game. I found the clip on YouTube, downloaded it using a service I found by Googling around, and then converted it to a small AVI file. I'll include a link in the resources of this tutorial to the clip that worked for me.
In order to add a video widget, you'll need to click on the "Widgets" menu in the top navigation bar, and then select the "System/Media" widget tab. Next, click the icon that looks like a film reel, then click on the target screen where you want to place it. You'll be able to drag it around and resize it later, so just click anywhere on the picture of your target device. A file manager window should pop-up and allow you to select a file.
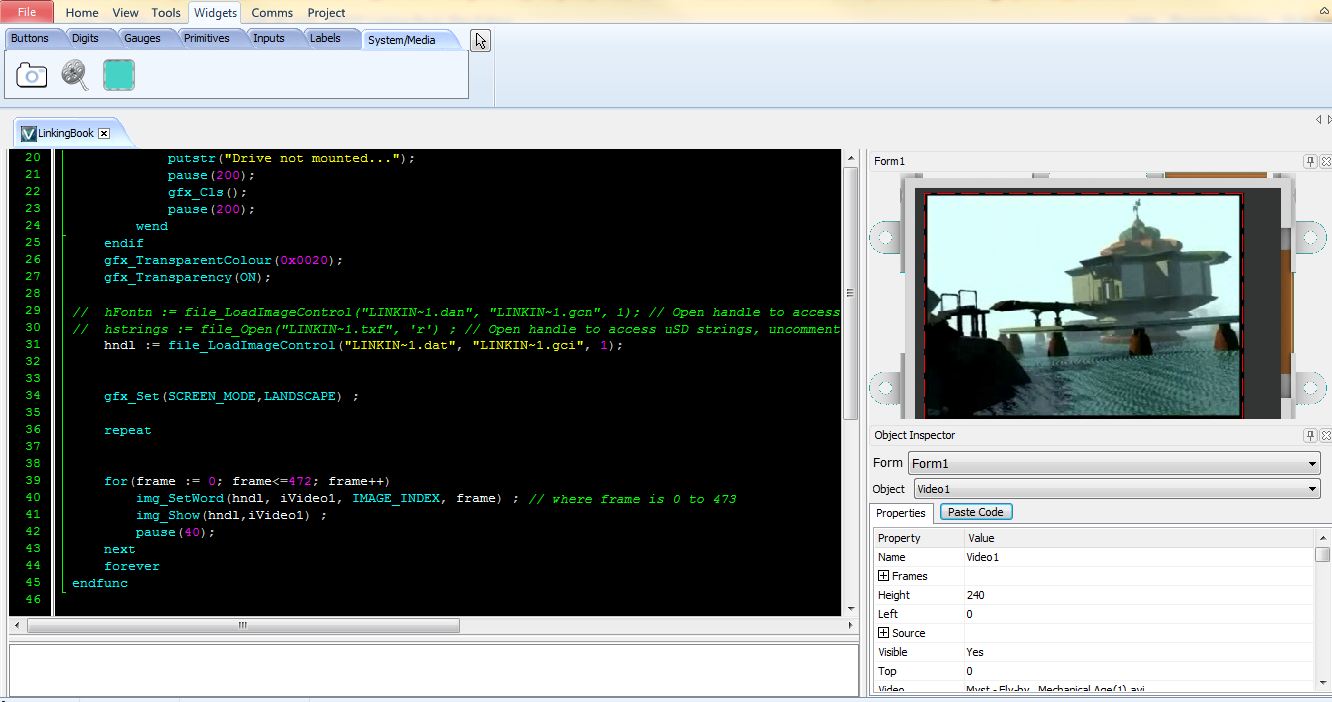
You should now see your video file on the object inspector, and you can stretch it to fit the display. You should also see a button that says "Paste Code" right below the picture of your device. Clicking this button will paste the basic code for the selected object into whatever section of code is selected in the code editor. Make some space between the lines "repeat" and "forever," and paste the video code here. These lines of code should appear:
// Video1 1.0 generated 2/27/2014 2:11:26 PM
img_SetWord(hndl, iVideo1, IMAGE_INDEX, frame) ; // where frame is 0 to 473
img_Show(hndl,iVideo1) ;
As you may have guessed, ViSi handles video playback by slicing the video into images and displaying the images sequentially. The above code is simply for displaying one frame of number "frame". In order to playback the video, we'll need to pop this into a loop that will increment the frame variable for each pass. First, though, we need to declare the variable. Go back up a few lines and add this line:
var frame ;
This just creates a variable that we can use to call each frame in the video. Now wrap the two lines we pasted from the video object into a FOR loop that increments through all of the frames. The total number of frames is helpfully included in the auto-generated line comment. Your repeat-forever loop should look like this:
repeat

for(frame := 0; frame<=472; frame++)
    img_SetWord(hndl, iVideo1, IMAGE_INDEX, frame) ; // where frame is 0 to 473
    img_Show(hndl,iVideo1) ;
    pause(40);
next

forever
That should do the trick! Now we upload our program to the device! First you'll need to connect your module to the computer using a USB-PA5 USB-to-Serial Bridge. You'll also need to insert your uSD card into a card reader, and plug it into your computer. Make sure that the correct serial port for your USB-PA5 is selected under the Comms menu. Now, you should be able to press Compile and Download. The program will generate your support files and ask if you want to put them on the SD card. Go ahead, and do that. Then the program will connect to the device and install your code. After this process is done, remove the uSD card from your computer, and put it into your display module. You should see your video playing repeatedly!
Now that we have a working "Linking Panel," we need a book to put it in...