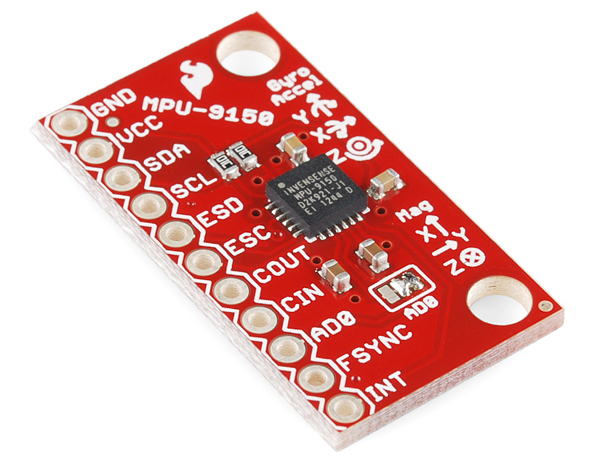
MPU-9150 Hookup Guide
Introduction
The MPU-9150 is a nine degrees of freedom (9DOF) inertial measurement unit (IMU) in a sigle package. It houses a 3-axis accelerometer, 3-axis gyroscope, 3-axis magnetometer and a Digital Motion Processor™ (DMP™) hardware accelerator engine. The range of each sensor is configurable: the accelerometer's scale can be set to ±2g, ±4g, ±6g, ±8g, or ±16g, the gyroscope supports ±250, ±500, and ±2000 °/s, and the magnetometer has full-scale range of ±1200µT (±12 gauss).
The MPU-9150 supports I2C. There is a single reference to in the datasheet for SPI, but all other evidence points to the contrary. We have only testing using I2C, and, for the purposes of this tutorial, we will only be covering how to use this device in I2C mode.
Covered In This Tutorial
This tutorial is devoted to all things MPU-9150. First we'll introduce you to the breakout board. Then we'll switch over to example code and show you how to interface with the board using an Arduino and our [SFE_MPU-9150 Arduino library](https://cdn.sparkfun.com/assets/learn_tutorials/3/9/7/MPU-9150_libraries.zip).
The tutorial is split into the following sections:
- Breakout Board Overview -- This page examines the MPU-9150 Breakout Board -- topics like the pinout, jumpers, and schematic are covered.
- Hardware Assembly -- How to assemble the hardware to run some example code.
- Installing the Arduino Library -- How to install the Arduino library, and use a simple example sketch to verify that your hookup works.
- Resources & Going Further -- Resources for learning and doing more with the MPU-9150.
Required Materials
This tutorial explains how to use the MPU-9150 Breakout Board with an Arduino. To follow along, you'll need the following materials:
Suggested Reading
If you're not familiar with some of the concepts below, we recommend checking out that tutorial before continuing on.
