MicroView Hookup Guide
Introduction
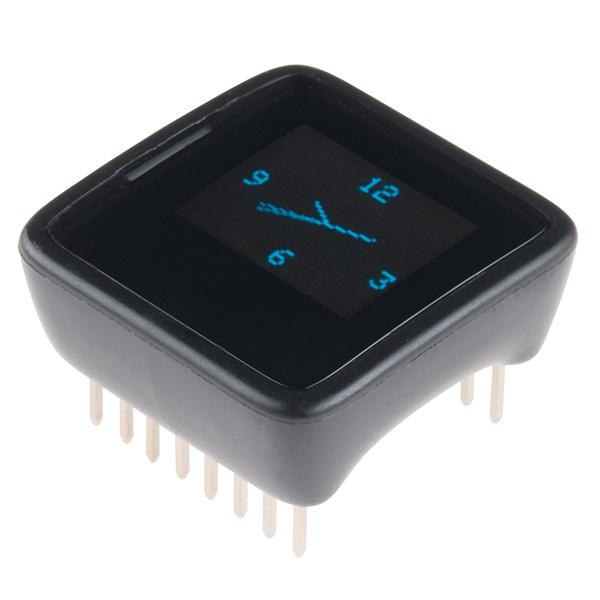
The SparkFun MicroView is the first chip-size Arduino-compatible module that lets you see what your Arduino is thinking by using a built-in Organic Light-Emitting Diode (OLED) display. In the heart of MicroView, there is an ATMEL ATmega328P and a 64x48 pixel OLED display, together with other passive components that allow the MicroView to operate without any external components other than a power supply. It fits nicely into a breadboard to make prototyping easy. The MicroView also has a full-featured Arduino library to simplify programming the module.
SparkFun MicroView - OLED Arduino Module
DEV-12923This guide will cover everything you need to know about the MicroView, including hardware information, quick-start experiments, library installation and usage, and advanced information such as making your own MicroView font.
Required Materials
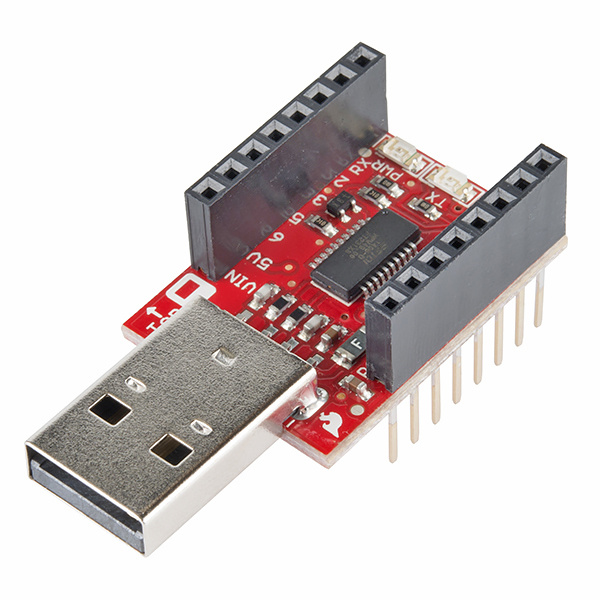
The MicroView is a stand-alone system. However, you will need an external programmer to upload new code to the MicroView. The MicroView USB programmer is sold separately, so you can purchase one programmer while purchasing as many MicroView modules as you need. If you do not have one already, you will need a MicroView USB programmer to follow along with this tutorial.
In addition to the MicroView and the USB programmer, you will need a few basic electronic components. Here is a complete list of the parts used in this tutorial.
Note that the USB extension cord is not necessary; the MicroView USB programmer can plug directly into a USB port. However, your USB port may be difficult to access, may be too tightly spaced for the programmer, or may result in the MicroView appearing upside down to you. In these instances, the USB extension cable comes in very handy. We carry both a 1.5-foot version and a 6-foot version.
Suggested Reading
If you have never worked with the Arduino development environment before or need a refresher, you may find the following links useful.

