LP55231 Breakout Board Hookup Guide
 Byron J.
Demo Circuit
Before we get into some software examples that use the LP55231 breakout, we'll need to connect it to a microcontroller. The examples were written using a 3.3V Pro Micro, but any Arduino-compatible microcontroller with an I2C interface will work with a little translation.
Materials
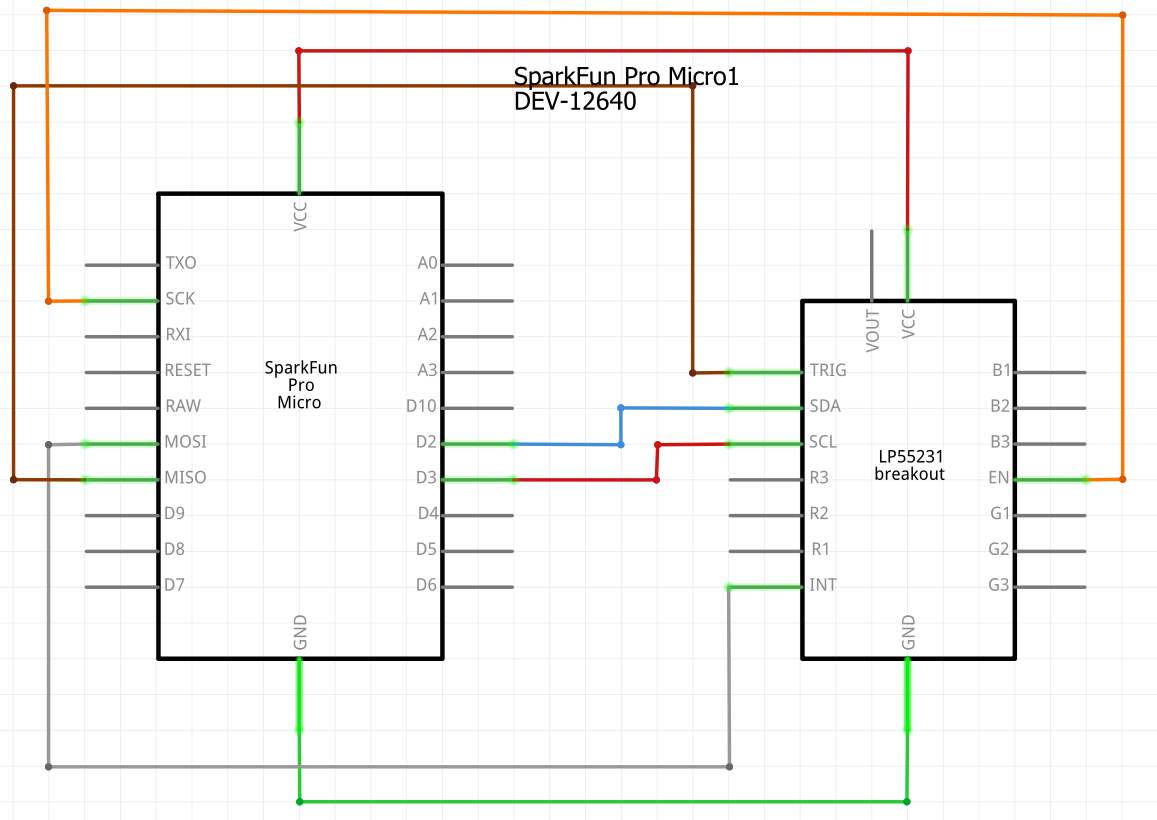
The Schematic
There's not much to the circuit: the Pro Micro, the LP55231 breakout, and a few wires to connect them.
Assembly Notes
The connections are relatively simple. For simple operations, you'll need to connect 5 wires from the microcontroller to the LP55231. For some of the more sophisticated examples, you'll also need to connect two GPIO pins for INT and TRIG.
| Pro Micro Pin | LP55231 Pin |
|---|---|
| GND | GND |
| VCC | VCC |
| GPIO 2 | SDA |
| GPIO 3 | SCL |
| GPIO 15 | EN |
| GPIO 16 | INT |
| GPIO 14 | TRIG |
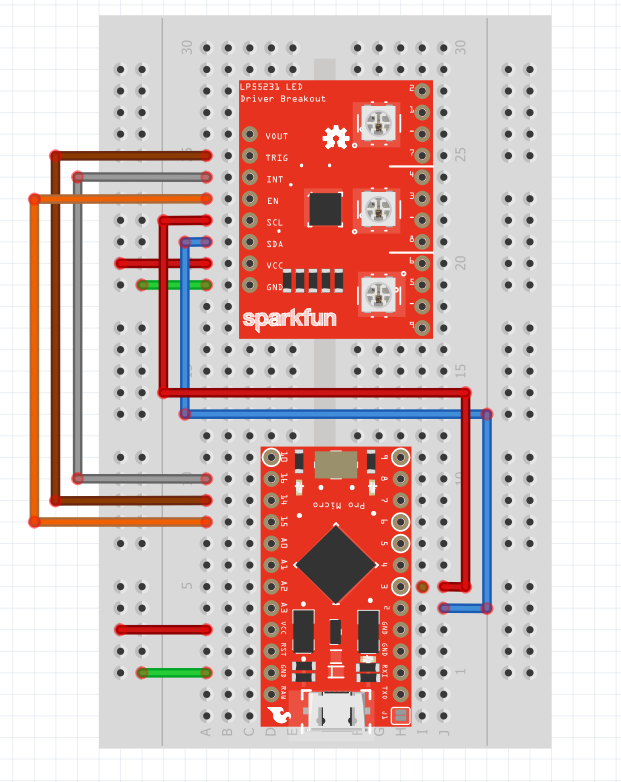
The Fritzing layout looks like this
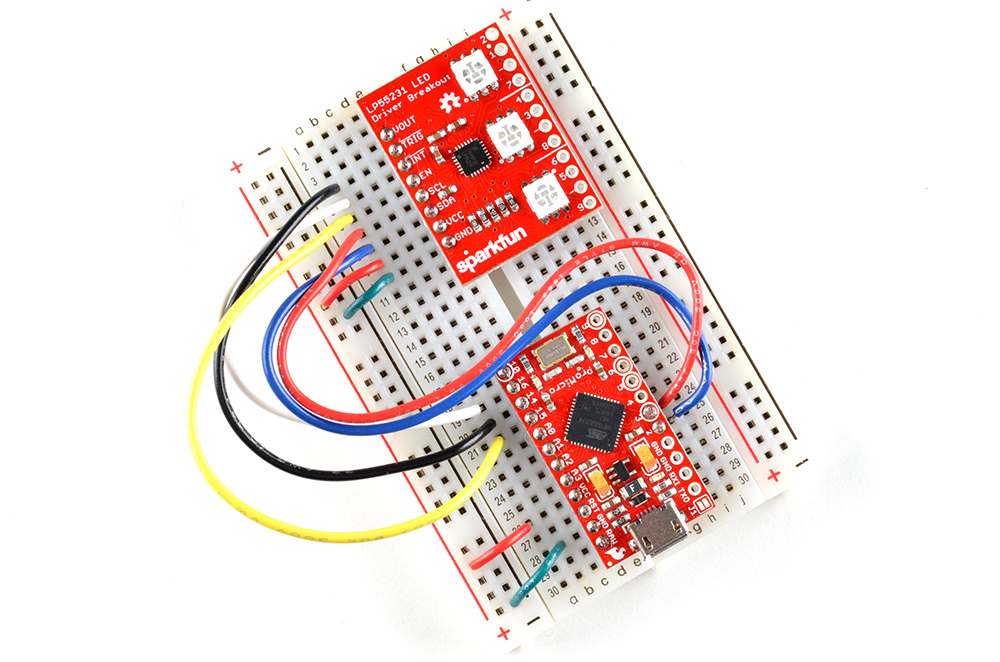
Which was built on a breadboard as shown below.
Power
Since we'll be using Arduino to load the example sketches, we can use the USB connection to power to breadboard. If you want to disconnect USB and use another source of power, you can connect a source of regulated 3.3VDC to the VCC connection, or a source of up to 16VDC to the RAW pin on the Pro Micro.