Live Spotify Album Art Display
This Tutorial is Retired!
This tutorial covers concepts or technologies that are no longer current. It's still here for you to read and enjoy, but may not be as useful as our newest tutorials.
 Englandsaurus
Example
Click the button below and unzip the project files.
Setup and Configuration
- SpotifyClient.cpp
- SpotifyClient.h
- settings.h
Go ahead and open the Spotify-Album-Display.ino sketch. We'll need to change a few things to set our ESP32 up, so head on over to the settings.h file.

First, we'll need to change our ssid and password to that of our local network. We'll then need to find the clientID and clientSecret that match your Spotify account. To do this, head to Spotify's Developer Login page.
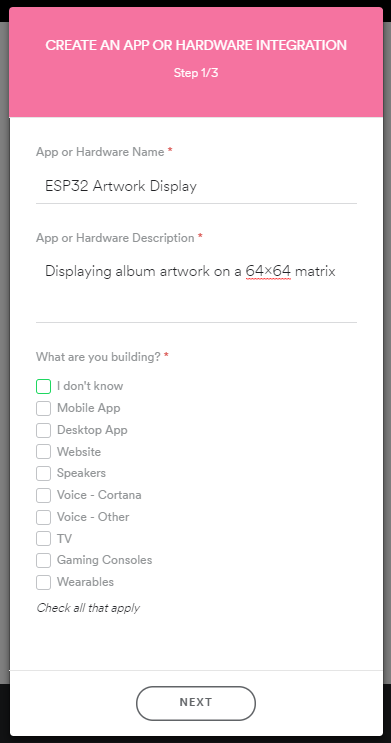
Log in and click on the "My New App" button. You'll see a window pop up as shown below. Fill out the form. It's okay to put "I don't know" in the checkbox.
Go to "Edit Settings" on your app, change the redirect URL to the following in your web browser:
http://esp32.local/callback/
Make sure the esp32 section matches your espotifierNodeName in settings.h and save your settings. Now that you've created your "app", go ahead and copy the clientID and clientSecret and paste them into their respective variables in 'settings.h'.
Upload
Now that you've got things configured, you can go ahead and upload the code to your ESP32. Make sure to select the SparkFun ESP32 Thing as your board and the COM port that it enumerated on. Grab a coffee or do some jumping jacks or something while it compiles.
Once things have uploaded, open your serial terminal to 115200 and reset the ESP32 to make sure it is properly connecting to your WiFi network. Take note of the IP address. We now have to generate a token that our ESP32 can use to access the Spotify API. This token gets loaded once from Spotify then saved in the file system of the ESP32. Therefore, you'll have to complete this step once each time you use a new ESP32, but then the device will boot up and load the token from memory, pretty cool.
Now open your browser and navigate to the IP address. This should bring up a Spotify page, asking you for permission to access your account, hit accept. This will redirect you to another URL that begins with esp32.local/callback/, check out the below image to see what I mean.

Replace the esp32.local section with your IP address and hit enter on your keyboard. You should now see a message telling you to restart your ESP32. Go ahead and listen to that. Restarting your ESP32 should begin pulling in and translating your JPEG to the screen. Change what song you're playing on Spotify and the image should follow. The below GIF shows it in action!