Light-Up Plush
Contributors:
 Gella
Gella
Planning Your Project
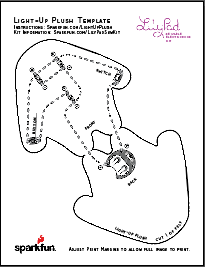
For this project, we’ll be using the Light-Up Plush template (download below or use the template included with your kit). If needed, download and print the provided template. Right-click the image below and choose “Save Link As” to download the template to your computer.
Right-click and choose “Save Link As” or click image to download PDF
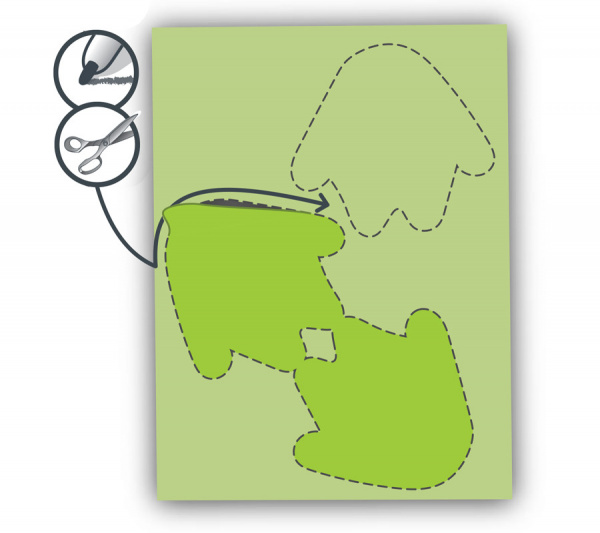
Trace and cut out the plush template shape on a piece of felt. To hide your stitches entirely, cut out an extra half-piece of felt (as shown) to place on top of your finished plush (see Finishing Touches).
The two halves of what will become your plush are connected at the “feet” to allow your entire circuit to be on one surface and to make stuffing the project easier. Don’t cut these two halves apart.
Working with ProtoSnap
If you are using individual LilyPad components instead of the E-Sewing ProtoSnap, you will not be able to follow along with the experiment in the next section exactly, but read along to learn more about buttons and switches.
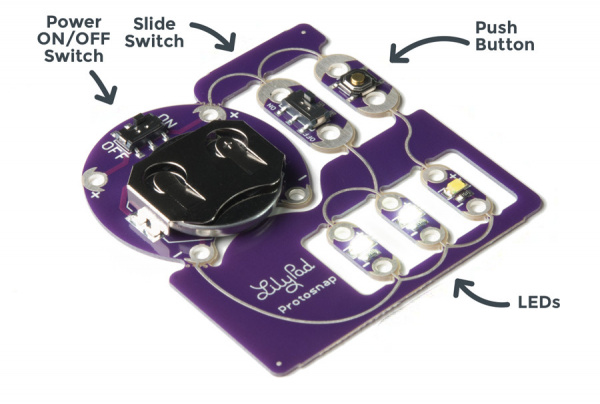
We’ll use the LilyPad pieces in the circuit to turn different LEDs on and off. Using the E-Sewing ProtoSnap, we’ll examine how buttons and switches behave differently, then snap the pieces apart and build them into a plush creature with light-up features.
Before we arrange our circuit on the felt, with the battery installed, slide the battery holder switch to the ON position.
Don’t snap apart your E-Sewing ProtoSnap board quite yet. You’ll need it intact for a brief experiment first.


