Light-Up Plush
 Gella
Gella Finishing Touches
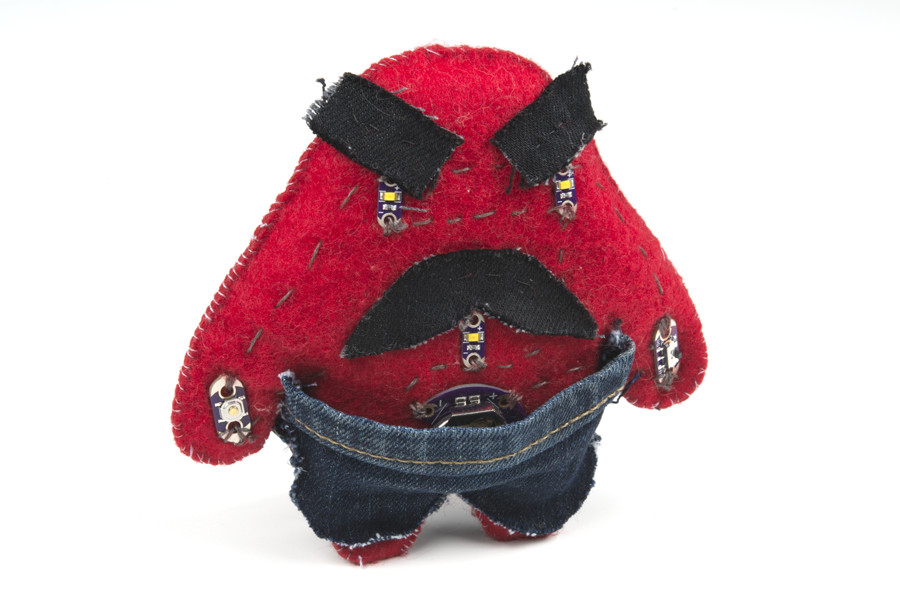
Conductive thread can be part of the visual design, or hidden. To hide stitches, add a layer of felt on top with cutouts to allow the LEDs to shine through and to access the button and switch.

Once you’ve finished testing, it’s time to make the plush three-dimensional. Remove the battery, and fold the felt at the connected points (feet) at the bottom so the LilyPad components are on the outside. Using non-conductive sewing or embroidery thread (or a glue gun) seal all but 2 inches at the top of the plush; we will add fiberfill stuffing in this opening.
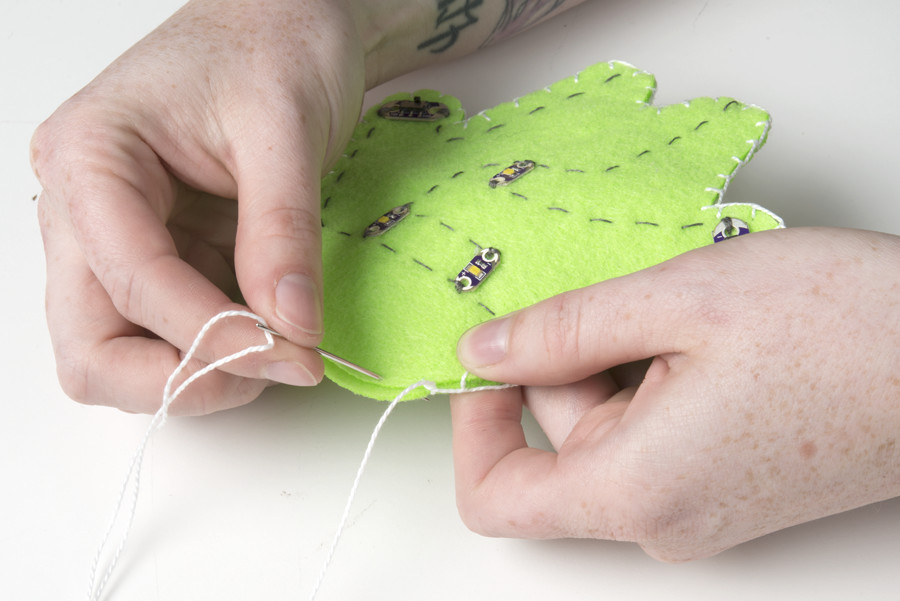
Push the fiberfill stuffing into the hole to fill the plush. Use your fingers or a pencil to fill up the arms and legs. The stuffing will give the plush its shape in addition to acting as an insulator for the conductive thread stitching on the inside. Stitch the opening closed with embroidery or sewing thread to finish the project.

You can now use craft supplies such as glitter, paint, or other decorative accents to enhance the plush or hide your LEDs and stitching. To protect the battery holder and battery, you can make a small flap of felt to cover the pieces and secure with velcro for easy access.
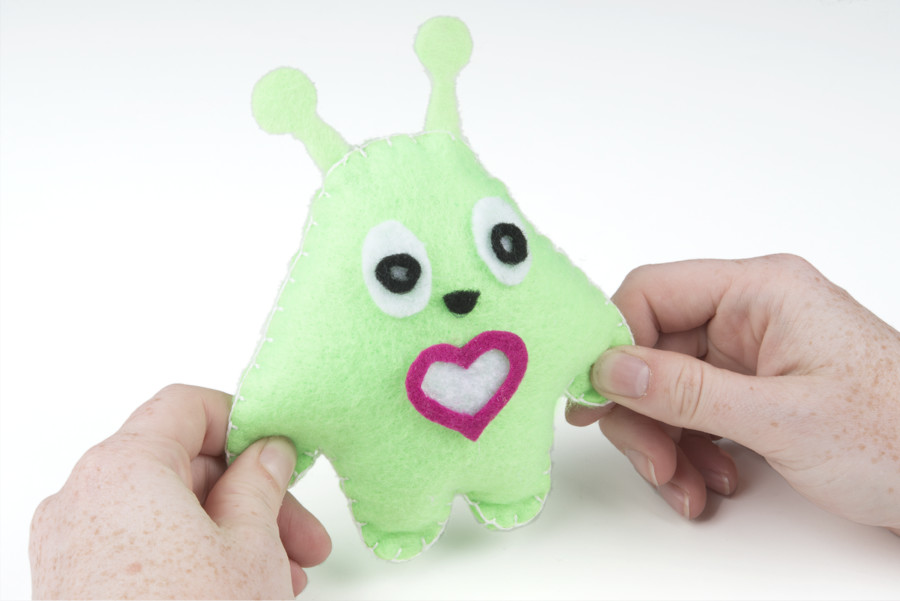
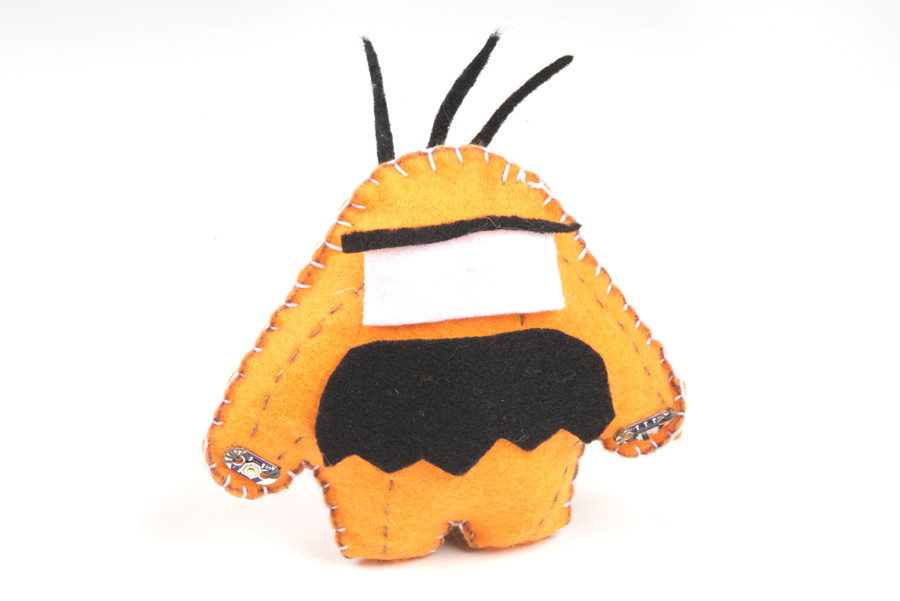
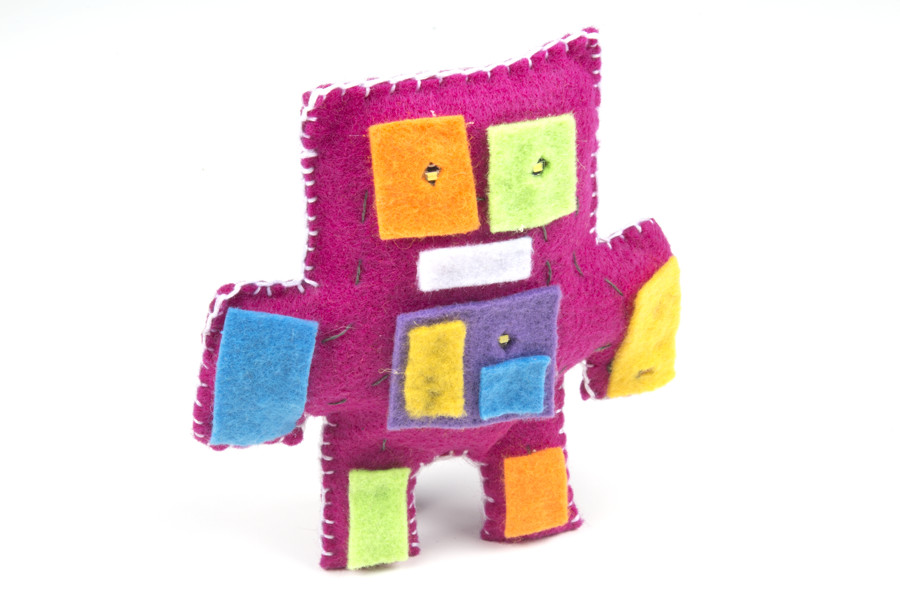
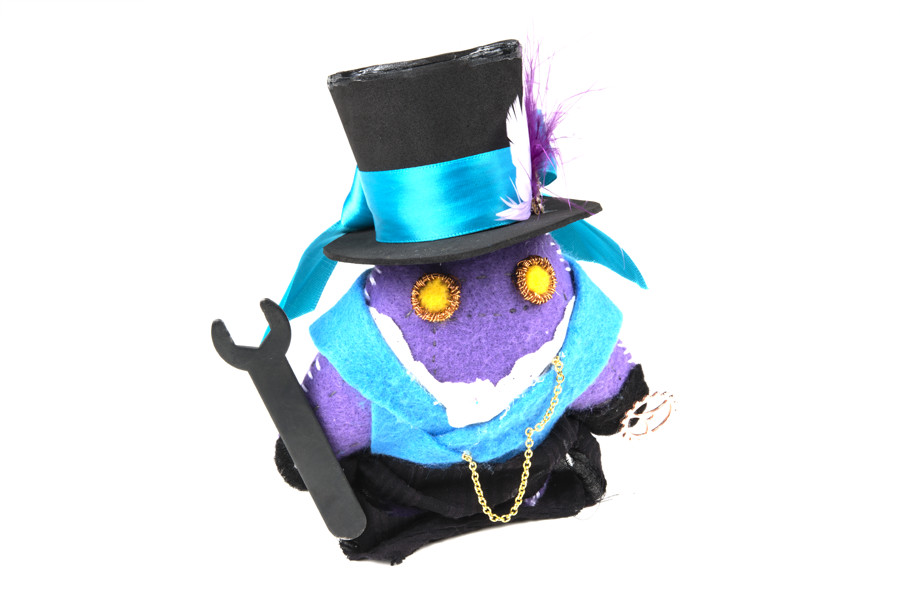
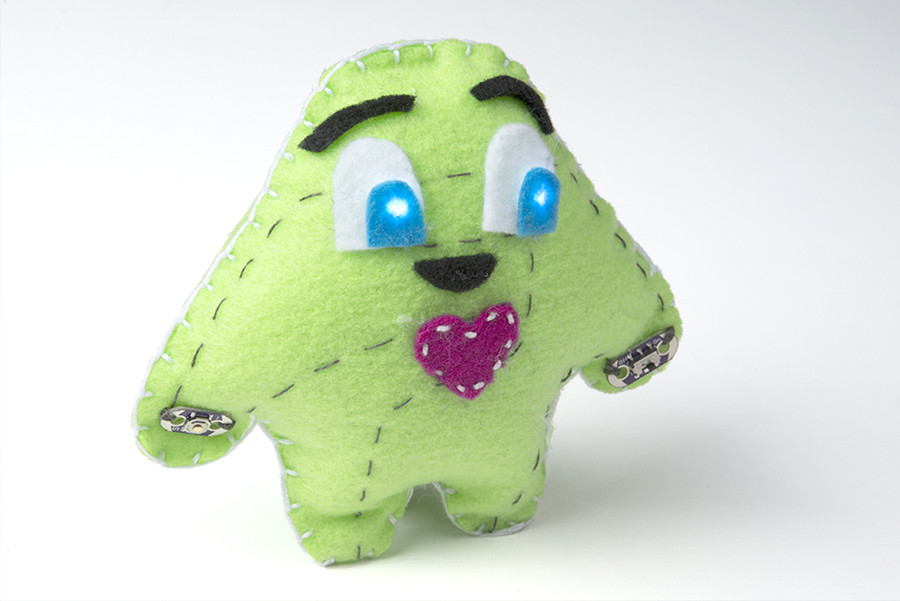
Here are a few examples of creative decorations on finished plush projects: