Installing Arduino IDE
 bboyho,
  b_e_n
b_e_n 
Linux
If you are a Linux user, you probably know that there are many different distribution 'flavors' of Linux out there. Unsurprisingly, installing Arduino is slightly different for many of these distributions. Luckily, the Arduino community has done an excellent job of providing instructions for most of the popular versions. Click on the link below that covers your flavor of Linux:
- ArchLinux
- Debian
- Fedora
- Gentoo
- MEPIS
- Mint
- openSUSE
- Puppy
- Pussy
- Slackware
- Ubuntu
- Xandros (Debian derivative) on Asus Eee PC
If the above directions did not work for you, or you don't see your distribution, try this catch-all guide.
You can go to the download page and download the latest version of Arduino for Linux (there are 32-bit and 64-bit versions available) when your system is properly set up.
Connecting Your Arduino
Power up your Arduino by connecting your Arduino board to your computer with a USB cable (or FTDI cable if you're using an Arduino Pro). You should see the an LED labeled 'ON' light up. (this diagram shows the placement of the power LED on the UNO).
ZIP
uname -ax86_64, this indicates that it is a 64-bit OS.
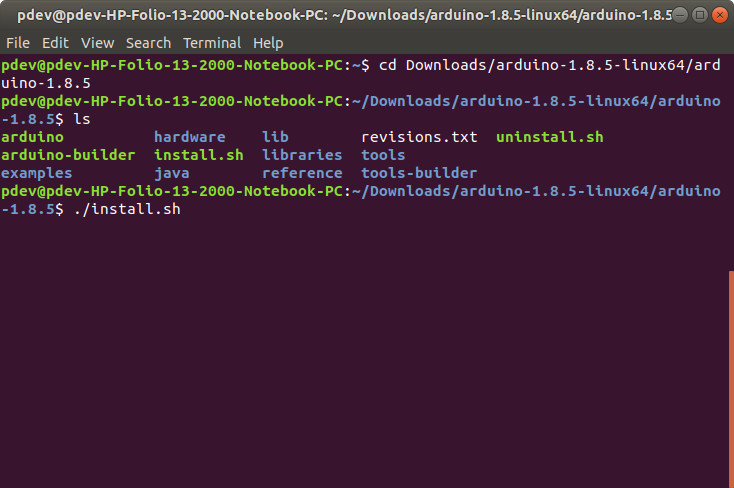
Once you download the zip file version of Arduino, you'll need to extract the files yourself. Don't forget which folder you extract the files into! Once downloaded, open a serial terminal and navigate to the Arduino program folder that was unzipped using the cd command and the folder path. In this case, we downloaded Arduino IDE v1.8.5, 64-bit version for the Ubuntu distribution. The path and folders may be different depending on the version that is downloaded. You may need to use the ls command to navigate.
language:bash
cd /Downloads/arduino-1.8.5-linux64/arduino-1.8.5
Once you are in the Arduino program folder, you'll need to enter the following command in the terminal window to install.
language:bash
./install.sh
At this point, your terminal window will probably look like the following.
When finished, the Arduino IDE will be installed on the desktop!
Drivers for RedBoard on Linux
For the Arduino Uno, you do not need to install drivers for Linux! You may need to change the COM port permissions which will be explained further below. You can skip on down and try uploading a blink sketch!
Drivers for RedBoard on Linux
Depending on your board, there may be different USB-to-serial converters on your board. If you are using a RedBoard you will need to go to the How to Install FTDI Drivers tutorial. If you are using the or RedBoard Qwiic, you will need to go to the How to Install CH340 Drivers tutorial. Make sure to look closely at your board and its respective hookup guide to determine USB-to-serial converter that is on board.
How to Install FTDI Drivers
How to Install CH340 Drivers
Launch and Blink!
After following the appropriate steps for your software install, we are now ready to test your first program with your Arduino board!
Launch the Arduino application. If you disconnected your board, plug it back in.
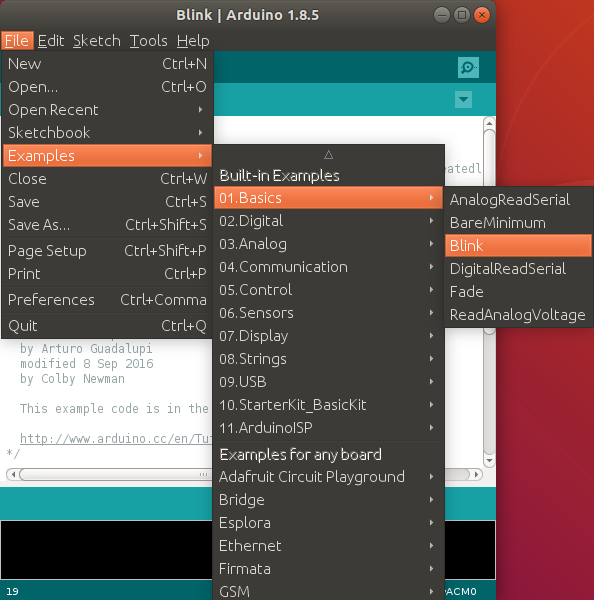
Open the Blink example sketch by going to: File > Examples > 01.Basics > Blink.
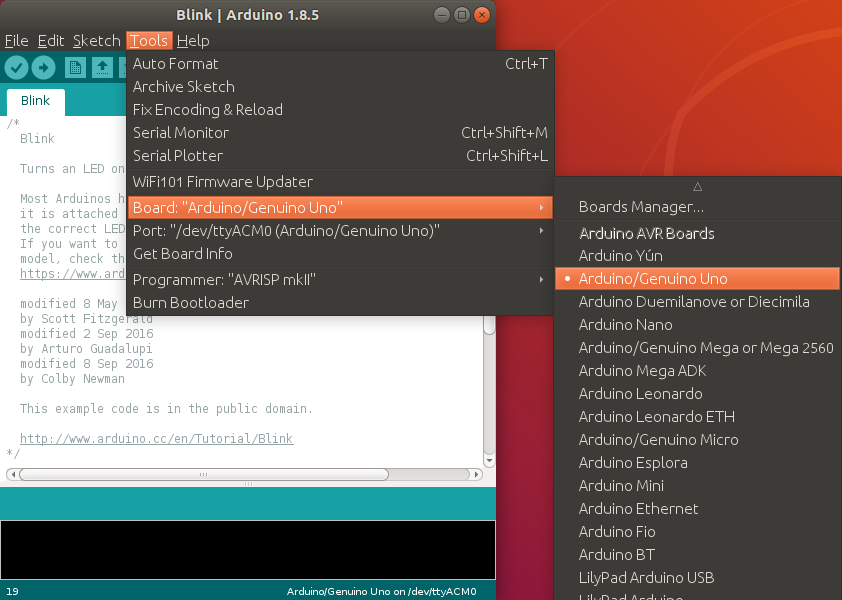
Select the type of Arduino board you're using: Tools > Board > Arduino Uno.
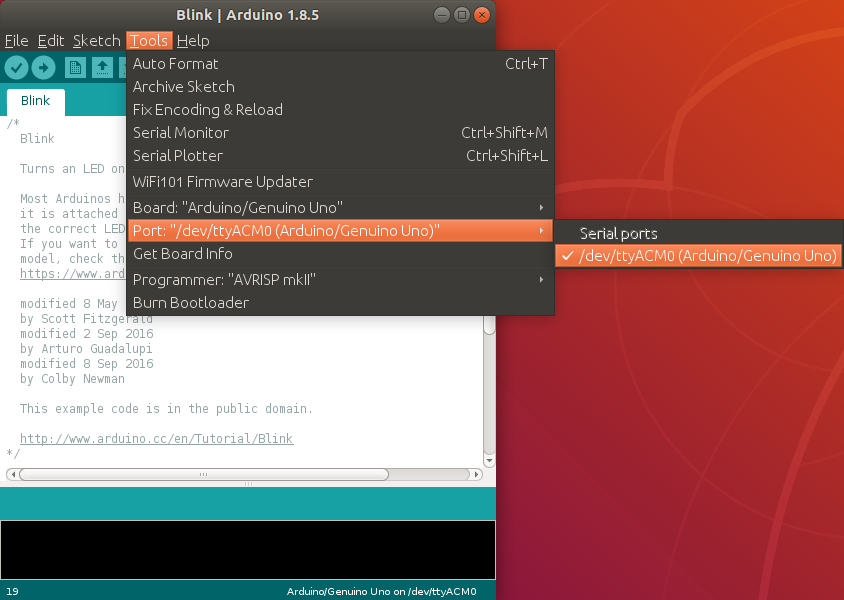
Select the serial port that your Arduino is attached to: Tools > Port > xxxxxx (it'll probably look something like "/dev/ttyACM0" but probably with a different number)
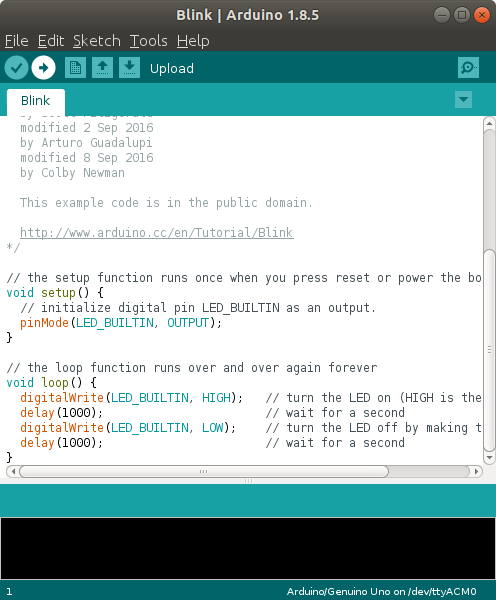
With your Arduino board connected and the Blink sketch open, press the "Upload" button.
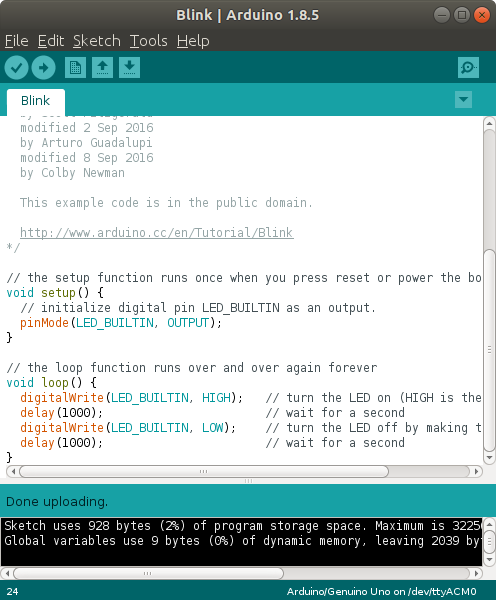
After a second, you should see some LEDs flashing on your Arduino, followed by the message "Done Uploading" in the status bar of the Blink sketch.
avrdude: ser_open(): can't open device "/dev/ttyACM0" Permission denied Problem uploading to board.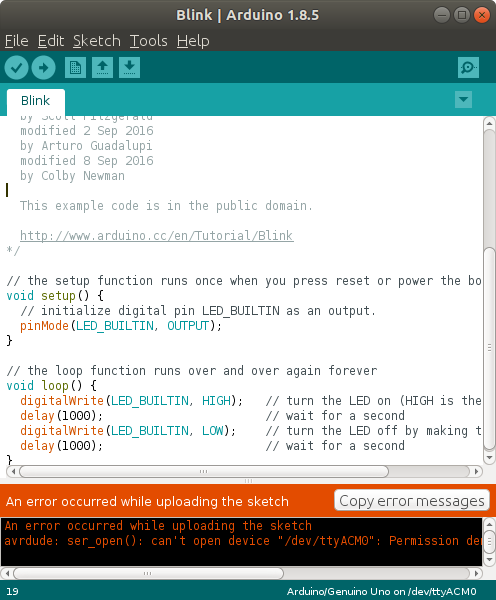
Try adjusting the permissions by opening a terminal window.
ls -l /dev/ttyACM*crw-rw---- 1 root dialout 188, 0 Jul 30 14:14 /dev/ttyACM0sudo usermod -a -G dialout <username>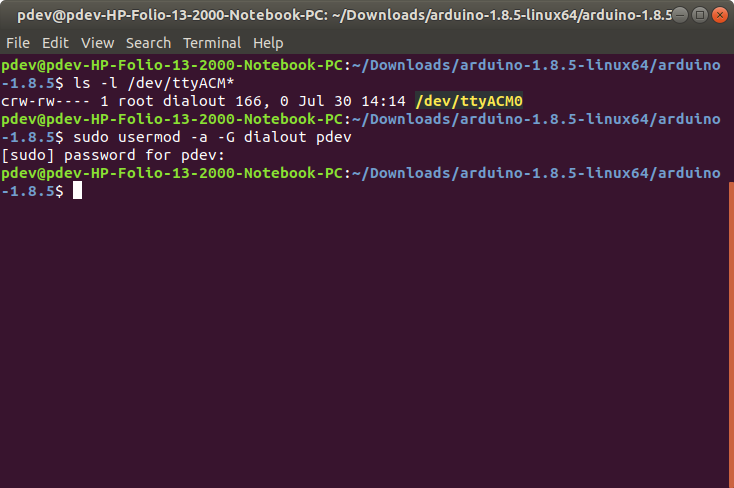
You'll need to restart your Linux for the changes to take effect. Since we are already in the terminal window, type the following command to restart your computer. Of course, you can use the GUI as well to restart if you prefer.
sudo rebootIf everything worked, the onboard LED on your Arduino should now be blinking! You just programmed your first Arduino!
LED_BUILTIN or pin 13 to a different value before uploading.
Troubleshooting
The Arduino Playground Linux section is a great resource for figuring out any problems with your Arduino installation.