Headless Raspberry Pi Setup
 Shawn Hymel
Introduction
A "headless" computer is one that operates without a monitor, keyboard, or mouse. The Raspberry Pi works great as an inexpensive computer that can help people learn to program and create fun, interesting projects (without many repercussions if you break something--just reflash the SD card!). The one downside is that as a computer (as opposed to a microcontroller), it requires a monitor, keyboard, and mouse to work, which can quickly increase the costs of acquiring the necessary components.
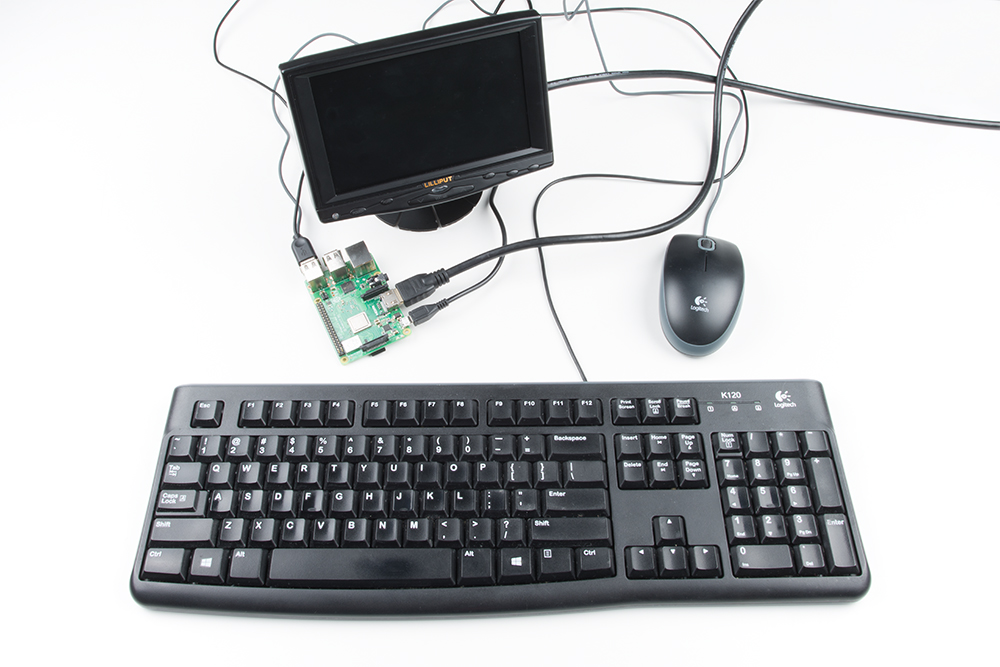
The Raspberry Pi can be extremely useful for projects that do not require a monitor, keyboard, or mouse. The downside is that setting up the Pi to connect to the Internet, expand the filesystem, and run code generally requires these computer accessories.
This tutorial will show you three different ways you can configure your Raspberry Pi without the need for a monitor, keyboard, or mouse.
- Serial Terminal - This requires extra hardware in the form of a serial-to-USB adapter, but it is by far the most robust way to connect, as you are not relying on any network setup.
- Ethernet with Static IP Address - This method requires a Linux operating system to change some files on the Raspberry Pi image. You can give the Raspberry Pi a static IP address and then use an Ethernet cable (or WiFi) to log in.
- WiFi with DHCP - You will need to have access to your router to find your Raspberry Pi's IP address in order to log in via SSH. As a result, this may not be the best option in school or office environments.
Certainly, there are more ways to connect to the Raspberry Pi. These show three common approaches to get you started interacting with a headless operating system on the Pi.
Required Materials
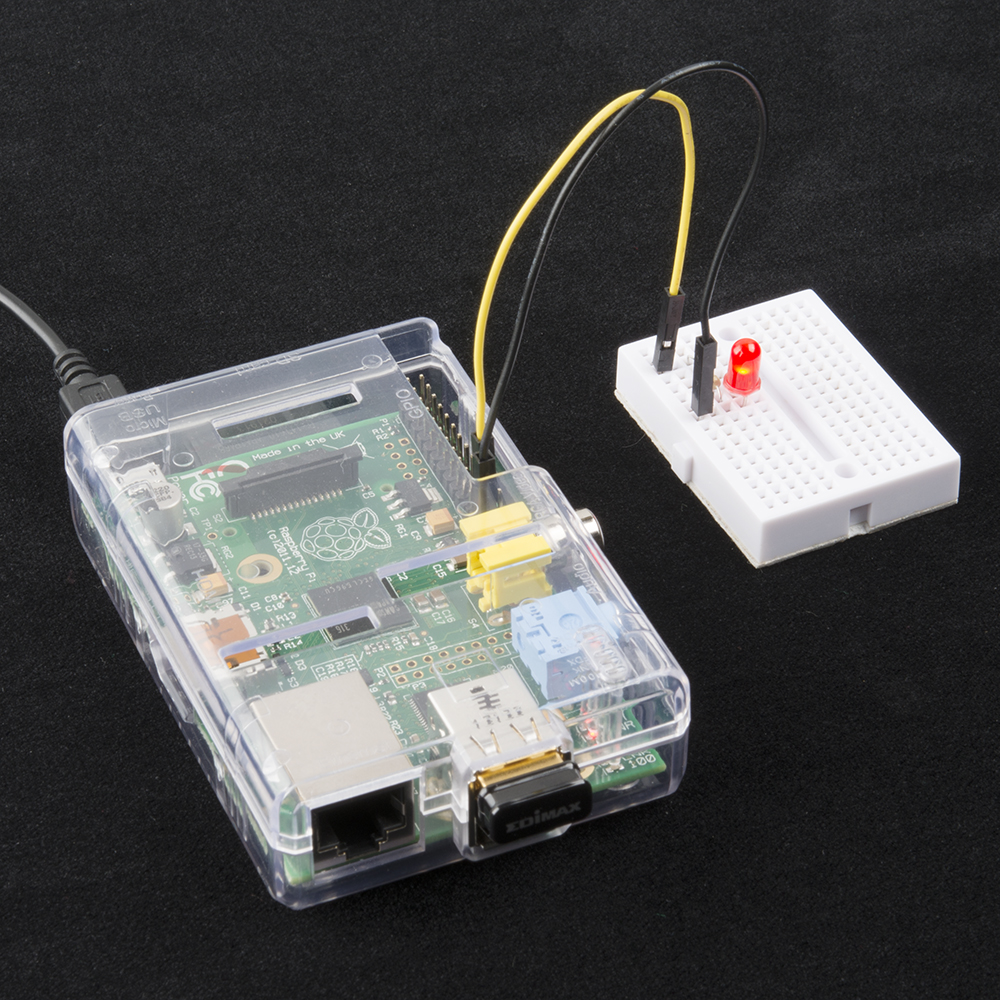
To follow along with this tutorial, you will need a Raspberry Pi, power supply, and micro SD card. Note that no monitor, keyboard, or mouse is required! Any extra hardware needed will be listed in the specific section.
Suggested Reading
If you aren't familiar with the following concepts, we recommend checking out these tutorials before continuing.