Headless Raspberry Pi Setup
Flashing the OS
The Raspberry Pi has several options available for operating systems. It's often recommended that beginners start with NOOBS, as that walks the user through the necessary steps of installing an operating system. However, it usually requires a monitor to see the selection process, so we'll be creating an image of Raspbian manually. Additionally, we'll be using Raspbian Lite, which saves us space and time by not including the desktop (i.e. the graphical interface). Because we're creating a headless image, we'll be doing everything through the command line!
To start, download the latest version of Raspbian Lite.
Unzip the .zip file using your program of choice. You should have a 2018-03-13-raspbian-stretch-lite.img file in a new folder.
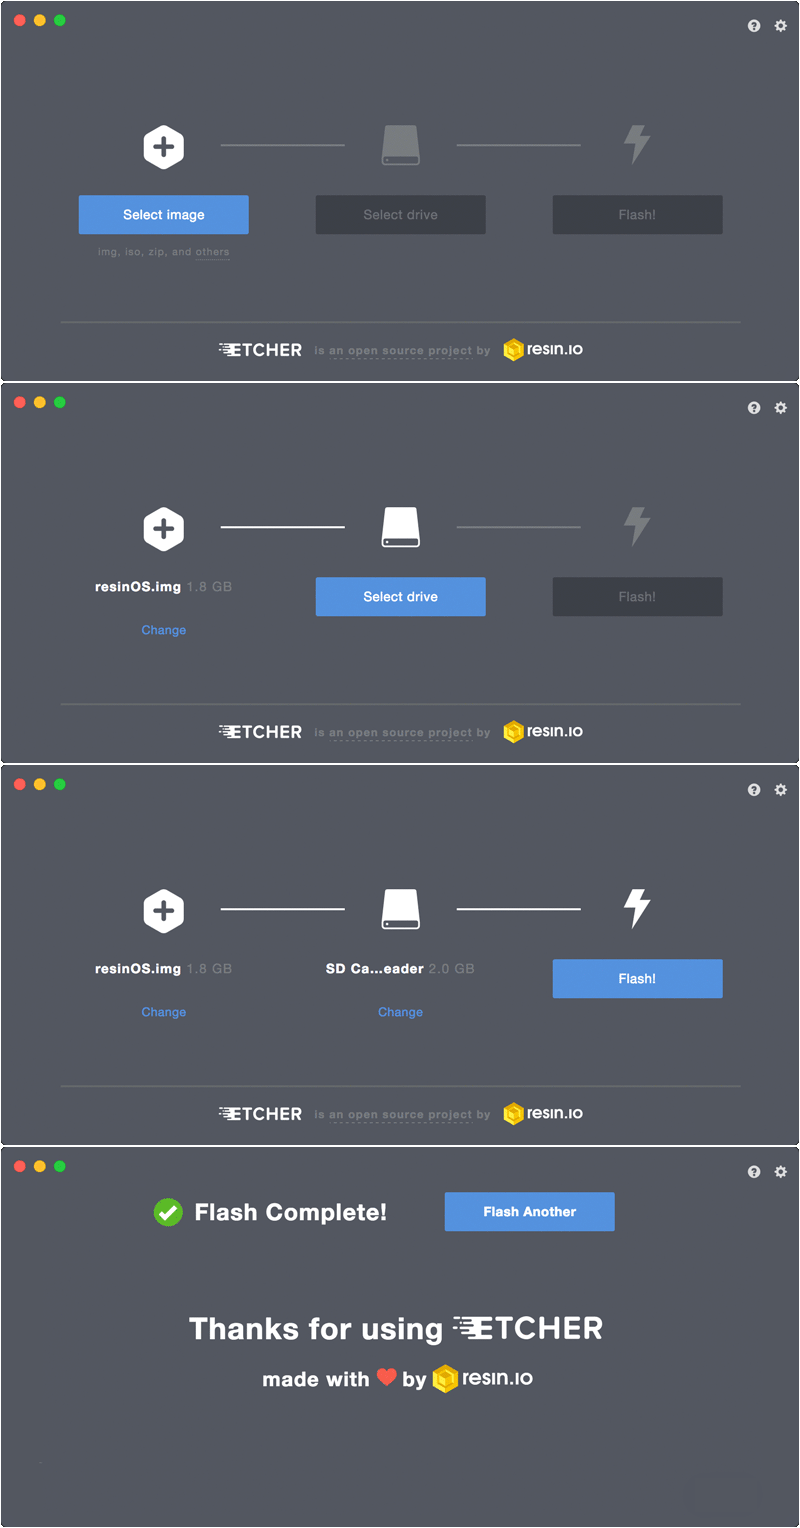
To flash the image to your SD card, we recommend the program Etcher. Download and install it. Plug your SD card into your computer (using a microSD USB Reader if necessary), and run Etcher. It will walk you through selecting the OS image file, selecting your SD card reader, and then flashing it.
Once that's done, you will need to make a choice: how do you want to interact with your Raspberry Pi? Without a monitor, keyboard, and mouse, you have a few choices:
- Serial Terminal - Requires extra hardware
- SSH with a Static IP Address - Requires Linux to modify files on the SD card
- SSH with a Dynamic IP Address - Requires access to your router to find the Raspberry Pi's IP address
