Hazardous Gas Monitor
 jenfoxbot
Be a Citizen Scientist
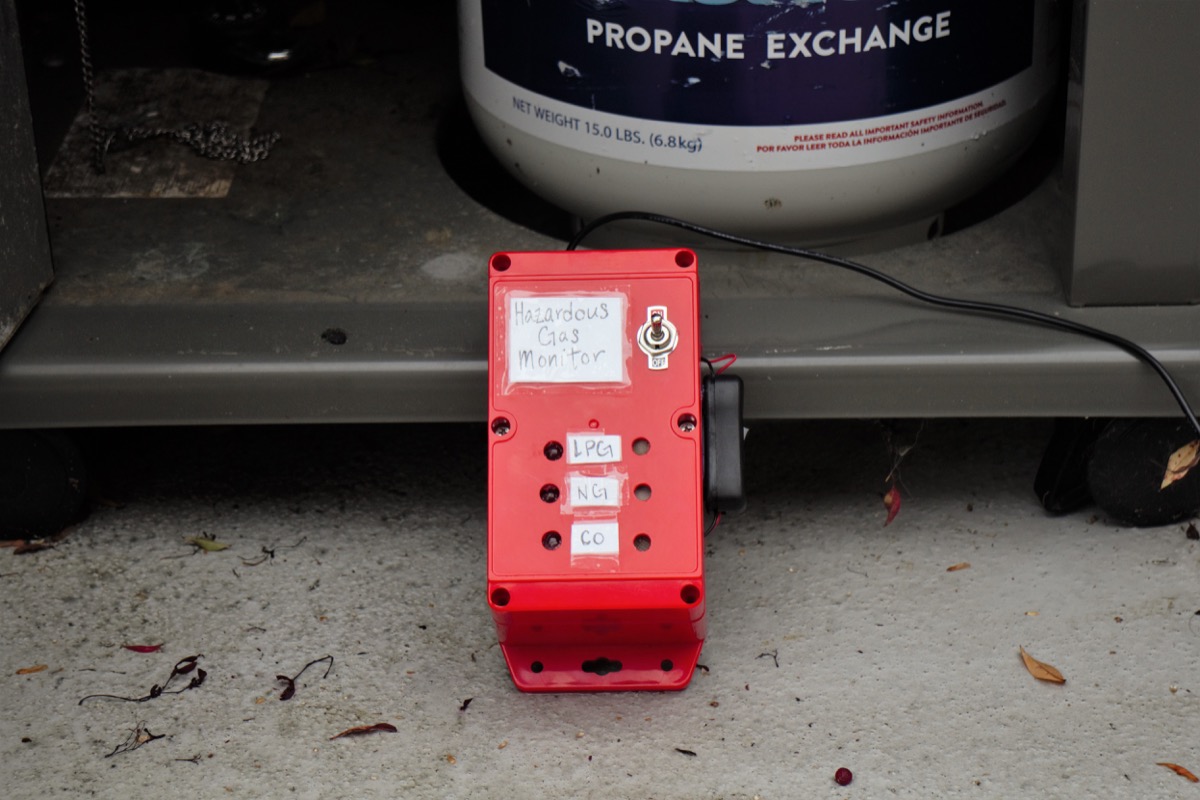
Now we get to test and employ our gas monitor! Turn the batteries for the gas sensors on using the toggle switch, wait about 3 - 5 minutes, then turn the Photon on with the lamp switch (the gas sensor heater coils take some time to heat up). Check that the Photon is connected to WiFi (on-board LED will slowly pulse light blue) and is uploading data to the server. Also check that the gas sensor readings increase when in proximity to hazardous gases -- one easy, and safe, way is to hold a lighter and/or a match close to the sensors.
Once up and running, use the sensor to monitor for dangerous gas leaks around your home, school, workplace, neighborhood, etc. You can install the sensor in one location permanently, or use it to check gas levels in different locations (e.g. SoCal..).
Educator Extension!
This project is a perfect excuse for a hands-on chemistry lesson! Use the monitor to learn the fundamentals of various gases -- what kinds of gases are in our environment, how are different gases produced, and what makes some of them hazardous or dangerous.
Study the local environment and use a lil' math to record and plot LPG, Methane, and CO in specific locations over time to see how the levels change. Use the data to help determine what causes changes in the gas levels and where/when gas concentrations are the highest.