Getting Started with Walabot
 bboyho
Hardware Assembly
Walabot Starter
If are using a USB cable that is not included with the Walabot, make sure that the data lines are connected when using the cable with the Walabot! Certain cables are designed to be charging cables, so there might not be any data lines connected in the USB cable.
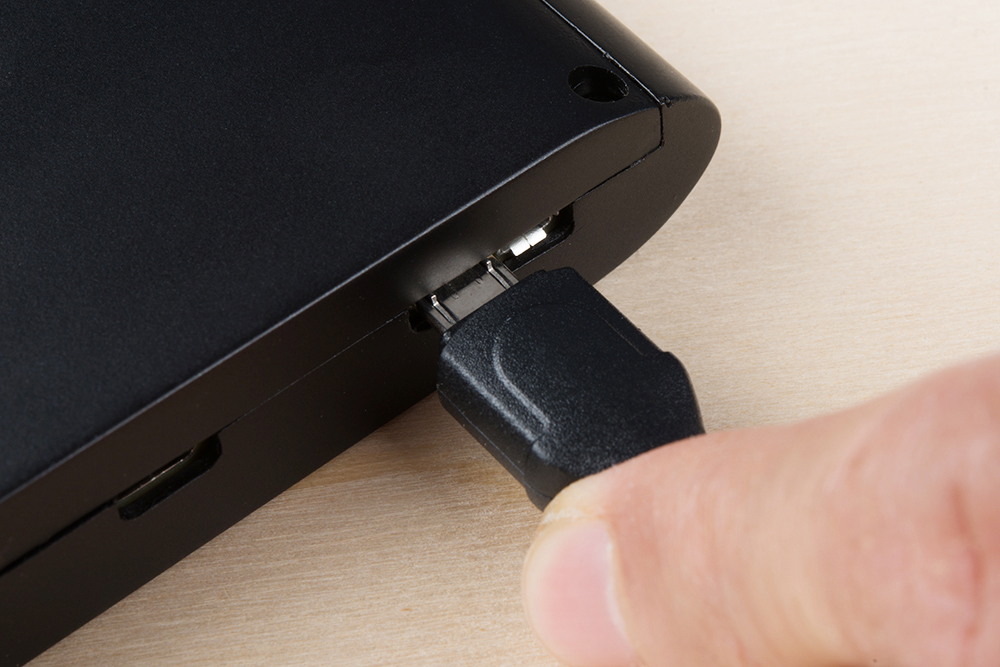
To connect the Walabot Starter, you will need to align the "D" shape of the micro-B USB cable with the port.

Once the cable is connected to the Walabot, connect the other end to a computer's USB port.
Walabot Developer
To connect the Walabot Developer, insert the USB cable's micro-B end to the Walabot's USB port. You can use a separate micro-B USB 2.0 cable or the included micro-B USB 3.0 cable. By default, there is a jumper that uses the port closest to the edge of the Walabot.
 |
 |
| Connecting with a separate micro-B USB 2.0 cable. | Connecting with the included micro-B USB 3.0 cable. |
If you decide to use a separate micro-B USB 2.0 cable to your computer, you will be aligning it with the "D" shape of the micro-B USB 3.0 connector as shown in the image below.
Once the cable is connected to the Walabot, connect the other end to a computer's USB port.
Mounting
You may want to mount the board during testing. Grab some electrical tape or mount the Walabot Starter to a box using standoffs. The Walabot Developer includes a magnetic disk that is able to stick to a surface such as a robot, smartphone, or wall. With the magnetic mount, it is able to attach and detach easily from the surface. In the examples provided, the starter and developer were mounted on a red box or resting on a table for testing.