Getting Started with the SmartLED Shield for Teensy
Example: Feature Demo!
There are a few examples from the SmartMatrix library for the SmartLED Shield. For the scope of the tutorial, we will be highlighting three of the examples.
Feature Demo!
Let's start with the feature demo. After installing the library, click File > Examples > SmartMatrix > FeatureDemo.ino in the Arduino IDE. Once open, there are a minimum of 4 lines to modify to get the example working with your matrix panel:
- uncomment one line for your MatrixHardware configuration
- e.g. "
#include <MatrixHardware_Teensy3_ShieldV4.h>" if you are using the shield V4 or "#include <MatrixHardware_Teensy4_ShieldV5.h>" if you are using shield V5
- e.g. "
- adjust
kMatrixWidthto the width of your panel - adjust
kMatrixHeightto the height of your panel - adjust
kPanelTypebased on the scan rate of your panel as noted in the MatrixCommonHub75.h header file
- 1:8 scan with 16 rows
- 1:16 scan with 32 rows
- 1:32 scan with 64 rows
For example, if you are trying to use a 32x32 panel with a 1:8 scan rate, it may not display as expected.
64x64 Panel with 1:32 Scan Rate
Let's try modifying the example code to work with the 64x64 panel with a 1:32 scan rate. The SmartLED shield is required to address the extra 5th ADDX pin on the IDC connector.
Parts Needed
To follow this example, you would will need the following materials. You may not need everything though depending on what you have. Add it to your cart, read through the guide, and adjust the cart as necessary.Modifying Code
Adjust the code by simply:
- uncommenting the line for your hardware configuration
- in this case, we chose "
#include <MatrixHardware_Teensy3_ShieldV4.h>" for the Teensy 3 by removing the "//"
- in this case, we chose "
- adjusting kMatrixWidth to the width of your panel by replacing
32with64 - adjusting kMatrixHeight to the height of your panel by replacing
32with64 - adjusting kPanelType by replacing
SMARTMATRIX_HUB75_32ROW_MOD16SCANwithSMARTMATRIX_HUB75_64ROW_MOD32SCANas noted in the MatrixCommonHub75.h header file
Upload Code
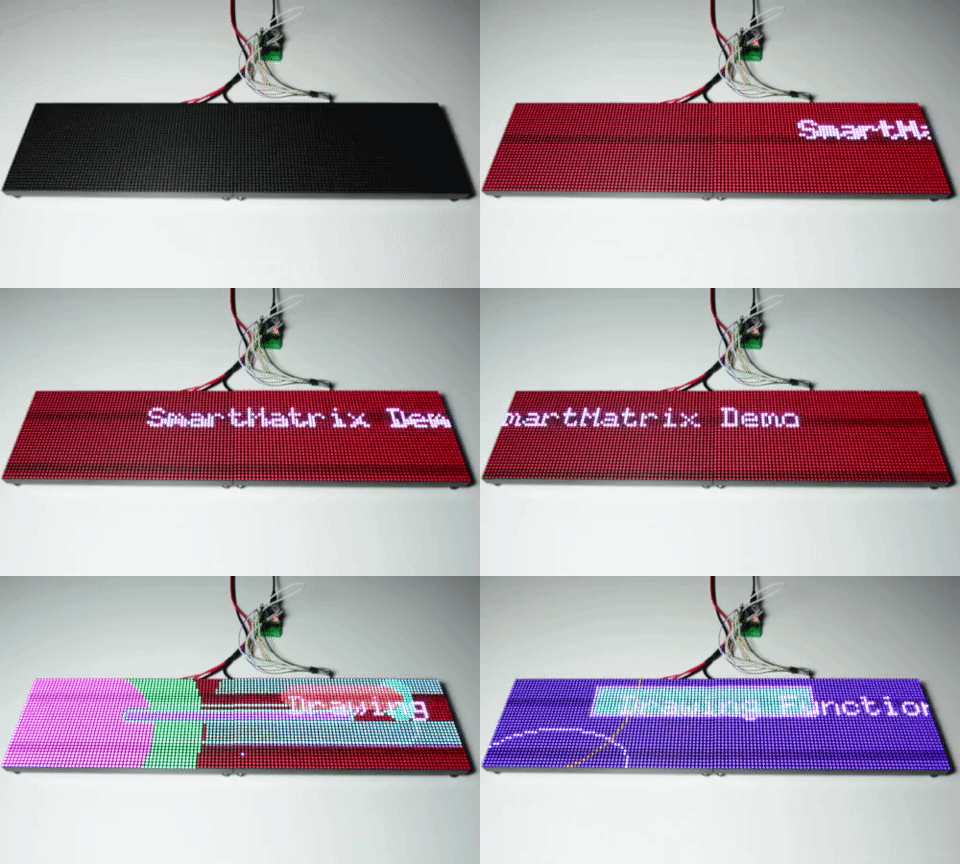
When the changes are completed, select the Teensy board definition with the associated COM port and click upload. You should see the feature demo running. This includes scrolling text, animations, shapes being drawn, brightness changing, and refresh rate changing.
Daisy Chained 32x64 with 1:16 Scan Rate
Let's try modifying the example code to work with two 32x64 panels with a 1:16 scan rate. In this example, we manually wire the connection to a Teensy 3.2.
Parts Needed
To follow this example, you would will need the following materials. You may not need everything though depending on what you have. Add it to your cart, read through the guide, and adjust the cart as necessary.Modifying Code
Modify the original code by:
- leaving the line "
#include <MatrixHardware_Teensy3_ShieldV4.h>" commented out by using the "//" - adjusting kMatrixWidth to the width of your panel by replacing
32with128 - keep kMatrixHeight based on the height of your panel by leaving
32at32 - keep kPanelType by leaving
SMARTMATRIX_HUB75_32ROW_MOD16SCANatSMARTMATRIX_HUB75_32ROW_MOD16SCANas noted in the MatrixCommonHub75.h header file
Upload Code
When the changes are completed, select the Teensy board definition with the associated COM port and click upload. You should see the same demo running but for a matrix size of 32x128!
