Getting Started with the Red Hat Co.Lab Robot
 D___Run___,
  Gina Likins
Build: Complete the Chassis
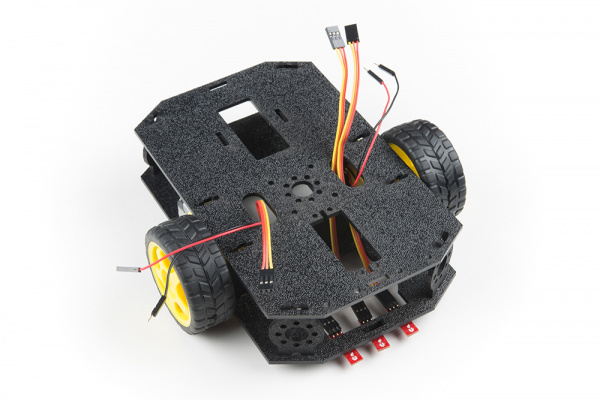
Yah! All the components are complete, so let’s move on to the final chassis assembly.
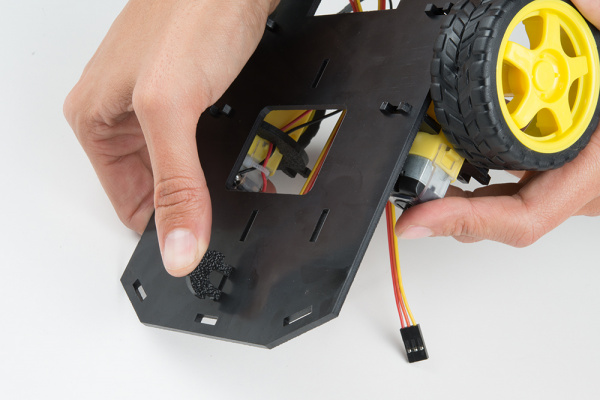
Snap the Nub Caster (go ahead, laugh. It’s a funny name) into the slot that’s closest to the back of the Bottom Chassis from the bottom side.
The Nub Caster, which keeps your robot’s tail from dragging the ground, will be on the side opposite the motors and at the other end of the chassis from the Line Sensor Array, like this:
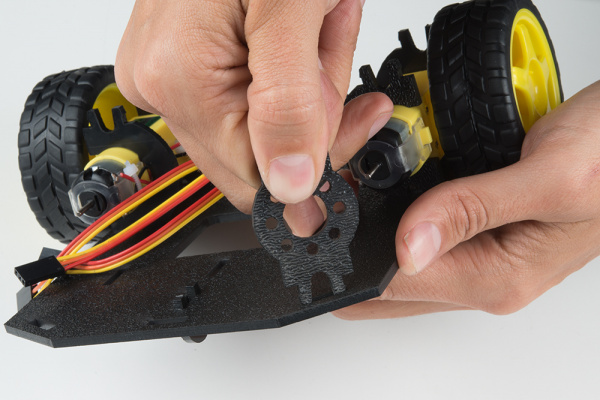
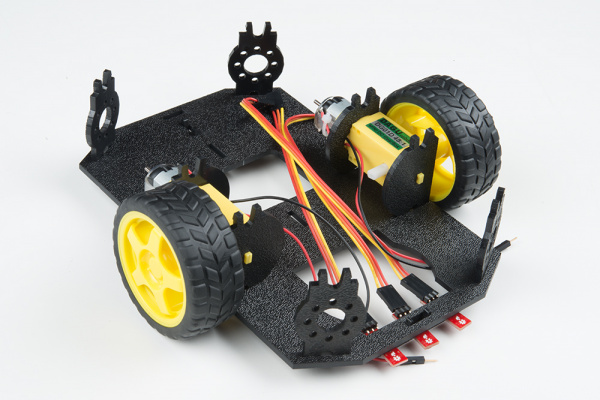
Snap the four Side Struts, which will connect the Top and Bottom Chassis, into the diagonal slots at the corners of Bottom Chassis on the opposite side of the Nub Caster (in other words, the Side Struts are attached on top of the Bottom Chassis). Like the Nub Caster, these require a bit of force to snap into place.
The cables for the motors and the sensor arrays should be sitting on top of the Bottom Chassis, like this:
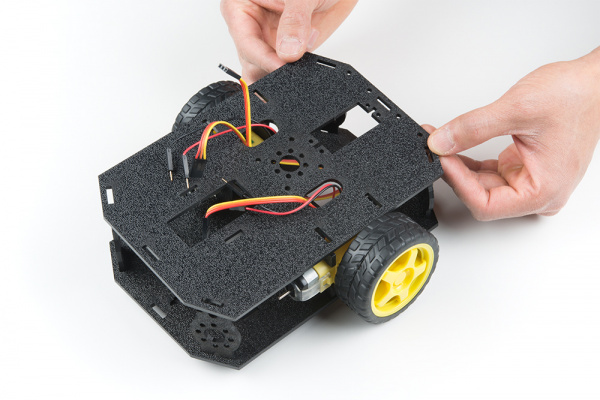
Position the Top Chassis over the Bottom Chassis -- but do not snap the two together yet. Make sure that the front ends of each chassis line up.
Route the Left Line Sensor cable bundle and the Left Motor wires (red and black) through the left oval slot in the Top Chassis.
Route the Right Line Sensor cable bundle and Right Motor wires through the right oval slot in the Top Chassis.
That just leaves the Middle Line Sensor cable, which you should also route through the left oval slot. (See why we marked that one with tape? There are two sets of Line Sensor Cable bundles that pass through that hole, and the tape helps keep them straight.) Here’s what it’ll look like:
Line up the Top Chassis on top of all the struts, and carefully snap the Top Chassis assembly onto the side struts and motor mounts. Press gently above each side strut individually until they each snap into place