Gator:starter ProtoSnap Hookup Guide
Examples
Simple Thermometer
Hardware Hookup
In this example, we'll use Makecode and the gator:temp to create a simple thermometer. The goal is to read the temperature from the sensor, then have the micro:bit display the number as scrolling text. To start, go ahead and power the gator:temp by clipping to the micro:bit, then connect the temp pin to pin 0 on the micro:bit (It's also possible to connect to pins 1 or 2) This will allow the micro:bit to read the analog value on pin 0.
MakeCode
Now we need to program our micro:bit using Makecode to do what we want. In this example, we only need to display the value of the temperature once, so we won't need to create a variable to store the value. In fact, all we'll need to do is use the Show Number block under Basic. What we'll need to do is replace the 0 in the Show Number block with the Get Temperature block in our gator:temp MakeCode extension. This will make the micro:bit read the temperature from pin 0 and show the temperature on the LED screen. Re-create the following code into your MakeCode editor or download the example by clicking the download button to test it out!
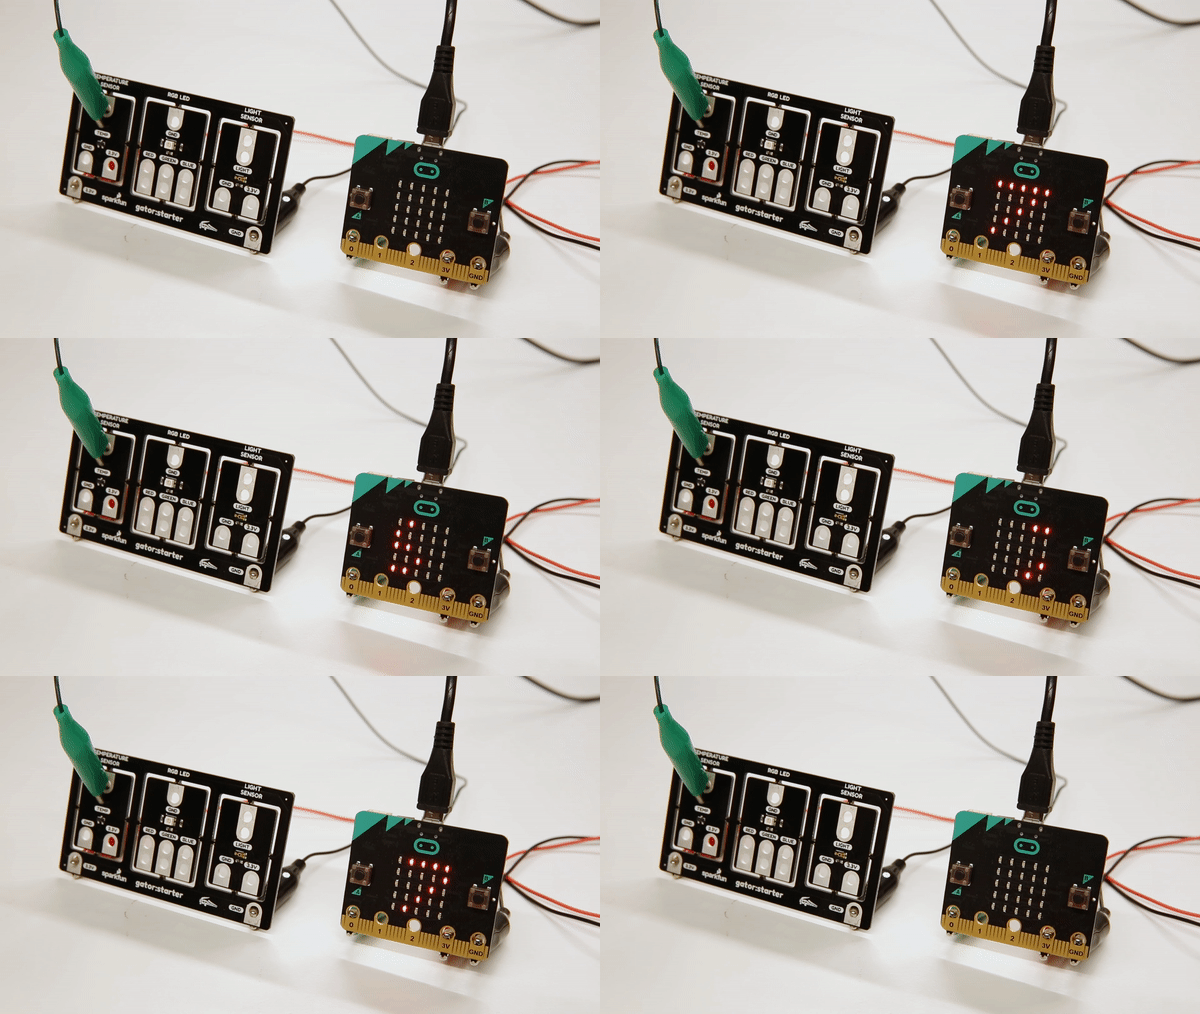
Uploading the above code to your micro:bit will result in something like the following gif.
Light Indicator
Hardware Hookup
In this example, we'll go through how to use the gator:light in conjunction with the gator:RGB to create a simple light indicator. Our goal for this example is to create a light indicator to show blue when it's dark, red when it's bright, and shades of purple for everything in between. To begin let's connect all of our components up to one another before we upload code. Begin by powering the gator:temp and connecting the light pin to pin 0. We will then ground the gator:RGB, and connect red and blue to pins 1 and 2, respectively. This will allow the gator:bit to control red and blue on the gator:RGB.
MakeCode
Now let's move on to the Makecode portion, which will tell our micro:bit how to behave. First we need to create a variable to store the value of our light in from the Variables category. Let's call it lightValue for sake of simplicity. Then let's set the lightValue variable to the value that we are reading from our light sensor on pin 0. Use the block in Gatorlight to read the pin P0. Since we're going to be writing this value directly to our LED, we can select units of adcVal from the second dropdown menu. As an ADC (Analog to digital conversion) value has the same range of possible values as the values that we can write to our LED (both range from 0 to 1023). Re-create the following code into your MakeCode editor or download the example by clicking the download button to test it out!
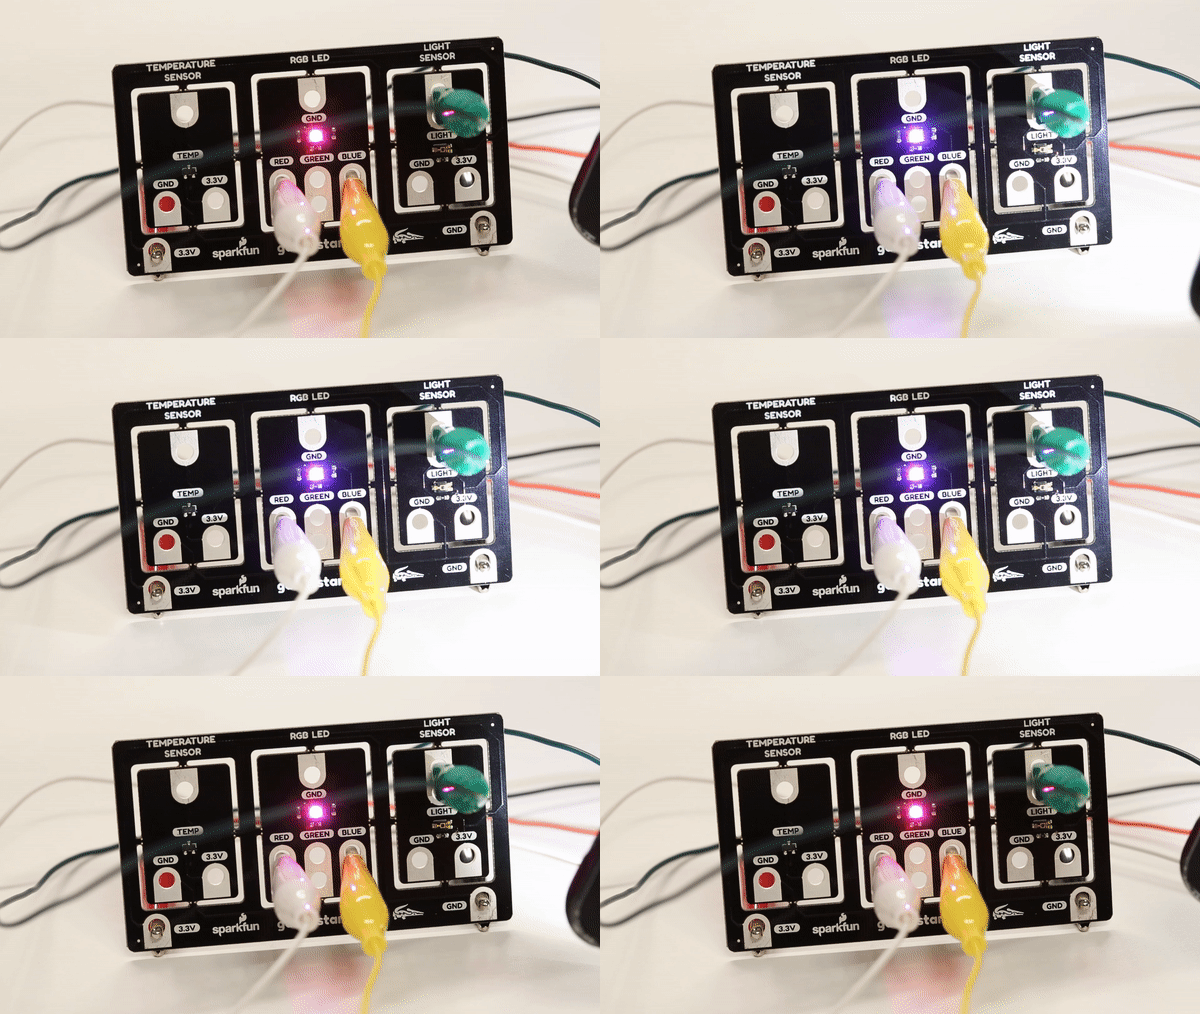
If things are pretty bright outside, the value will be closer to 1023. So you'll end up writing a value that's close to 100% percent brightness to the LED on pin 2 (Blue, if you hooked things up correctly) and a value that's closer to 0 on pin 1 (Red). Moving the light sensor into darkness should give you more red, while bright light should yield blue. Experiment and see how something like a flashlight affects the sensor.

