Gator:starter ProtoSnap Hookup Guide
 Englandsaurus
Hardware Assembly
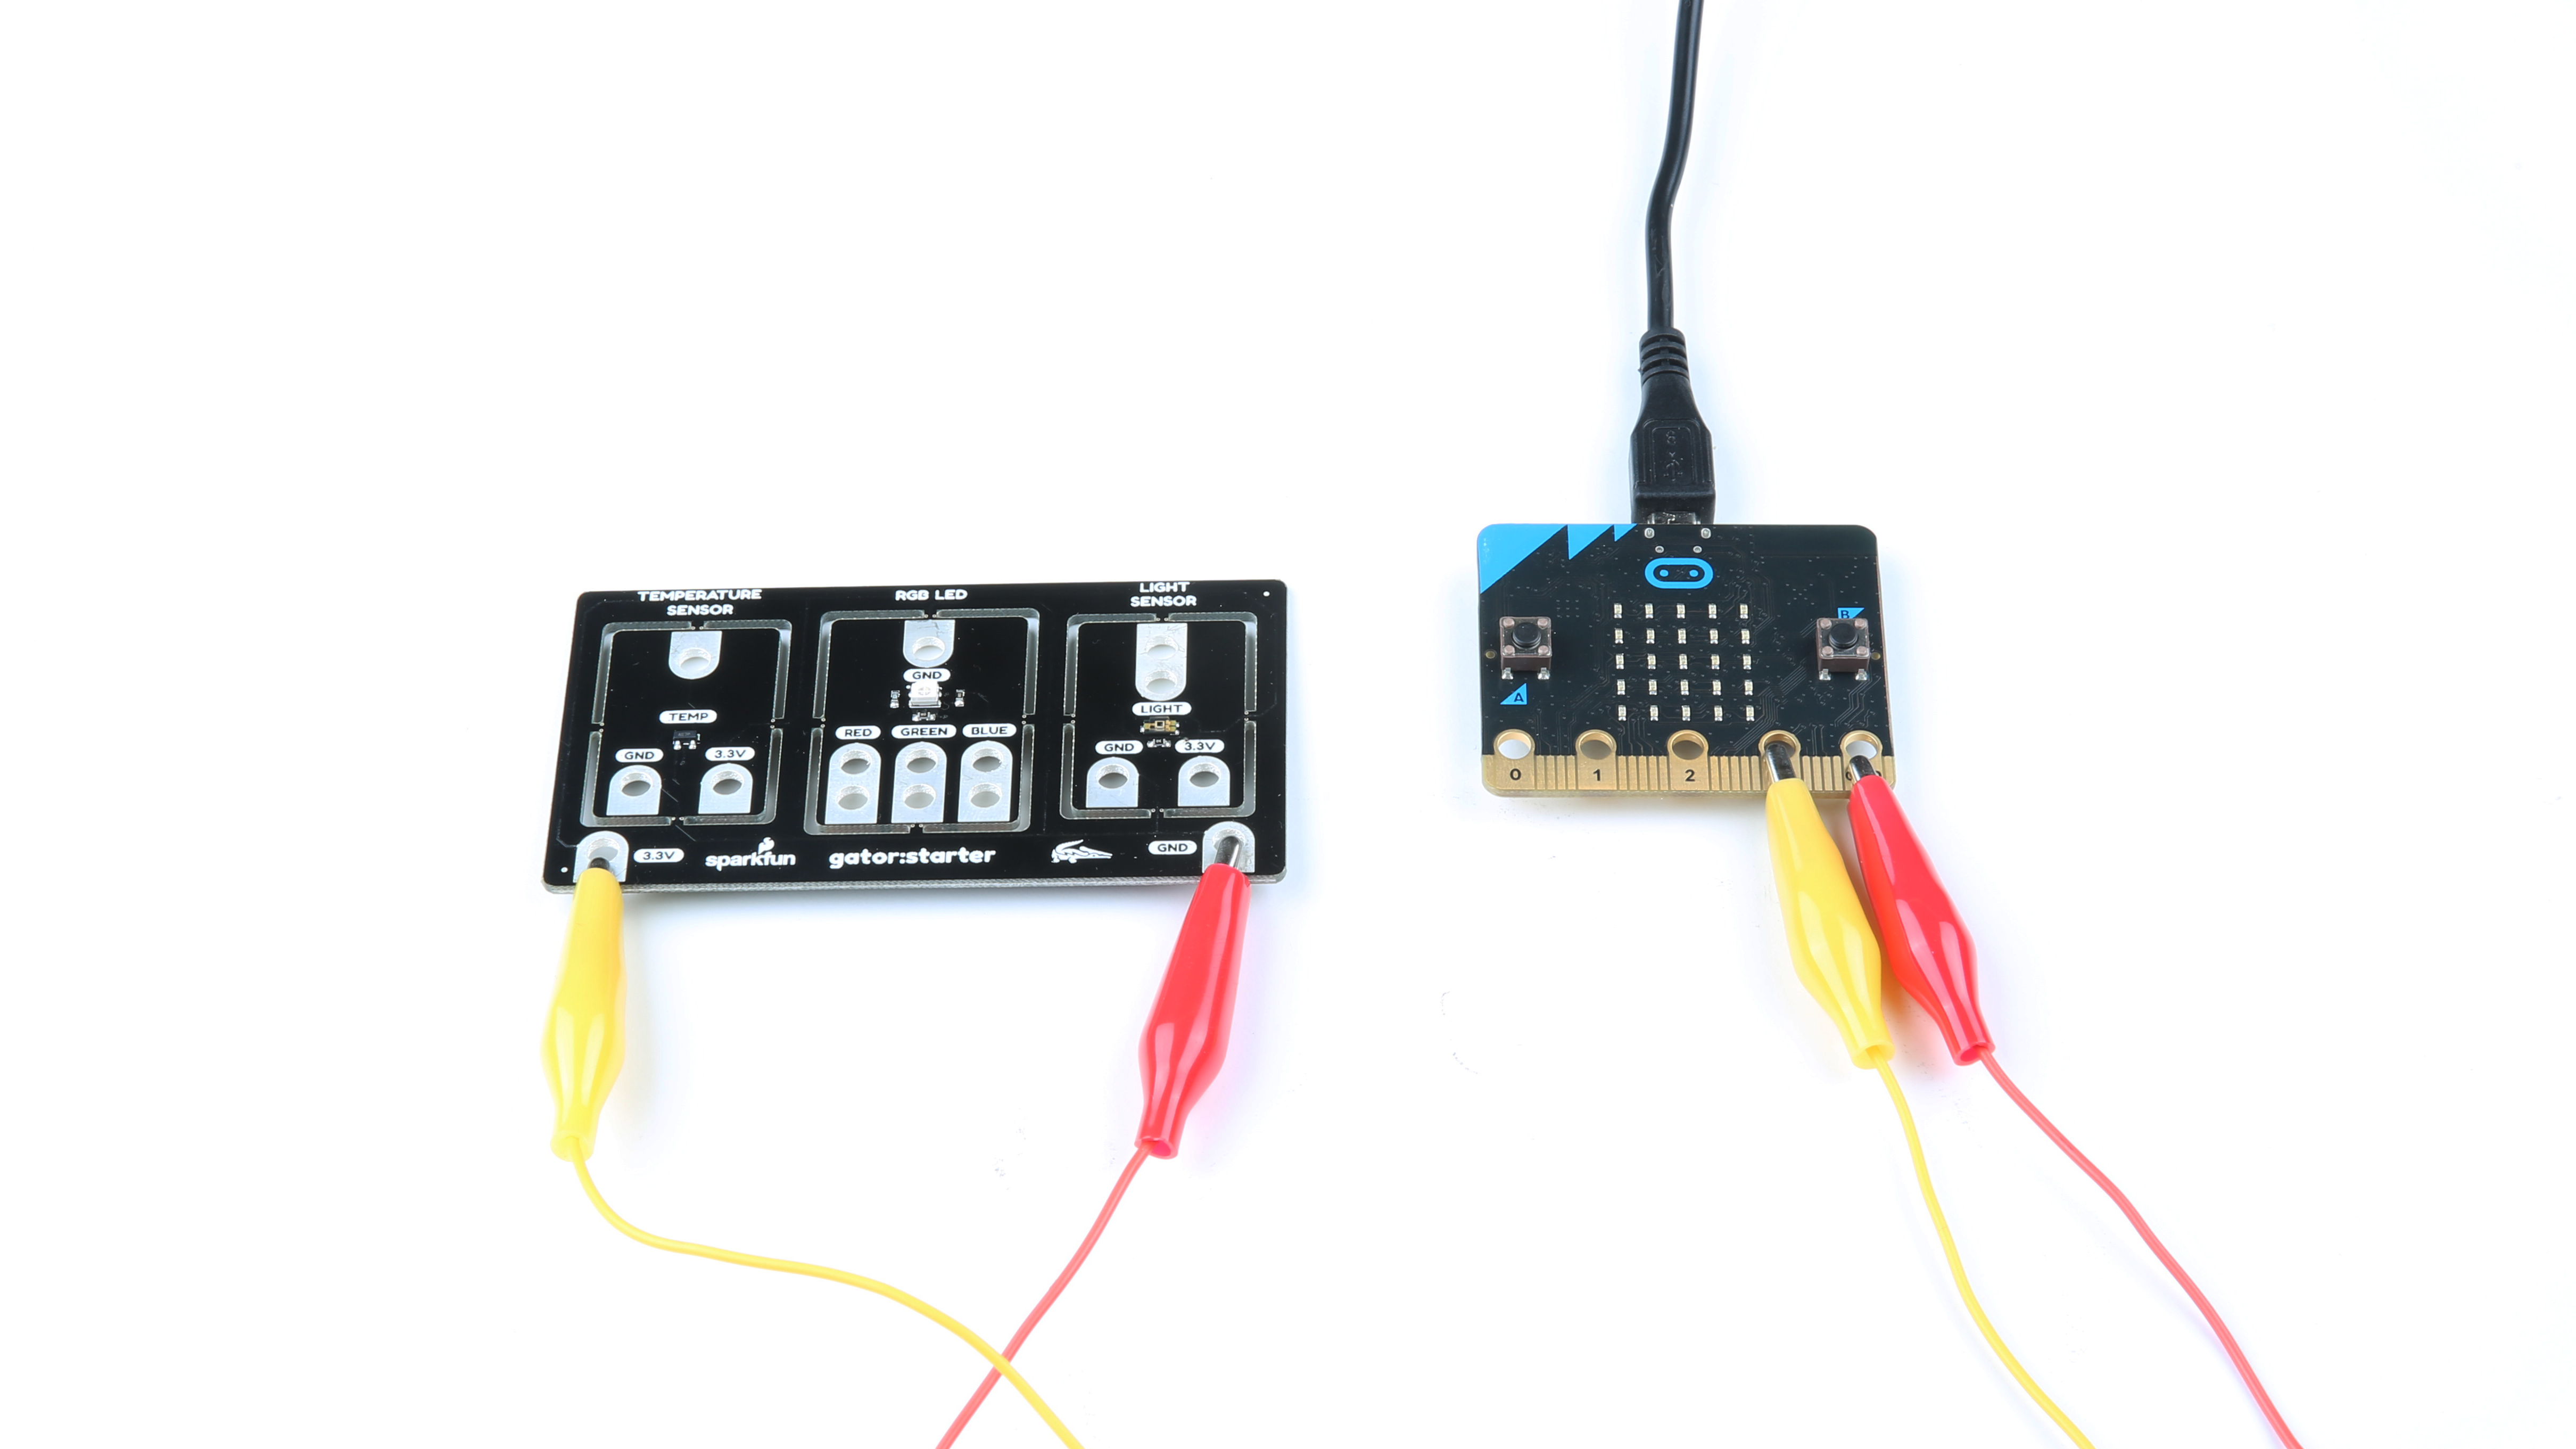
Connecting the gator:starter to the gator:bit v2 is a relatively simple process that doesn't even involve any soldering, all you'll have to do is clip onto the tabs to make your connection. Let's start by powering the gator:starter.
Power
When connecting power there are a few practices you should get used to doing. The first of these is to always connect ground (GND) first. Second, you want to make sure that you aren't powering your device with the wrong voltage, as powering a 3.3V device with 5V could damage the device. Keeping these things in mind, go ahead and clip the ground of your gator:board to ground on the gator:bit. Once this is done, go ahead and do the same with 3.3V. Now that power is connected, we can go ahead and start connecting to our sensors.
Signals
Temperature Sensor
The temperature sensor onboard is an MCP9700 analog temperature sensor with a temperature range of -40°C to 125°C. This sensor outputs an analog signal so you'll need to connect it to a pin on the gator:bit that is capable of reading an analog signal. The analog capable pins are pins 0, 1 and 2. Go ahead and clip the TEMP pin to any of those three pins.
RGB LED
The RGB LED is three LED's (red, green and blue) all combined into a single package. It's a common cathode LED which means that all three of the LED's share the same ground pin. To activate any color, simply make sure ground is connected, then connect 3.3V up to the color you'd like to turn on. Colors can be added and mixed simply by connecting more than one color. If you want to create even more colors, you can connect the LED to any of pins 0, 1 and 2 to allow for things like dimming and full color control.
Light Sensor
The light sensor onboard is a TEMT6000 ambient light sensor. This sensor is also an analog sensor, so once again we'll only be able to use it with pins 0, 1 and 2. To connect this sensor, just clip the LIGHT tab to any of the three analog pins.