ESP8266 WiFi Shield Hookup Guide
Installing the ESP8266 AT Library
Let's get to programming! To make interfacing with the shield's AT command set as painless as possible, we've written a simple Arduino library. You can get the library from our GitHub repository, or download it by clicking the button below.
We recommend using the latest version of Arduino with this library (currently 1.6.5). For help installing the library check out our Installing an Arduino Library tutorial.
Run the ESP8266_Shield_Demo Example
The SparkFun ESP8266 AT library includes a handful of example sketches, they demonstrate everything from connecting to an access point, to serving up a webpage, to setting up a chat server. To test everything out, load up the "ESP8266_Shield_Demo" example, by going to File > Examples > SparkFun ESP8266 AT > ESP8266_Shield_Demo.
To configure the ESP8266 for your local WiFi network, you'll need to modify a pair of strings, near the top of the sketch.
language:c
const char mySSID[] = "mySSID";
const char myPSK[] = "myPassword";
Lastly, before uploading the sketch, make sure the UART switch is set to SW -- it should always be in this state whenever you upload something new. After verifying the switch is in the correct position, upload away!
This example runs through some of the foundational functions of the ESP8266 AT library. It connects to an AP, finds it's local IP address, tries to connect to a remote server (example.com) to get a webpage, and finally sets up a server of it's own.
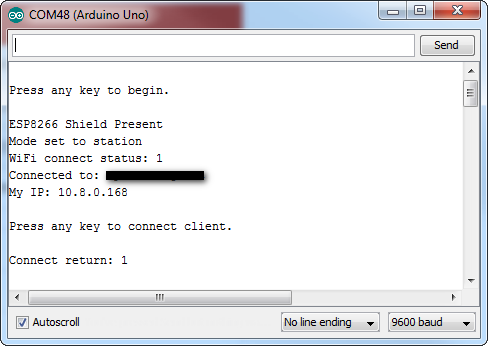
Opening up the serial monitor (set to 9600 baud), and following along with the instructions (you'll need to send a few characters to trigger events), will keep you informed on how the Shield is working.
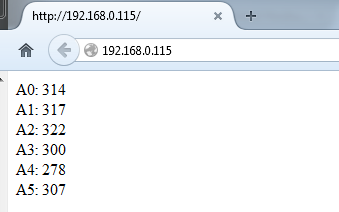
Once you get to the final, server example of the sketch, try loading up a web browser and navigating to the displayed web address. The ESP8266 should serve up a web page like this:
You will need to be on the same network for this to work.

