ESP8266 WiFi Shield Hookup Guide
 jimblom
Hardware Assembly
Before you can use the ESP8266 Shield, you'll need to solder a few headers in so it can interface with your Arduino.
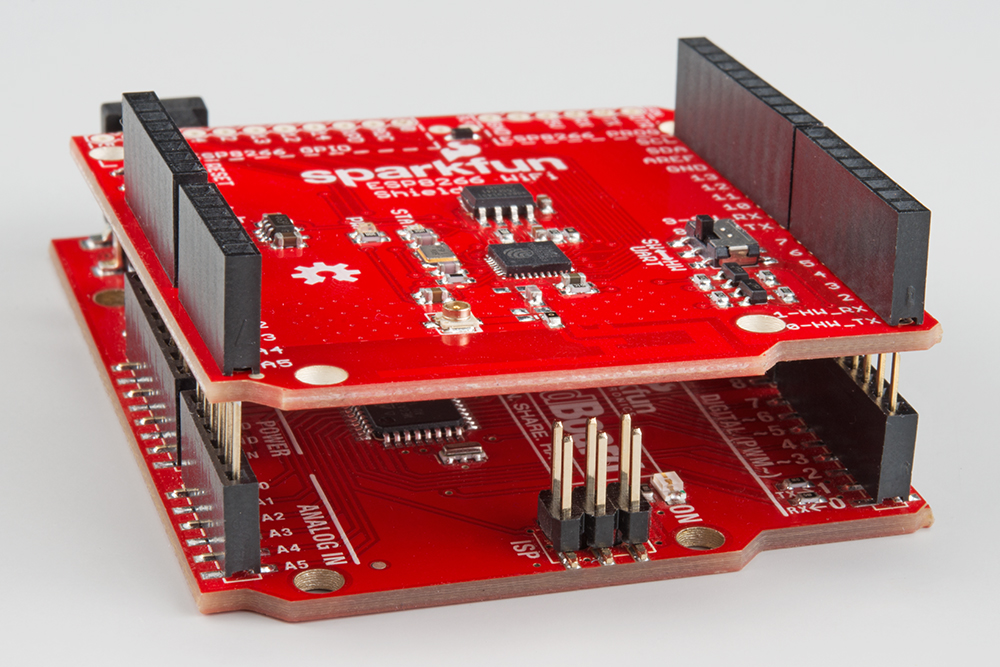
Stackable headers are always a good option for shields, especially if you plan on stacking more shields or plugging in jumper wires.
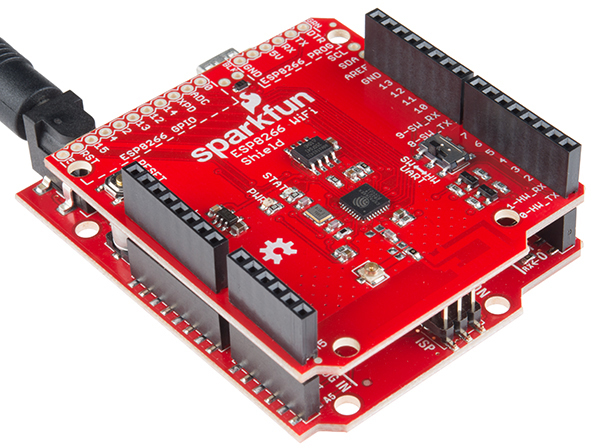
You can also opt for the more form-factor-friendly male headers, if stacking isn't as important to you.
Depending on how you'll use the shield, you can also solder headers into the ESP8266 GPIO and program headers. The programming header can interfere with the bigger USB-B connectors on Arduino Uno's, so keep their clearance in mind when you're soldering them in.
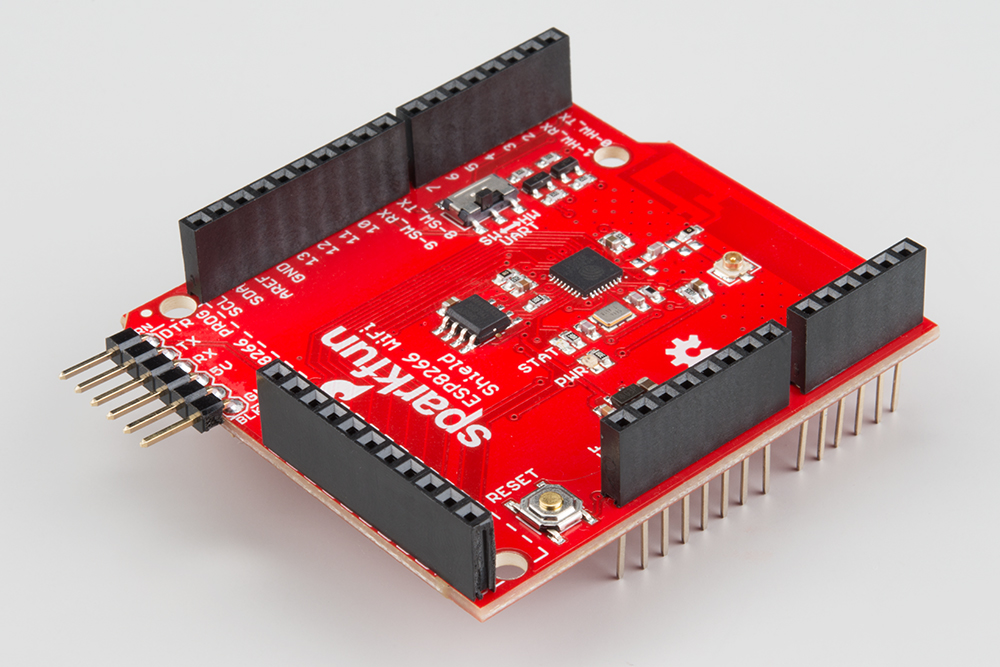
Female headers can be a good choice for the GPIO header, while right angle male headers make it easy to interface the programming headers with an FTDI breakout.
Antenna Clearance
Unfortunately, the ESP8266 WiFi Shield's printed PCB antenna can potentially run into interference problems with Arduino ISP headers. After seating the shield on your Arduino, you may want to slightly nudge the shield up, to avoid bumping the board against the 2x3 ISP header.
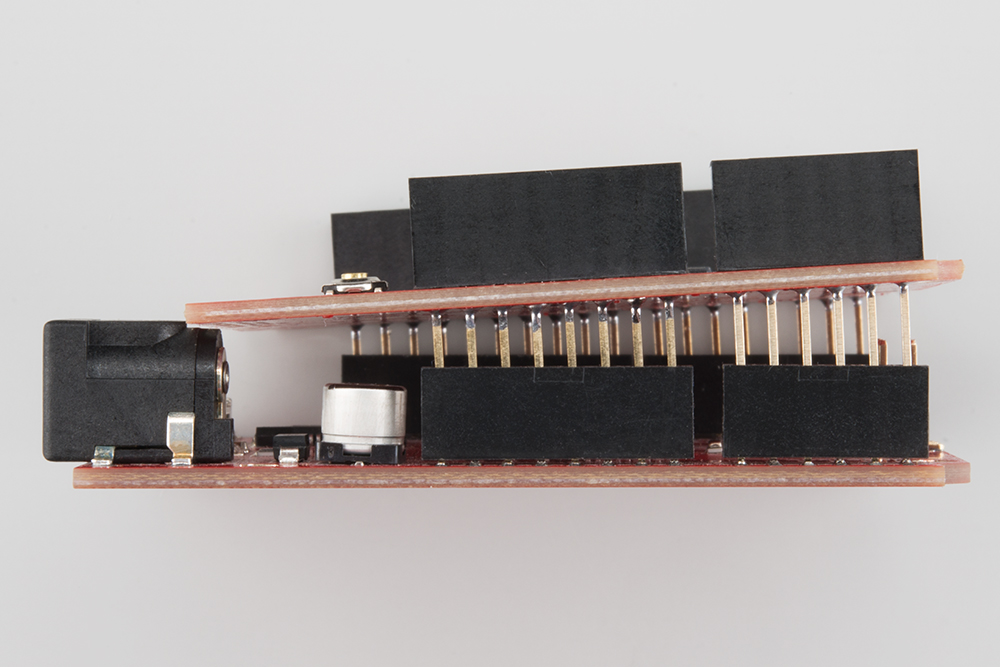
The header can interfere with the Shield's WiFi signal, and lead to lower-than-expected signal sensitivity. If your shield is having trouble connecting to a network, make sure there's some clearance here.