Edison Getting Started Guide
 jimblom,
  HelloTechie
Meet the Edison
The Edison is the powerful new computing module from Intel(R). It's tiny enough to embed into wearable projects, versatile enough to manage internet-of-things applications, and powerful enough to control robotics platforms.
The Edison packs a host of features, including WiFi (802.11a/b/g/n), Bluetooth (4.0 and 2.1 EDR), UARTs, I2C, SPI, USB, and 40 GPIO. It's driven by a 32-bit Intel® Atom™ Processor clocked at 500MHz, supported by 1GB of LPDDR3 RAM and 4GB eMMC flash memory. To top it off, it's housed in a tiny, 35.5 x 25.0 x 3.9 mm module.
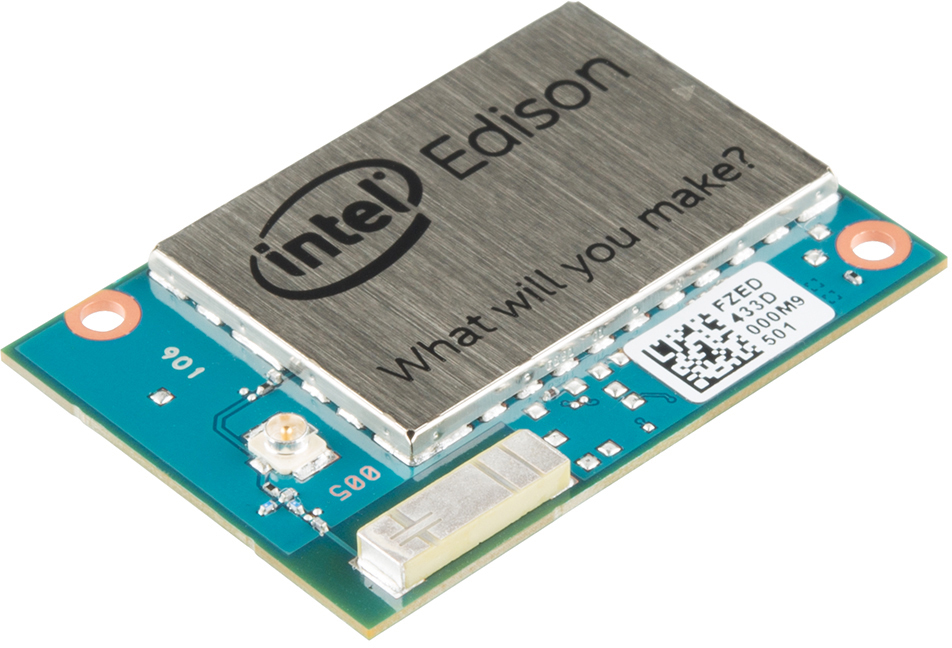
Needless to say, the Edison is a powerful, little electronics brain. It has the power to change how we all think about embedded computing. The module is equipped with a Linux OS based on Yocto, so you can compile C/C++ files, or run Python, Node.js, and other scripts.
Interfacing With the Edison
To keep the platform small, all of the I/O pins are broken out to a 70-pin Hirose DF40C connector. These fine-pitch connectors are great for keeping things small, but can be difficult to interface with. They're board-to-board connectors, so to interface the Edison with other components you'll need a board with a mating Hirose connector.
Currently, the mating boards available include a whole host of SparkFun Edison Blocks, the Arduino Expansion Board, and the [Mini Breakout]((https://www.sparkfun.com/products/13025).
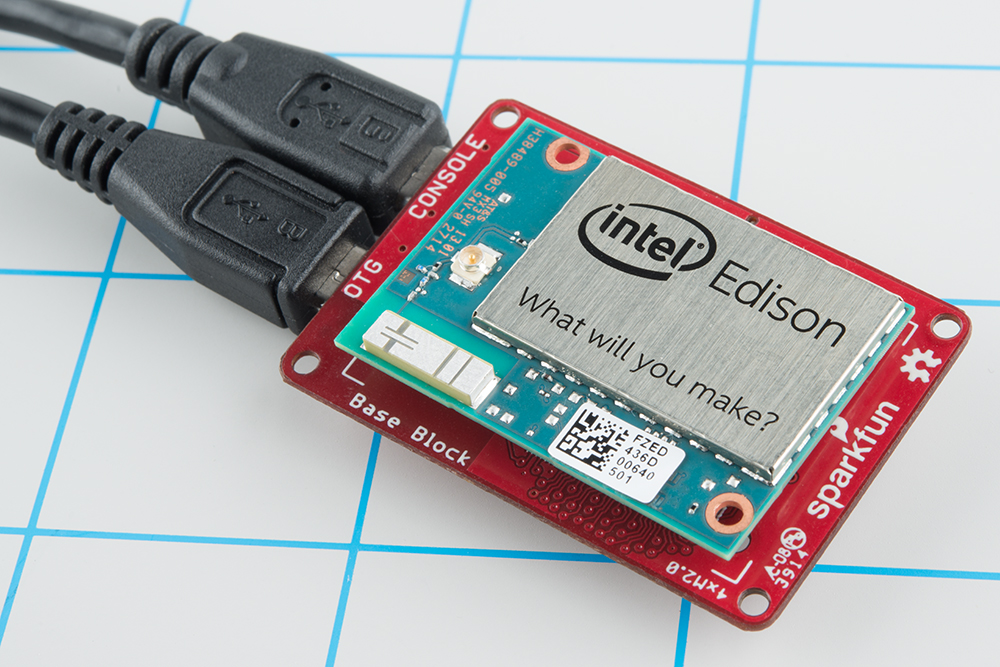
The Edison Blocks which (among many other boards) include the Base Block, Console Block, Console Basic Block, and Battery Block are a great way to customize your Edison project, while maintaining the minuscule form factor. Learn more about the Blocks and how they interconnect by reading our General Guide to SparkFun Blocks for Intel Edison
SparkFun Block for Intel® Edison - UART
DEV-13040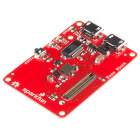
SparkFun Block for Intel® Edison - Base
DEV-13045The Arduino board is a great place to start, if this is your first foray into the Edison or embedded computing.
The Mini Breakout, like the SparkFun Blocks, is useful if you want to embed the Edison into a project. It includes an FTDI for interacting with the console, and it also breaks out the Edison's USB-OTG port and a number of I/O pins.
Once you have the Edison plugged into a power and console source, you can interact with the on-board Linux kernel and start developing!
Covered In This Tutorial
This tutorial is focused on getting you ready to develop on the Edison. We'll walk you through everything from handling and powering the Edison to getting a console loaded up and connecting it to WiFi. We'll also cover how to program the Edison through the comfy confines of Arduino.
The tutorial is split into the following sections:
- Download Drivers and Arduino -- A plethora of links to get your computer ready for Edison development.
- Plugging In -- What to expect and what to look for the first time you plug the Edison into your computer.
- Programming the Edison in Arduino -- An introduction to developing on the Edison through Arduino.
- Setting Up the Console -- How to use the Edison's console port to interact with the Linux kernel.
- Updating the Firmware -- As soon as you can, we recommend updating the Edison to use the latest version of its Yocto Linux distribution.
- Connecting to WiFi -- The updated firmware image includes a tool that makes setting up WiFi on the Edison easy-breezy.
- SSH-ing Into the Edison -- Take advantage of the Edison's WiFi capabilities by SSH-ing into it, and developing remotely.
What You'll Need
- Intel(R) Edison -- Kind of goes without saying.
- Base Board -- Something to supply power and provide a console interface. One of the following should do:
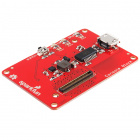
- SparkFun Base Block -- This block is equipped with two USB connectors, which provide access to the Edison's OTG port and UART console. This block allows everything from upgrading the firmware, and programming via Arduino, to interacting with the Linux terminal.
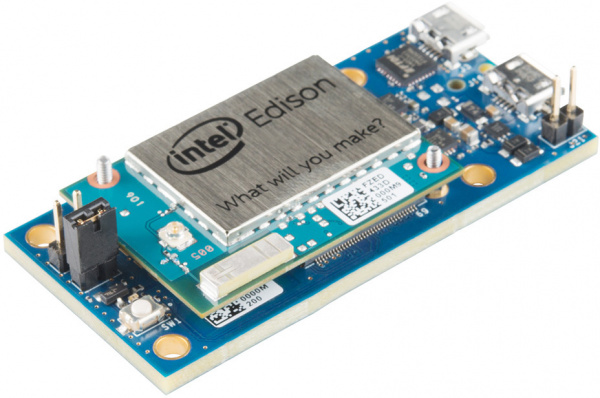
- Edison Mini Breakout -- This is a simple breakout for the Edison. It provides power over USB, as well as a console. A second USB connector provides you with access to the Edison's USB OTG interface. The Edison is included with this kit!
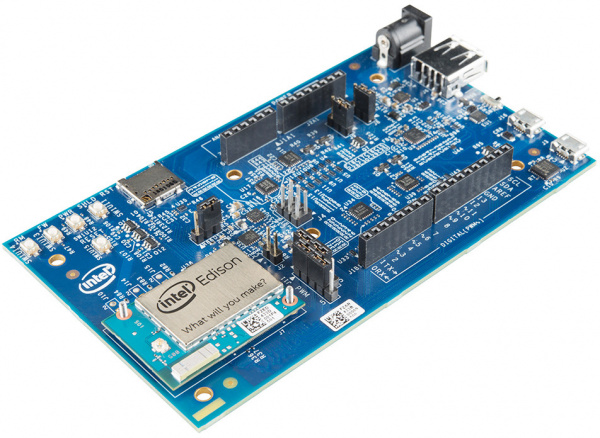
- Arduino Expansion Board -- A bigger Edison base board, with headers broken out to the familiar Arduino footprint. If you plan to use the Edison with the Arduino IDE, this is the board you'll want to use. It also includes an Edison!
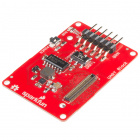
- SparkFun Console Block -- This block is similar to the Base block, but removes the OTG USB port. This block only provides console access, you won't be able to use it for firmware upgrade or Arduino programming.
Beyond that, you may also need to gather:
- Micro-B USB Cable(s) -- Every board above can be powered and controlled over USB, and they all use at least one micro-B USB connector. For every board except the Console, you'll actually need two micro-B cables, in order to get the most out of your Edison.
- Power Supply -- This will depend on which base board you're using. If you're using an Arduino Expansion Board a 7-15V wall adapter may be required in addition to the USB cable. Our 9V Wall Adapter should do the trick.
- A computer with two available USB slots, or a hub. To upgrade the Edison's firmware, you'll need access to both its OTG and debug ports.
That should be enough to get started developing on the Edison!
Suggested Reading
- Serial Terminal Basics -- We'll be working with the serial terminal a lot in this tutorial. If you don't already have a reliable terminal emulator program installed on your computer, check out this tutorial to find one you like!
- Galileo Hookup Guide -- The Galileo board works as a nice introduction to the Edison. They both run a very similar, Yocto-based Linux kernel. If you're unfamiliar with the Galileo, or Intel processors in general, this might be a useful tutorial to check out.
Download Drivers and Arduino
Before you start plugging things in and blinking LEDs, make sure your development computer has everything it needs to work with the Edison.
The Edison is designed to work with any operating system: Windows, Mac or Linux. There are separate drivers and software for each, though, so make sure you grab the software that matches your OS.
Download Arduino
Because the Edison runs Linux and has GCC, Python, Node.js, etc., you can use a wide assortment of tools to develop on it. But, if you're just getting started with embedded development, Arduino may be the easiest place to begin.
Using Arduino to develop on the Edison requires a custom version of the IDE. You can grab the latest version of the Arduino for Edison software by clicking the button below.
There are a variety of downloads on that page, make sure you get the "Arduino Software 1.5.3 - Intel 1.0.4" (latest as of December 2014), and make sure you grab the version that matches your OS.
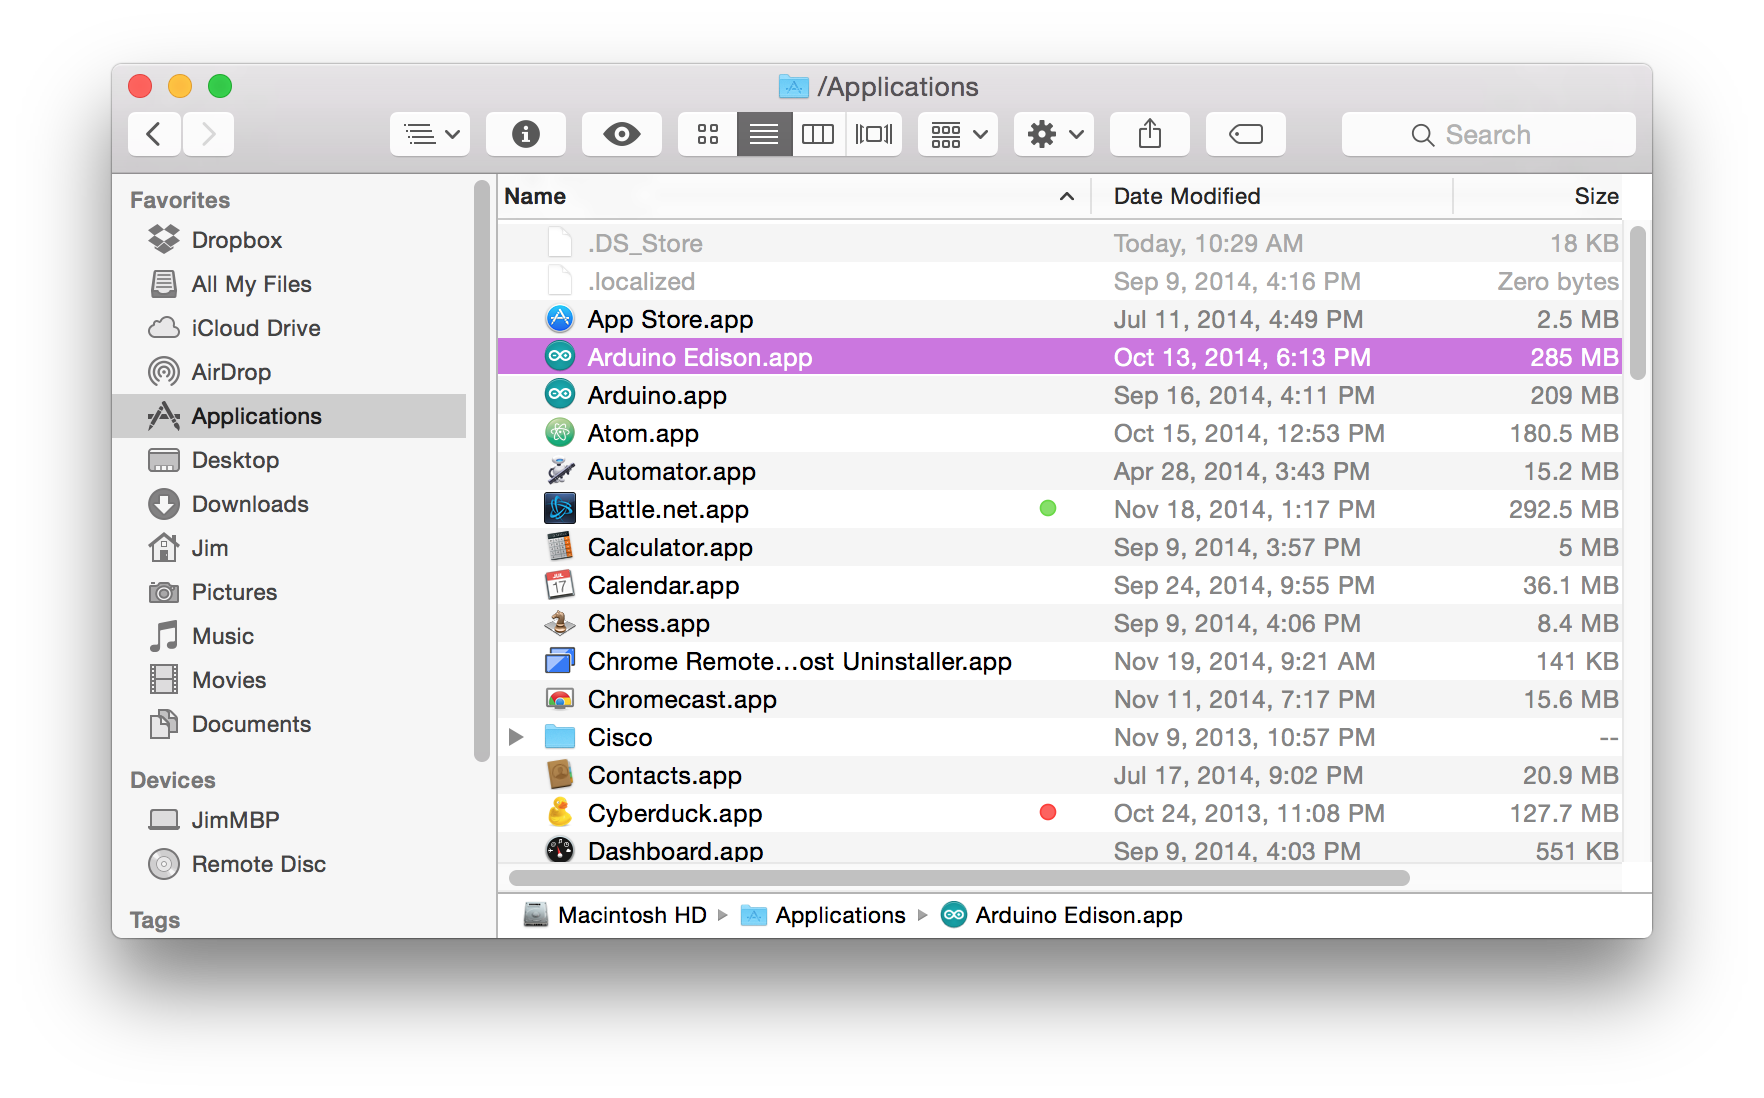
On a Mac, after downloading and unzipping the application, we recommend renaming the "Arduino" app to something like "Arduino Edison". You may also want to move the app to your Applications folder.
Likewise, Windows users with multiple Arduino installs should rename any shortcuts or folders to differentiate the Arduino for Edison application from the normal Arduino. This version of Arduino will not work with other, non-Intel Arduino boards.
Download and Install the FTDI Drivers (Windows and Mac)
Most Edison base boards, including the Arduino Breakout, Mini Breakout, and our Base/Console Blocks are equipped with an FTDI chip that converts USB to serial, which allows for easy access to the Edison's UART console. To use the FTDI, download the latest VCP drivers from their downloads page.
If you need help installing the drivers, check out our How to Install FTDI Drivers tutorial.
Download and Install the Edison Drivers (Windows Only)
If your using a Windows machine to interact with your Edison, you'll need to install drivers plural: an FTDI driver for the console and an Edison-specific driver for the Edison's on-chip USB. The latter can be downloaded on the same Edison - Software Downloads page you were on earlier, towards the bottom of the page. Look for the "Windows Driver setup 1.0.0" link.
After you download this executable, run it and follow along with the install wizard to set your computer up with the drivers.
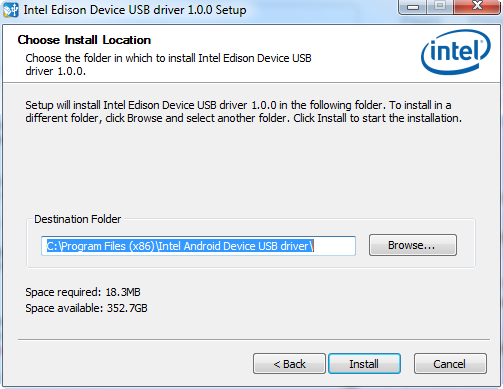
It may take a couple minutes to complete the driver installation. You should be notified that the drivers installed successfully once the process has completed.
Plugging In
Now that the drivers are installed, it's safe to plug the Edison into your base board, and on into your computer.
Plugging the Edison Into the Base Board
Let's start by plugging the Edison into your base board, whatever that may be. Keep in mind that the Edison's Hirose connectors are very delicate. When plugging your Edison into a base board, take care to push straight down, applying even pressure to the connector and the left corner of the Edison.

If you need to remove the Edison, be equally gentile and apply even pressure.
Connecting and Powering via USB
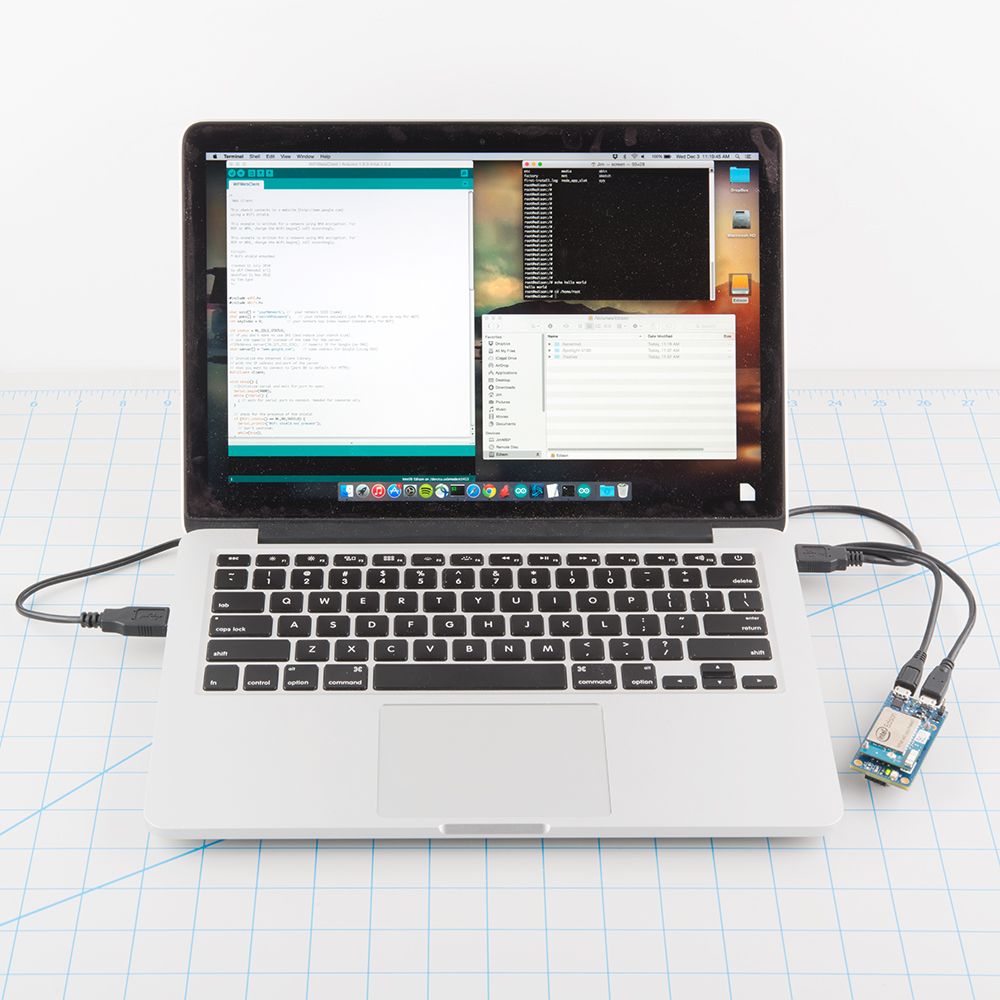
Once the Edison is cleanly seated into your base board, wire up the USB port(s) to your computer. If your base board has two USB ports, it's recommended that you connect both up to your computer -- one port provides power and direct USB access, while the other connects to the Edison's console.
If you're using Intel's Arduino Expansion Board or the Mini Breakout, make sure you have at least connected USB to the Edison's USB OTG port. That is the only port that can power the Edison.
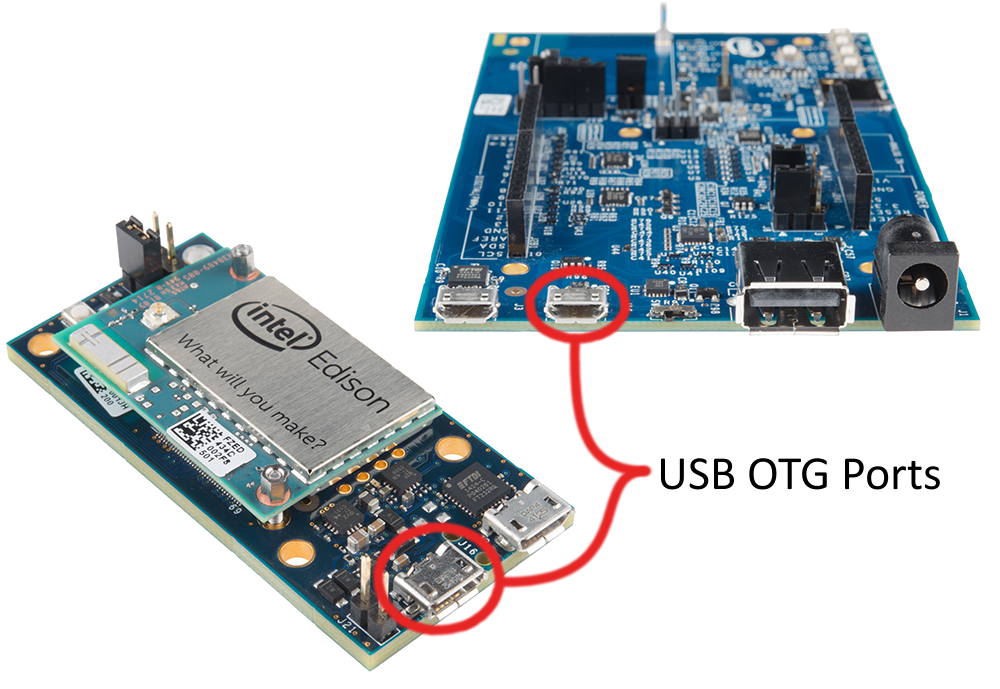
If you're using a SparkFun Base Block, you can use either USB port to power the Edison. For the next step (programming an Arduino sketch), we recommend using the Edison's OTG USB port. The two connectors are labeled on-board, so it should be easy to pick out which is which.
After plugging the Edison's OTG port into your computer, there are a couple indicators that it's ready to use. First, look for a power indicator LED on the base board to illuminate. Beyond that, after about 30 seconds, the Edison will show up as three different devices on your computer:
- USB Mass Storage device with around 800MB of storage space.
- Intel Edison Virtual Com Port, which you may be used to from the Arduino world. The port it enumerates on will be what we'll upload our code to.
- Intel Edison USB RNDIS Device, a network adapter which allows your Edison to connect to the Internet through USB, using your computer as a gateway.
The removable storage device called "Edison" is the best indicator that it's working.
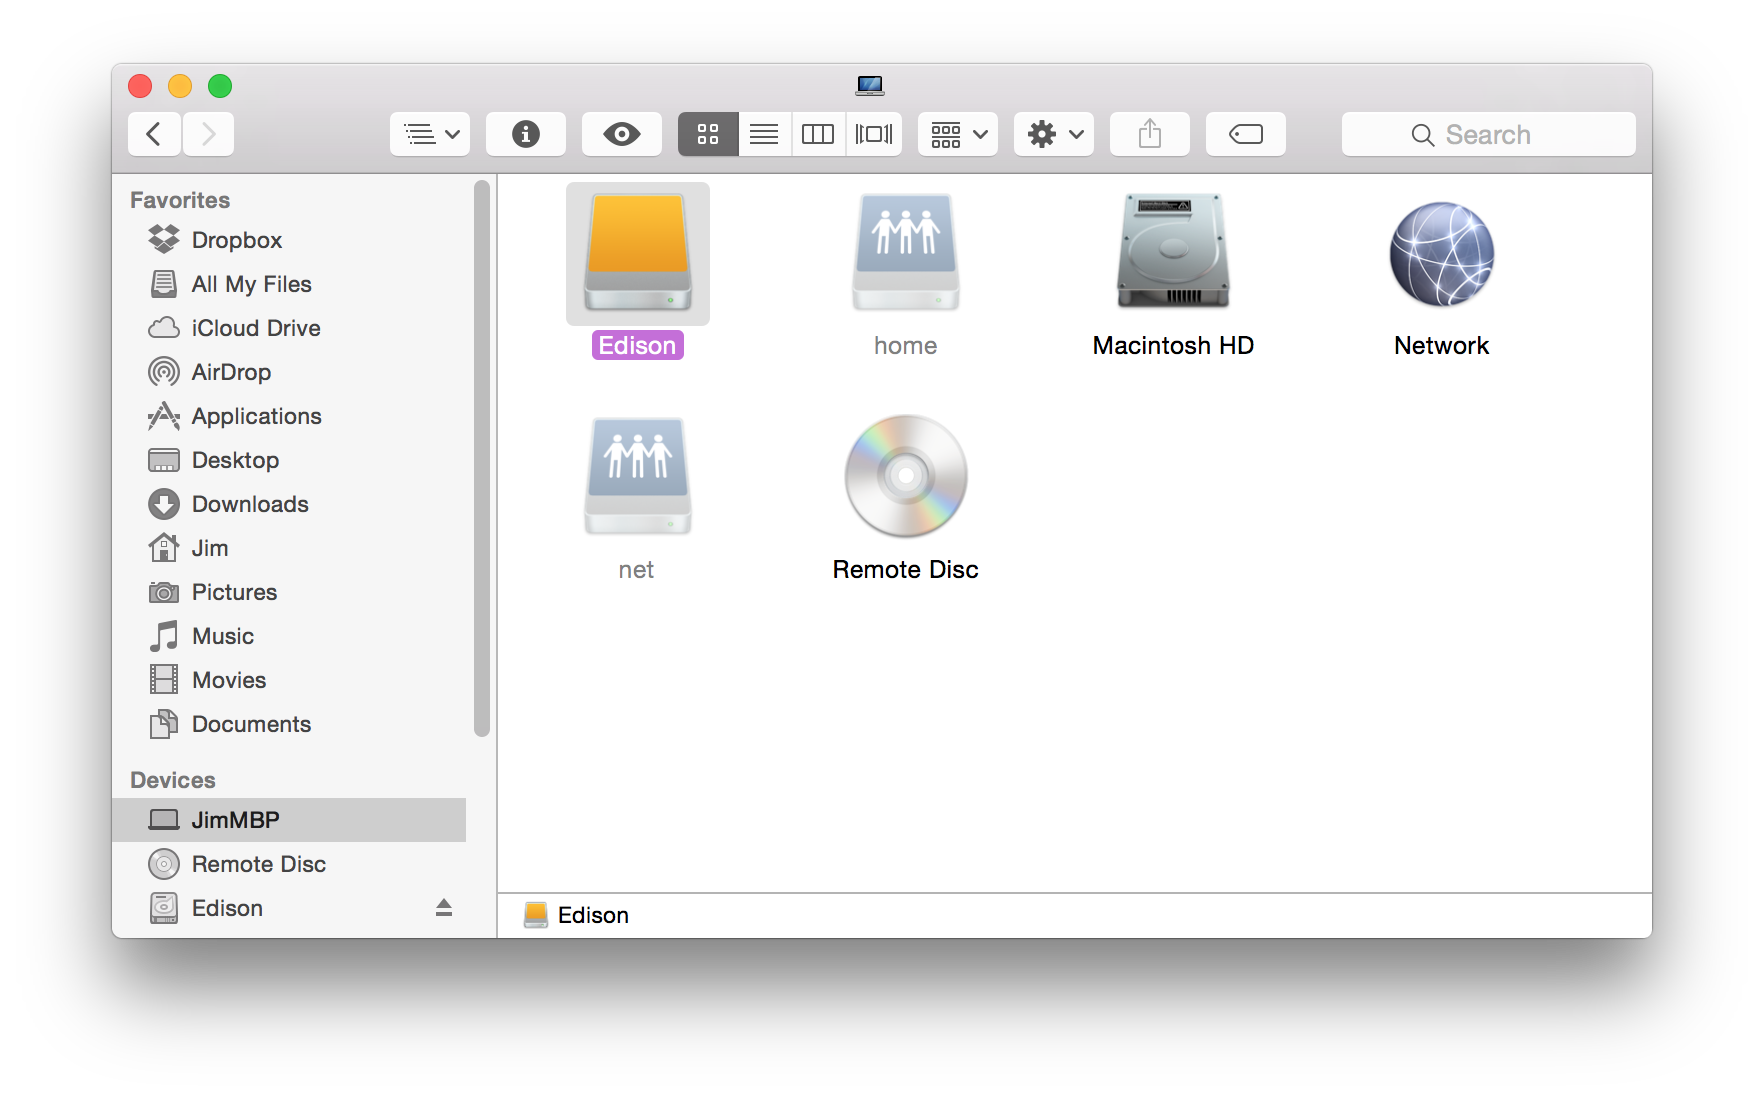
This is a great sign! It means the Edison has booted up, enumerated over USB, and is ready to be programmed.
Windows users plugging their Edison in for the first time may have to wait an extra minute or so while drivers are set up. Once that's complete, you should be notified with a handy window like this, which also passes along important information about the Edison's COM port assignment.
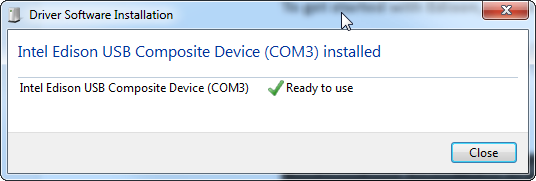
Don't forget the COM port, or, if you didn't get the notification, check for the Edison's COM port assignment in your device manager.
Programming the Edison in Arduino
With a built-in C-compiler, Python, Node.js, and more, the Edison is capable of amazing things. As you'll discover in later Edison tutorials, we really recommend exploring the Edison's full capabilities by writing your applications in C, C++, Python, or anything that takes full advantage of the Edisons capabilities.
That said, using Arduino to program the Edison is a great way to start developing on the mini-computer in a safe and familiar environment. In this section, we'll examine how to program the Edison in Arduino, cover some common troubleshooting, and point out some useful examples to help get you started.
Note 1: This section requires a base block with a USB OTG port -- that means you won't be able to use the Arduino IDE with the Console Block. If that's all you have, skip ahead to the Setting Up the Console section.
Note 2: if you're using the Arduino Expansion Board, make sure the switch labeled "SW1" (between the micro-B USB port and the larger host USB port) is slid in the direction of the nearby micro-B port. That will switch that port into device mode.
Uploading Blink
By now you should have the Edison powered and plugged into your computer (connecting the Edison's OTG USB port to your computer), drivers set up, and Arduino for Edison software installed. If not, refer back to the previous sections of this tutorial.
Open up the Edison-specific Arduino software. This software is nearly indistinguishable from other Arduino builds. To make sure you're using the right version, go up to the Tools > Board menu and select Intel(R) Edison.
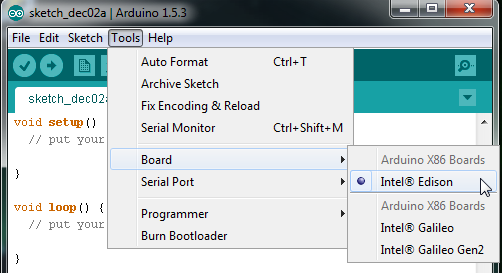
You may also notice the entires for the Intel(R) Galileo, and a distinct lack of any other Arduino board in the list -- this software only works with Intel's boards.
Next, select your serial port by going to Tools > Serial Port and select the COM port number that matches your new Edison.

On Windows the serial port will come in the form of "COM#". On Macs there will be two entries in the list for your Edison, make sure you select the one that looks something like "/dev/cu.xxxxxx" (cu not tty).
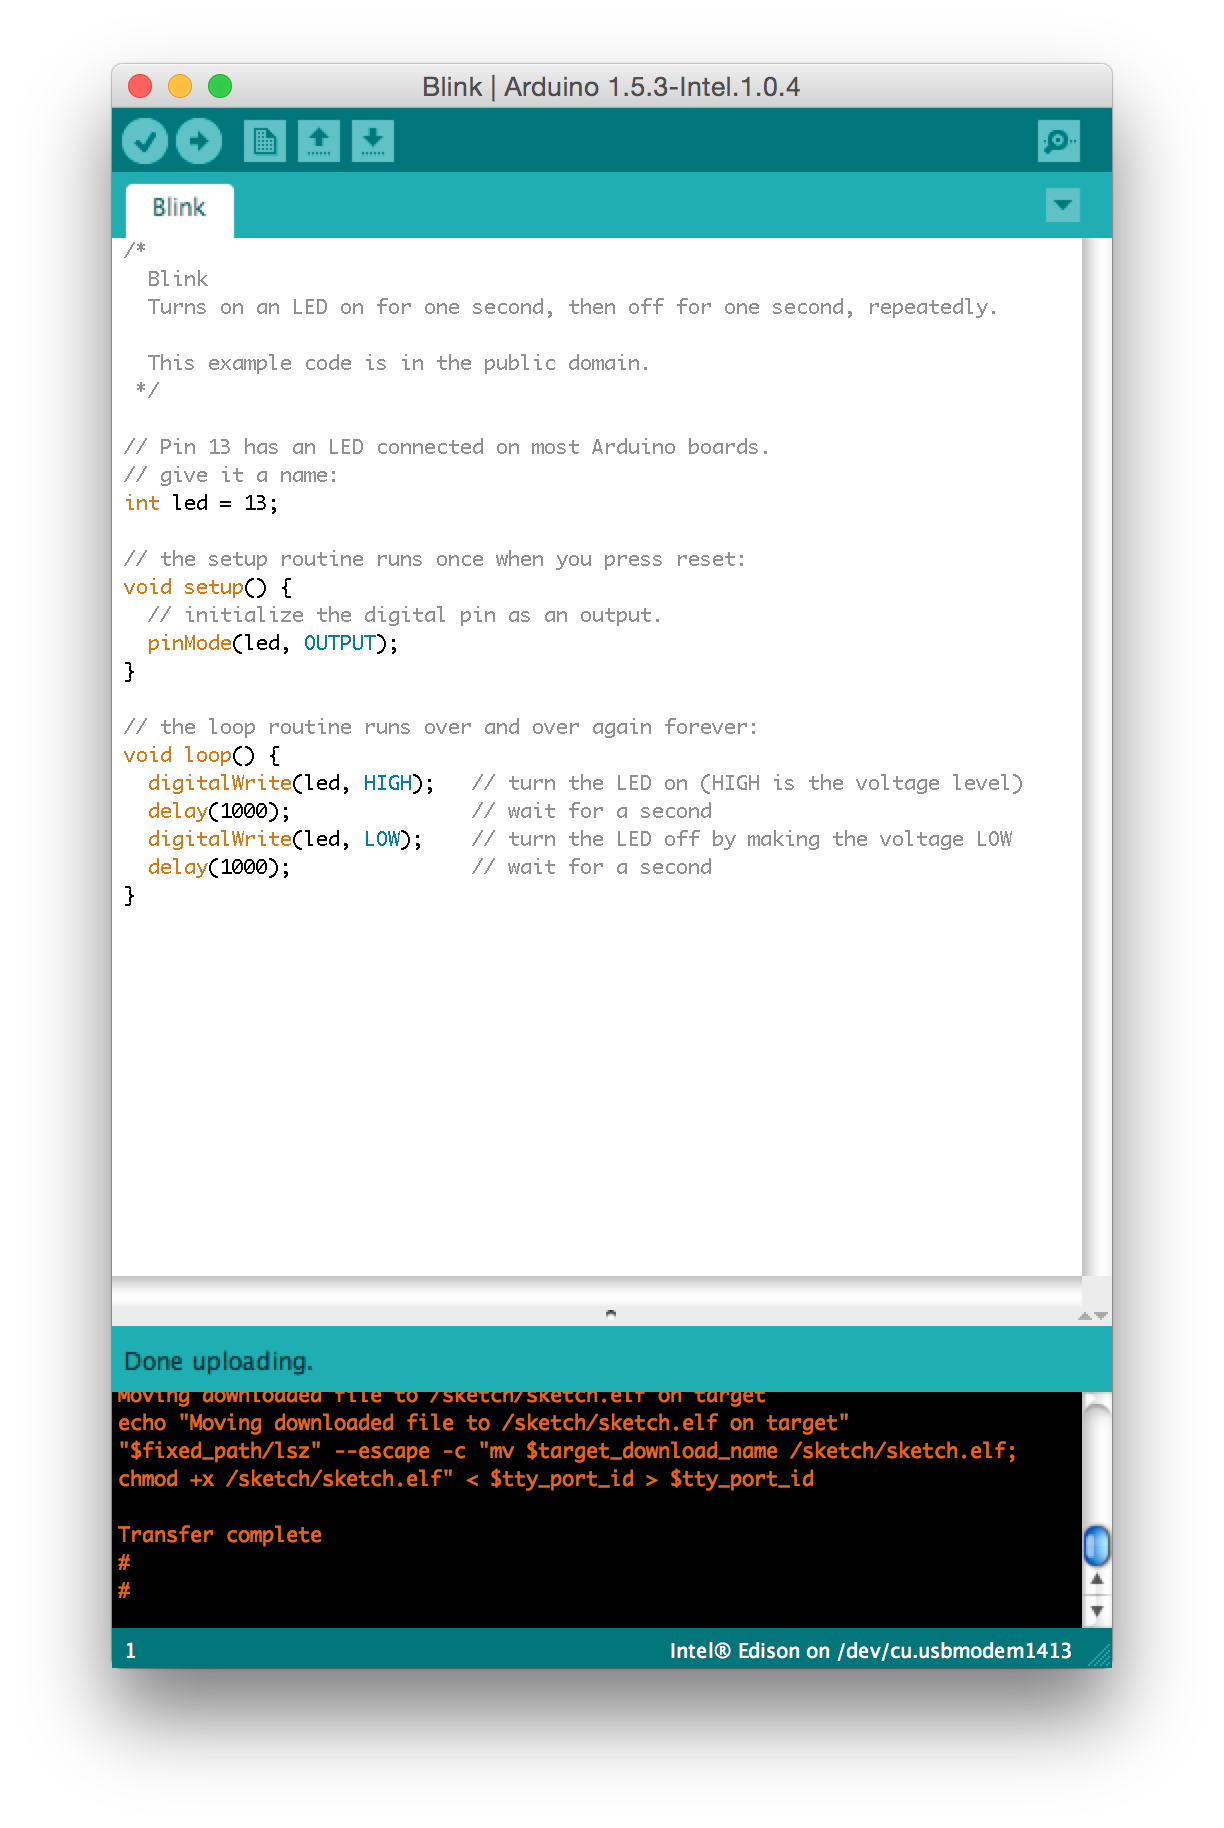
Finally open Blink by going to File > Examples > 01.Basics > Blink. And click the Upload icon.
After the compile, the code should quickly upload over to the Edison. Look for a "Transfer Complete" notification in the console window below.
Don't fret if you get an upload error! We've gotten a lot of them too. For most problems, there's usually no-better a fix than the old restart. This interface can be finicky, if you get an upload error try unplugging the Edison then plugging it back in and trying again. If that doesn't help, consider checking out Intel's Edison forum.
Handy Examples
We've loaded up the blink example, but on many boards the Edison doesn't even have an LED to blink. Here are some other handy examples that prove the Edison is working, and provide some insight into how the Edison's Arduino interface works.
Serial
As always, the Arduino serial monitor is a handy debugging tool. Give some of the examples in the File > Examples > 04.Communication folder a try, or load up something simple like this:
language:c
void setup()
{
  Serial.begin(9600);
}

void loop()
{
  if (Serial.available())
  {
    Serial.print("Decimal value: ");
    Serial.print(Serial.read());
    Serial.println();
  }
}
Then open up the serial monitor and interact with your Edison!
WiFi
WiFi is one of the most important features embedded into the Edison, and it's supported in the Arduino IDE by an updated WiFi library.
Try loading up any of the examples in the File > Examples > WiFi folder -- the "WiFiWebClient" example is a good one. You'll probably have to update the SSID and passkey before uploading.
Setting Up the Console
After you've checked out the Arduino side of the Edison, a great place to start learning about its more unique features is by interacting with the console. The console provides access to the Linux environment. You can use it to connect your Edison to a WiFi network, to write C++ programs with the vi editor, or run Python scripts.
Connecting to the FTDI Port
The Arduino Expansion Board, Edison Mini Breakout, and the SparkFun Console Blocks all route the console UART out through an FTDI chip, which converts serial to USB.
If you haven't already, plug your Edison into the base board and power your base board (in most cases by hooking up the USB OTG port). Then connect the base board's debug port to your computer via a USB cable. Each of these boards have two micro-B USB ports, make sure you plug into the correct one!
Make sure you have the FTDI drivers installed. If you need any help, check out our How to Install FTDI Drivers tutorial.
Opening Up a Serial Terminal Emulator
The next step is to open up your favorite terminal emulator software on your computer. If you don't have a favorite, check out our Serial Terminal Basics tutorial.
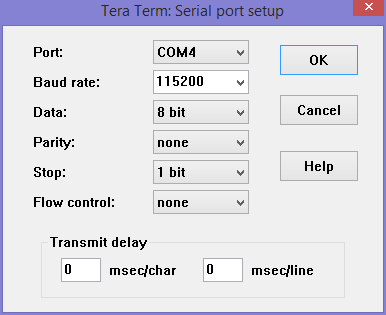
Make sure the new COM port for your base board is correctly set. You'll also need to set the baud rate to 115200bps (8-N-1).
After you've opened up the serial port, try hitting enter a couple times. If all goes well, the Edison should respond with a login prompt.
The default Edison login is root. There is no password...yet. You can run passwd, if you want to set one now, but it will be wiped out when/if you update the firmware image.
Updating the Firmware Image
Most Edison's ship with an older version of the firmware. Updating to the latest version of the firmware equips the Edison with a whole host of new utilities, including a WiFi configuration tool and a fix to that annoying 5-second sleep in the terminal.
This step requires access to both the Edison's OTG USB port and the console. That means you'll need two USB cables, connected to two ports on your computer (or a hub).
The OTG port will give us access to the Edison's USB mass storage device.
You can either update firmware with the Intel Installer or the manual way.
Using the Intel Installer
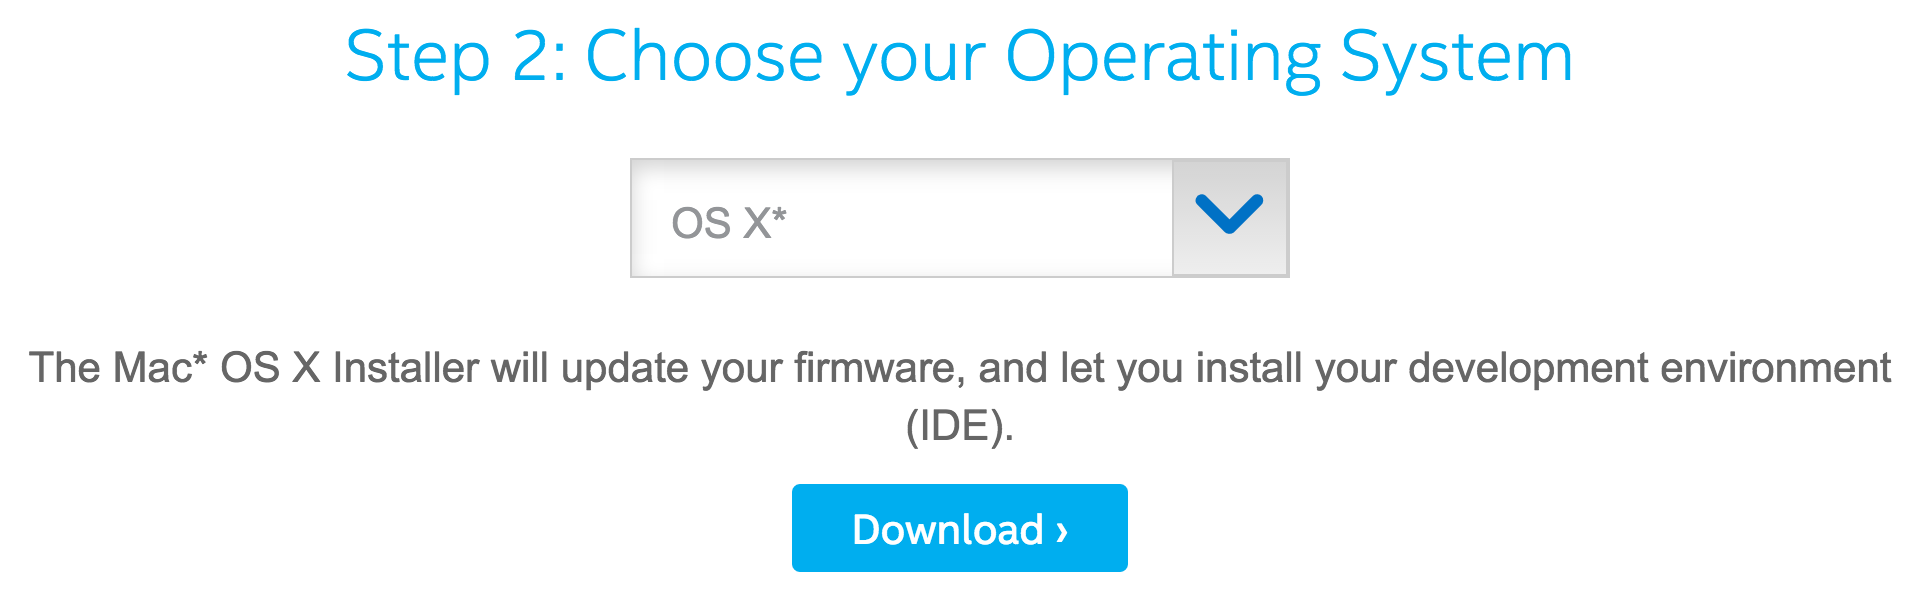
Intel is continuing to improve the Edison support. Now, there is an Installer to make updating your firmware a breeze. There is an option to install the Arduino IDE too. Head over to the Edison Getting Started Guide on the Intel Developer Zone site. If you already assembled your board, jump to "Step 2: Choose your Operating System". Pick your operating system and download the Installer.
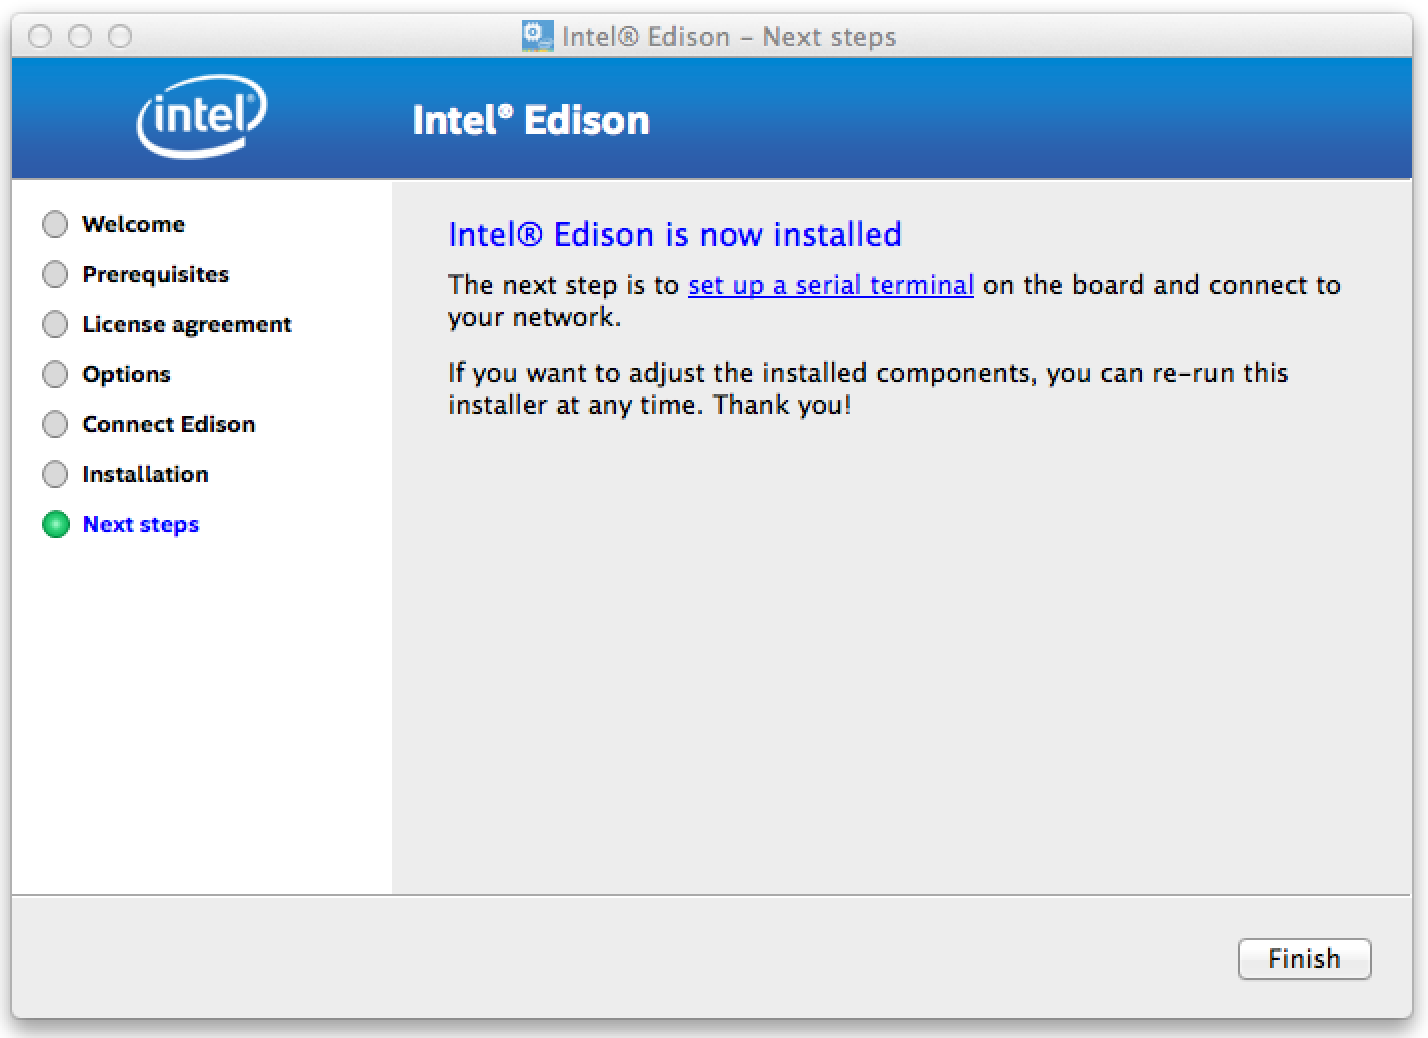
Open up the Installer. You will be asked to install as administrator. Follow through the rest of the steps and you are good to go! Next step will be to set up a serial terminal and connect to WiFi.
Manually Updating the Firmware
We'll begin by downloading the latest and greatest version of the Edison firmware, grab it from the Edison Software Downloads page.
Download the "Edison Yocto complete image" ZIP -- it's about 100 MB. Then unzip the archive, and keep the extracted contents up somewhere handy.
Out With the Old
Before you load the new firmware onto the Edison, make sure all of the old stuff is out of the way. Use your terminal (Mac) or CMD (Windows), and navigate to the top level of your Edison's mass storage drive.
On Mac, type cd /Volumes/Edison. On Windows type E: -- replacing "E" with the drive letter of your Edison.
Once inside the folder, type rm -rf * and rm -rf \.* to remove all of the files -- hidden or not -- from the drive.
In With the New
Next, open up the Edison mass storage drive in your file explorer. Then move everything from within the extracted ZIP folder into the drive. It should look a little something like this:
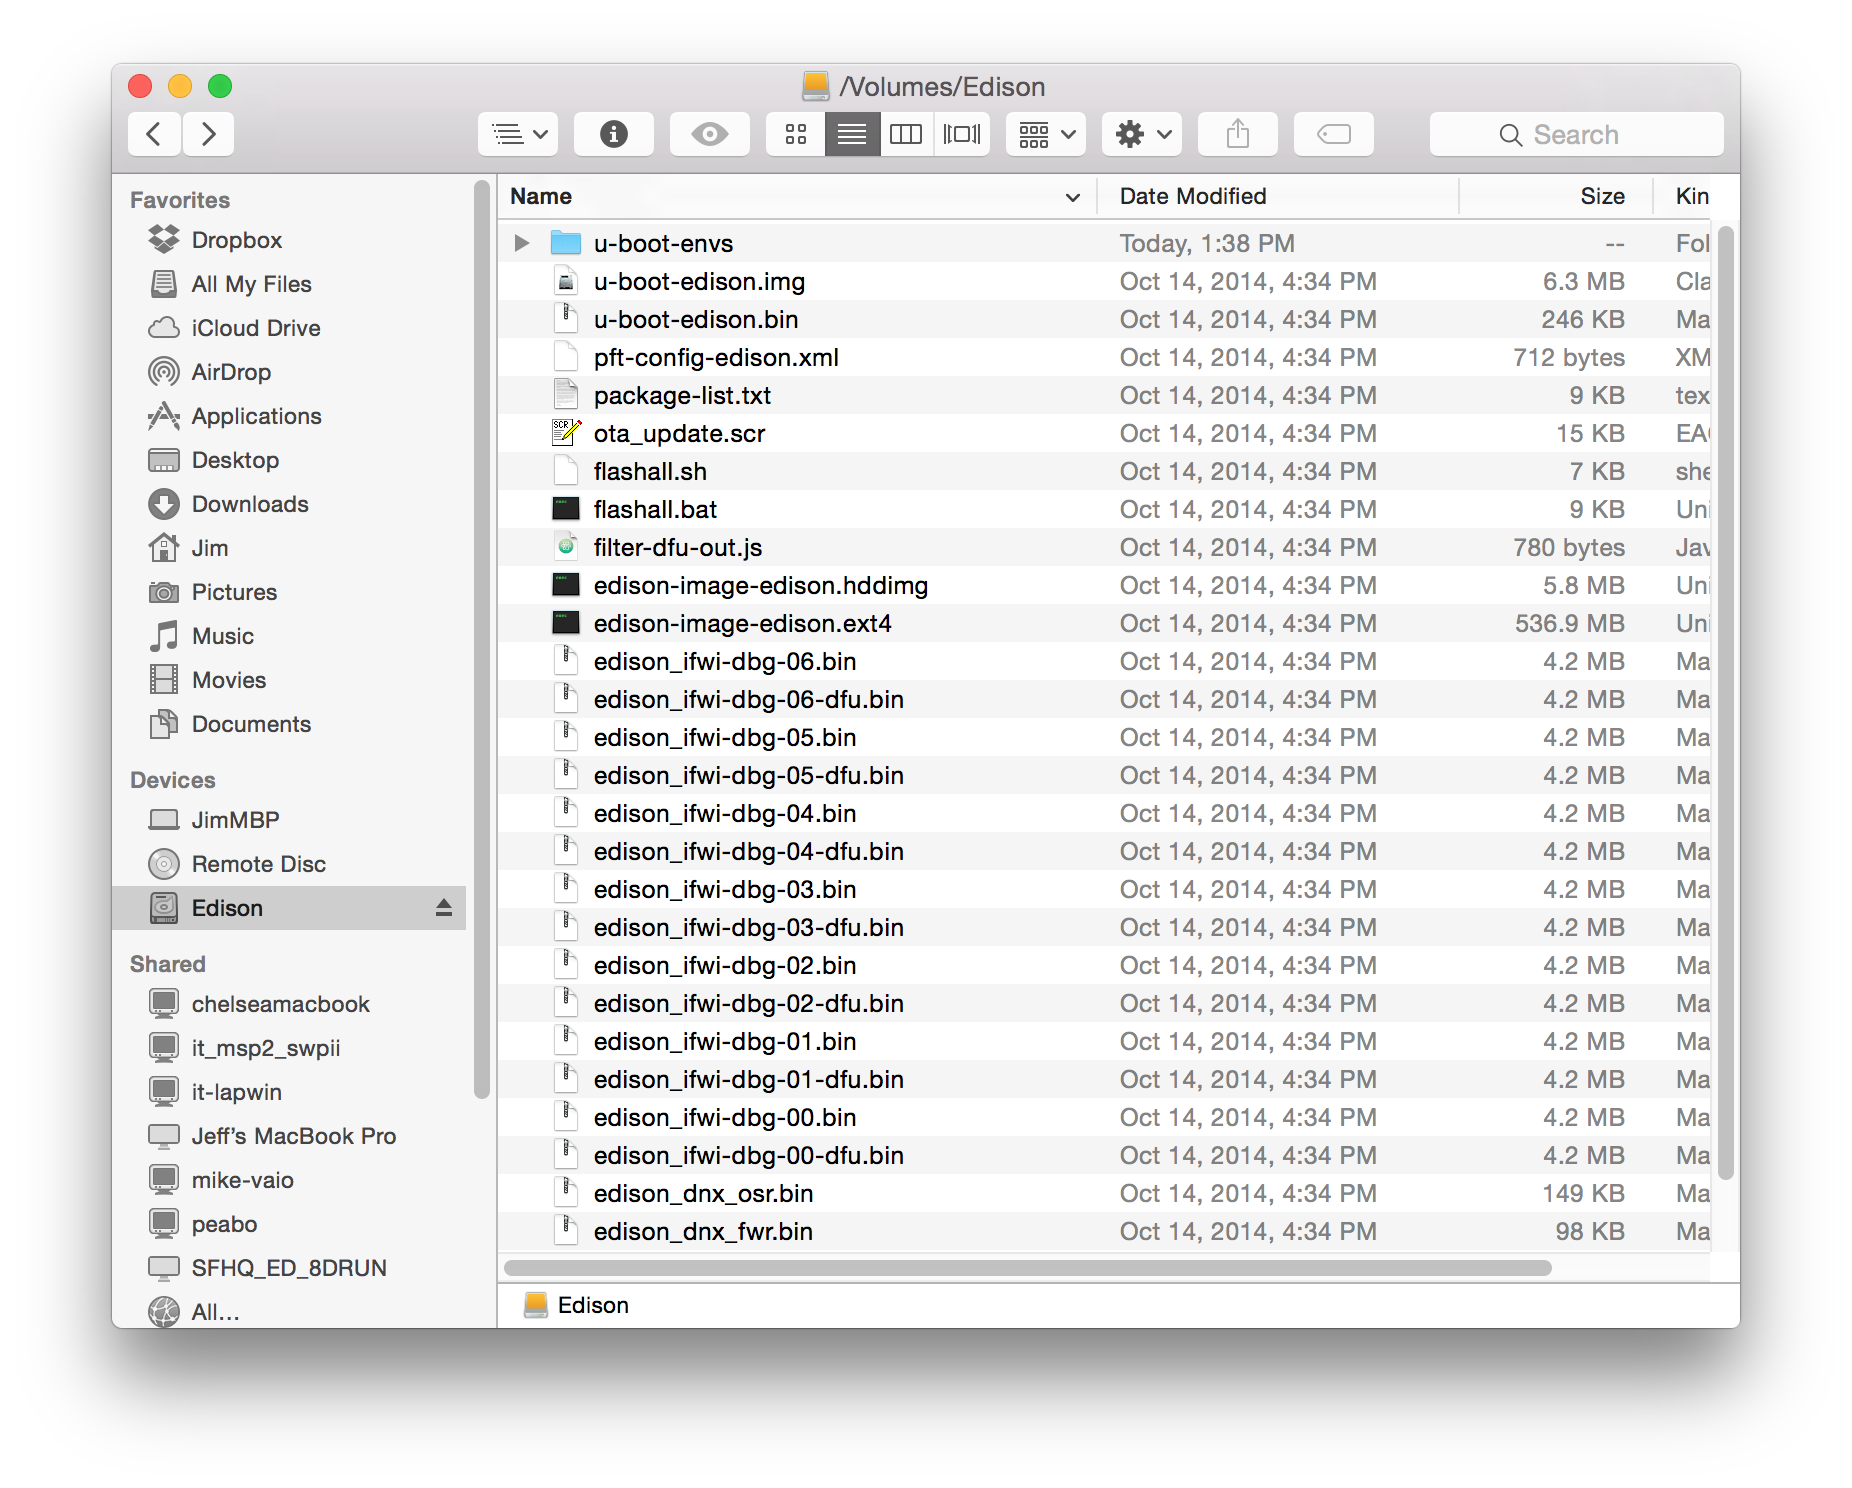
Notice that there are an assortment of bin's and other files at the top level of the drive, not within a folder within the top level.
Issuing the Update Command
Finally, begin the update by opening your Edison's console and entering this command: reboot ota.
The Edison will shut down, then, as it begins to reboot, it will notice there's a flash update in the mass storage device and begin to install the update. The update will take a minute-or-so to install, and the Edison will reboot one last time.
When the Edison comes back up, log in as root and take comfort in knowing your Edison is running the latest and greatest version of the Edison Yocto image.
Connecting to WiFi
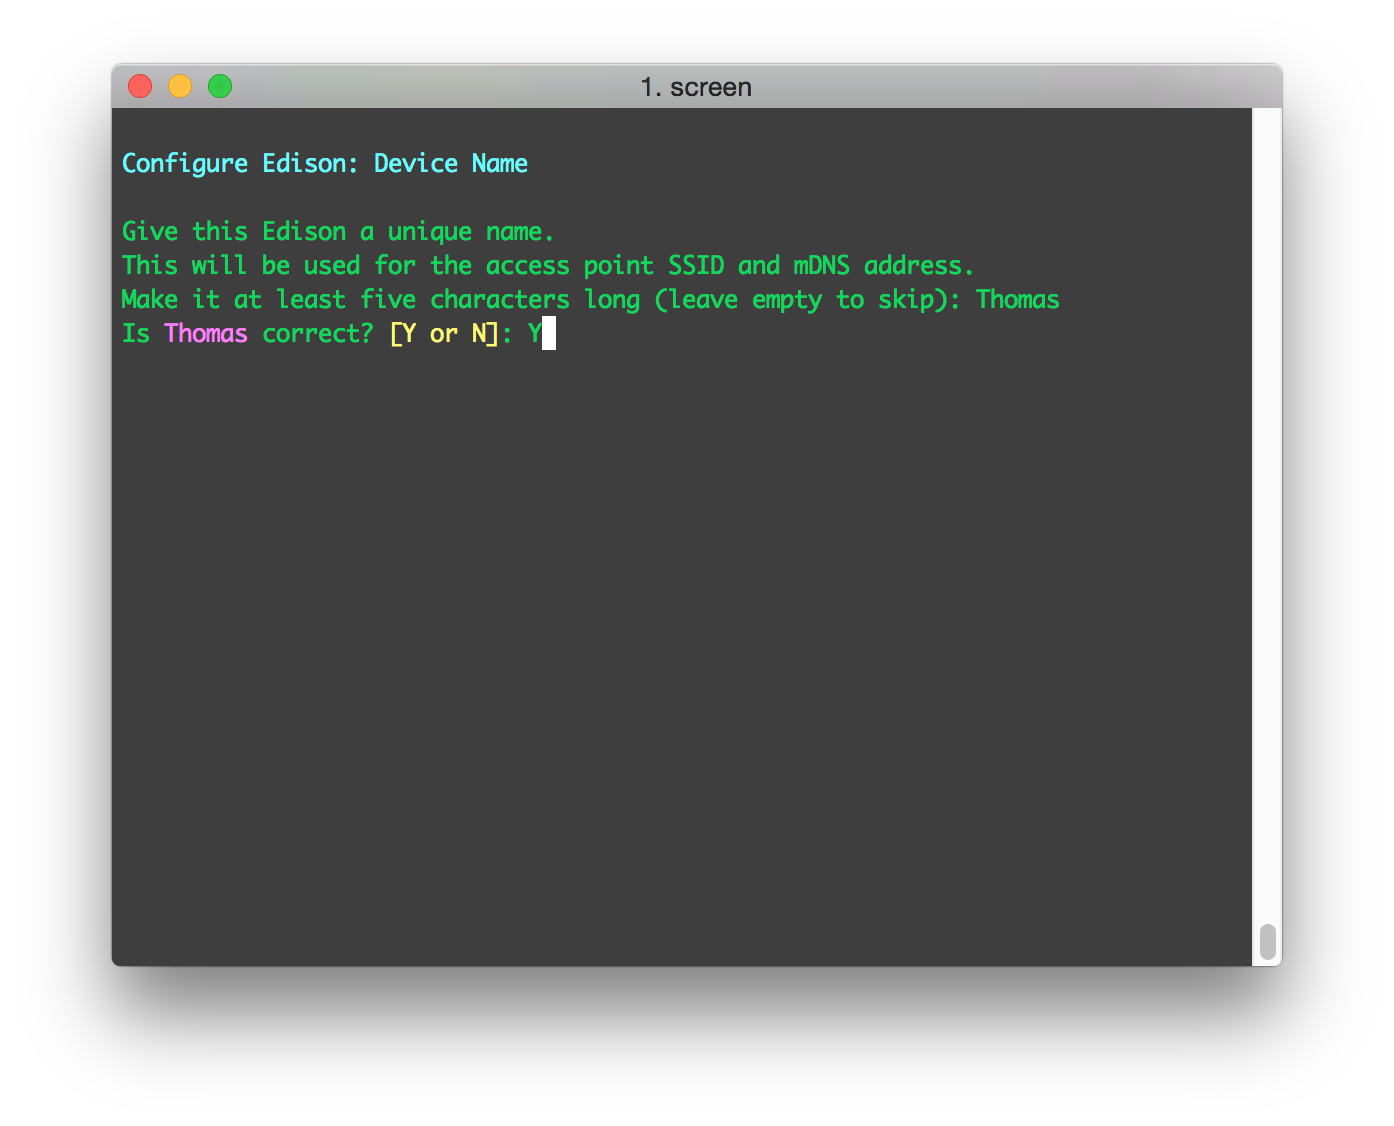
The latest version of the Edison firmware includes a handy utility to set up WiFi -- configure_edison --setup. Type that into your Edison's console, then follow the in-terminal directions as you can edit the Edison's name and WiFi settings.
First give your Edison a unique name:
Then, if you so desire, assign a password to your root user:
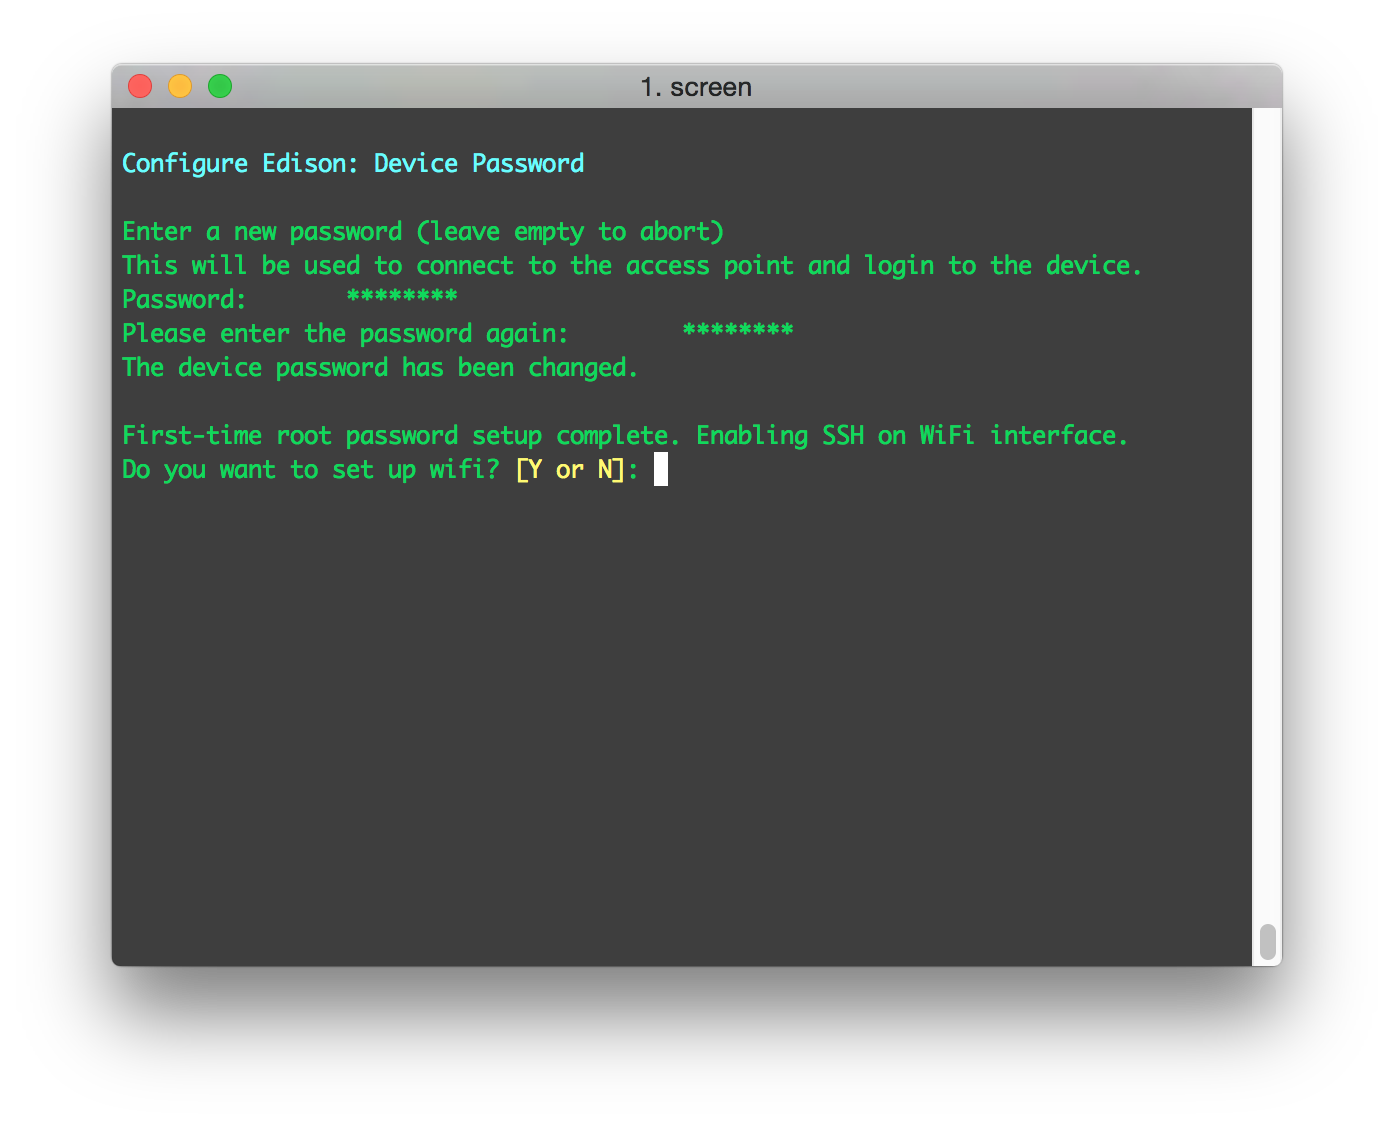
Finally we get to the reason we're here. Type 'Y' to jump into the WiFi setup utility. The Edison will scan for nearby wireless networks, after a few seconds it will list the results.
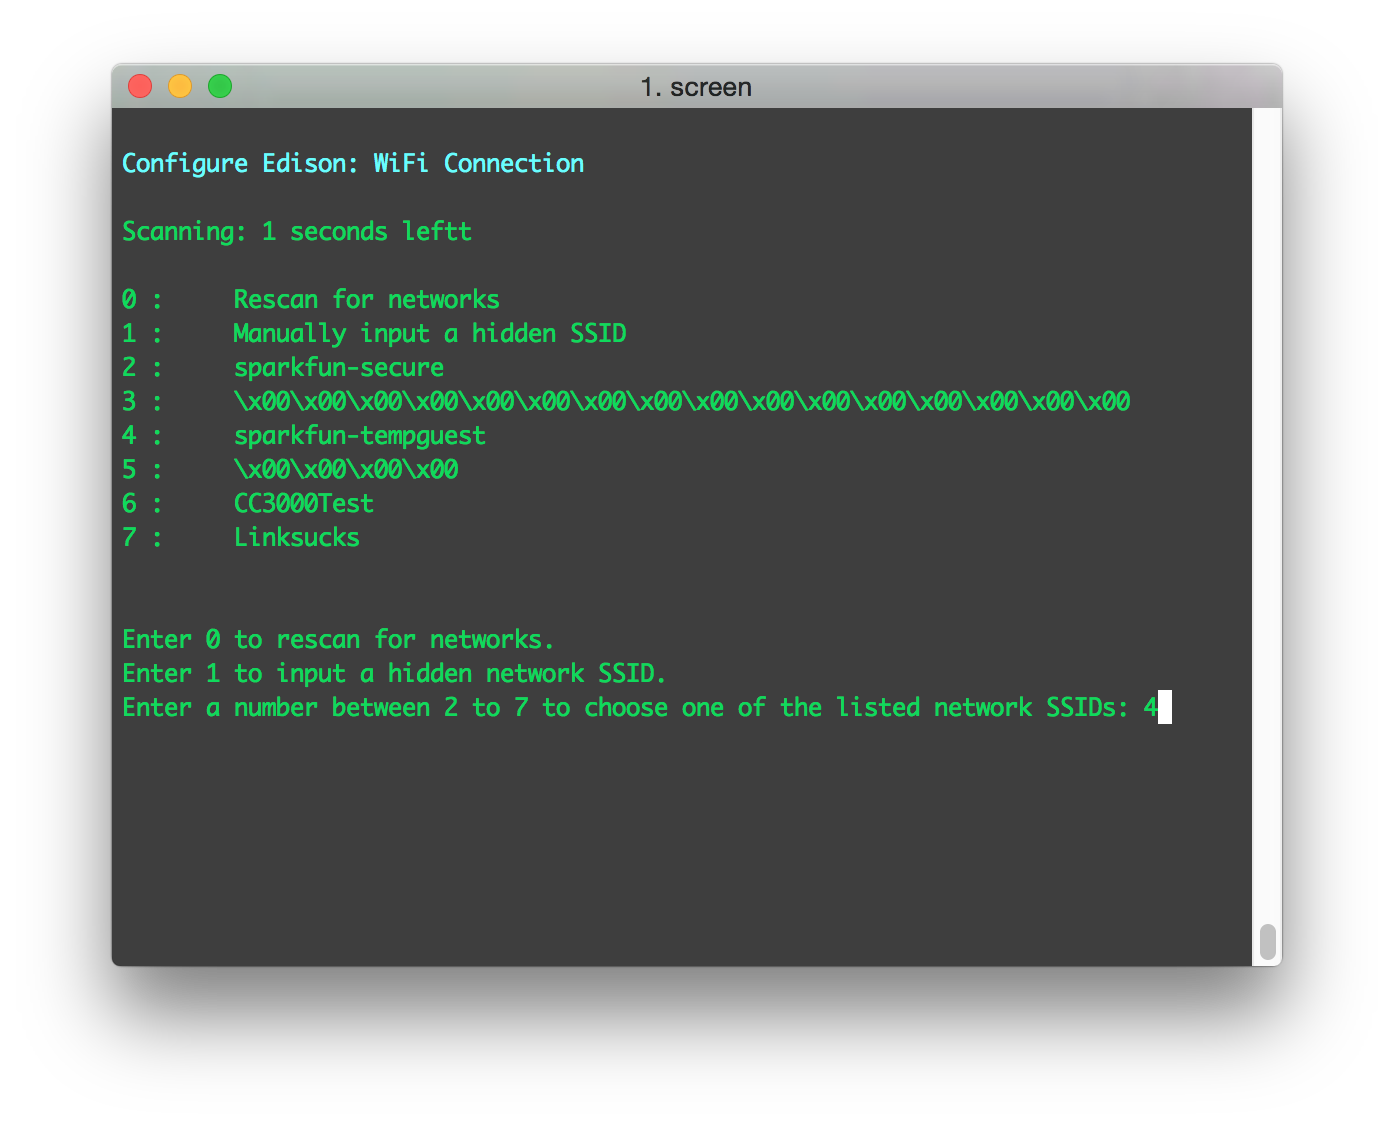
Type a number to pick an SSID, then enter your passkey and wait for it to (try to) connect.
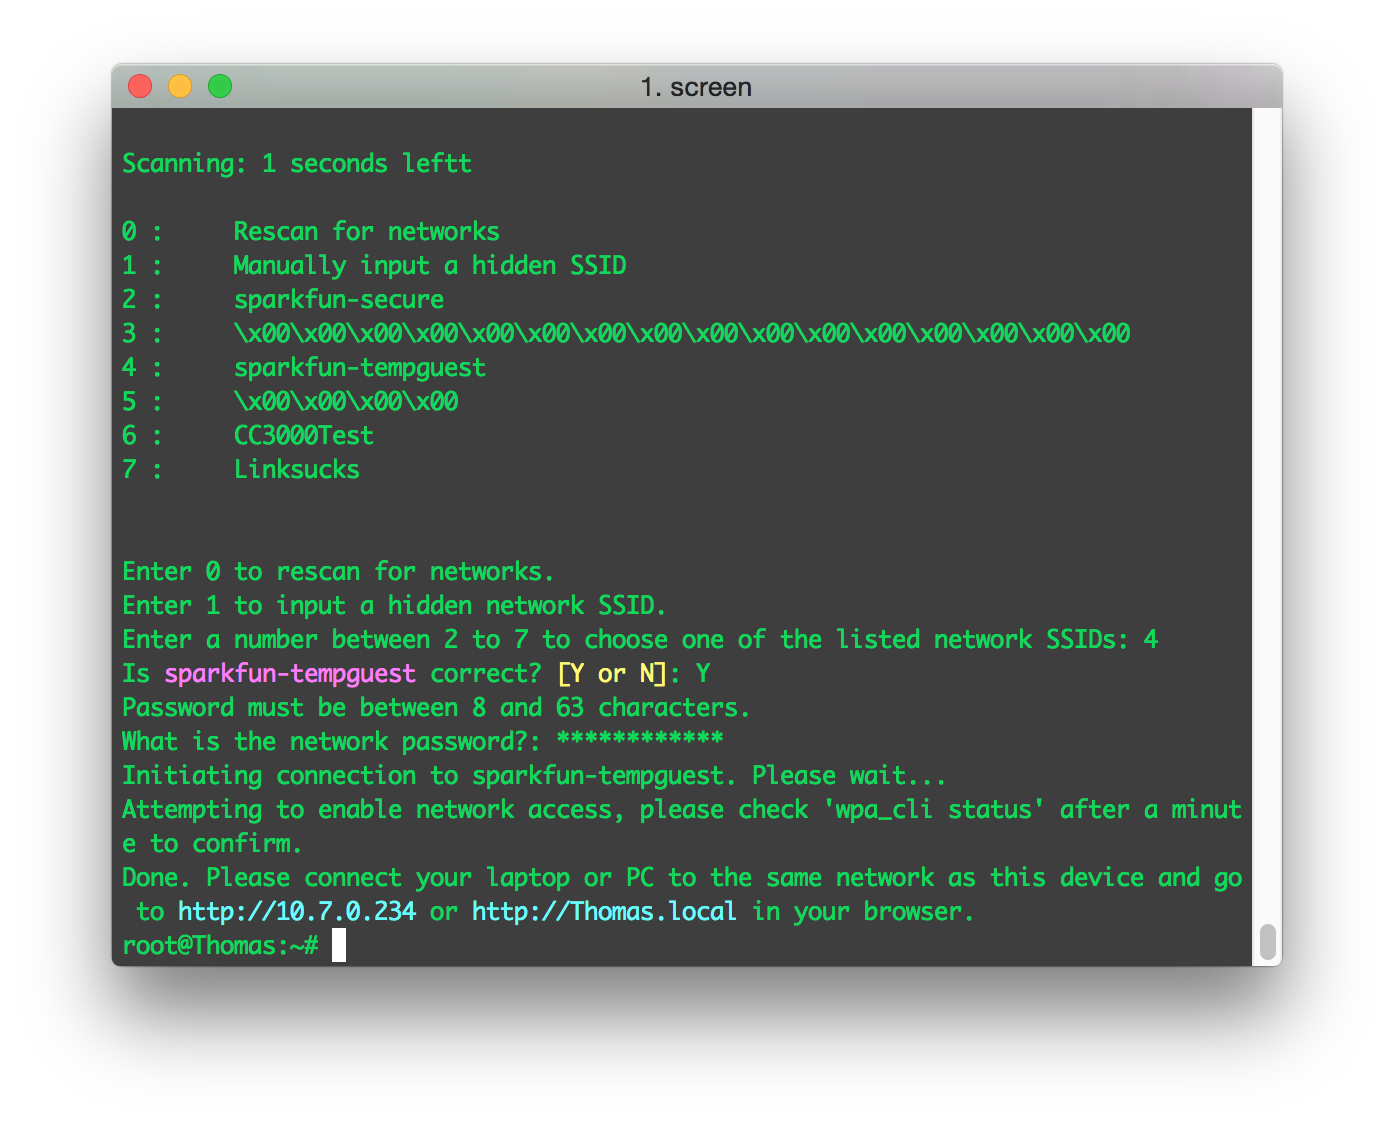
The last line of the configure utility will prompt you to open your browser and point to the Edison's local IP.
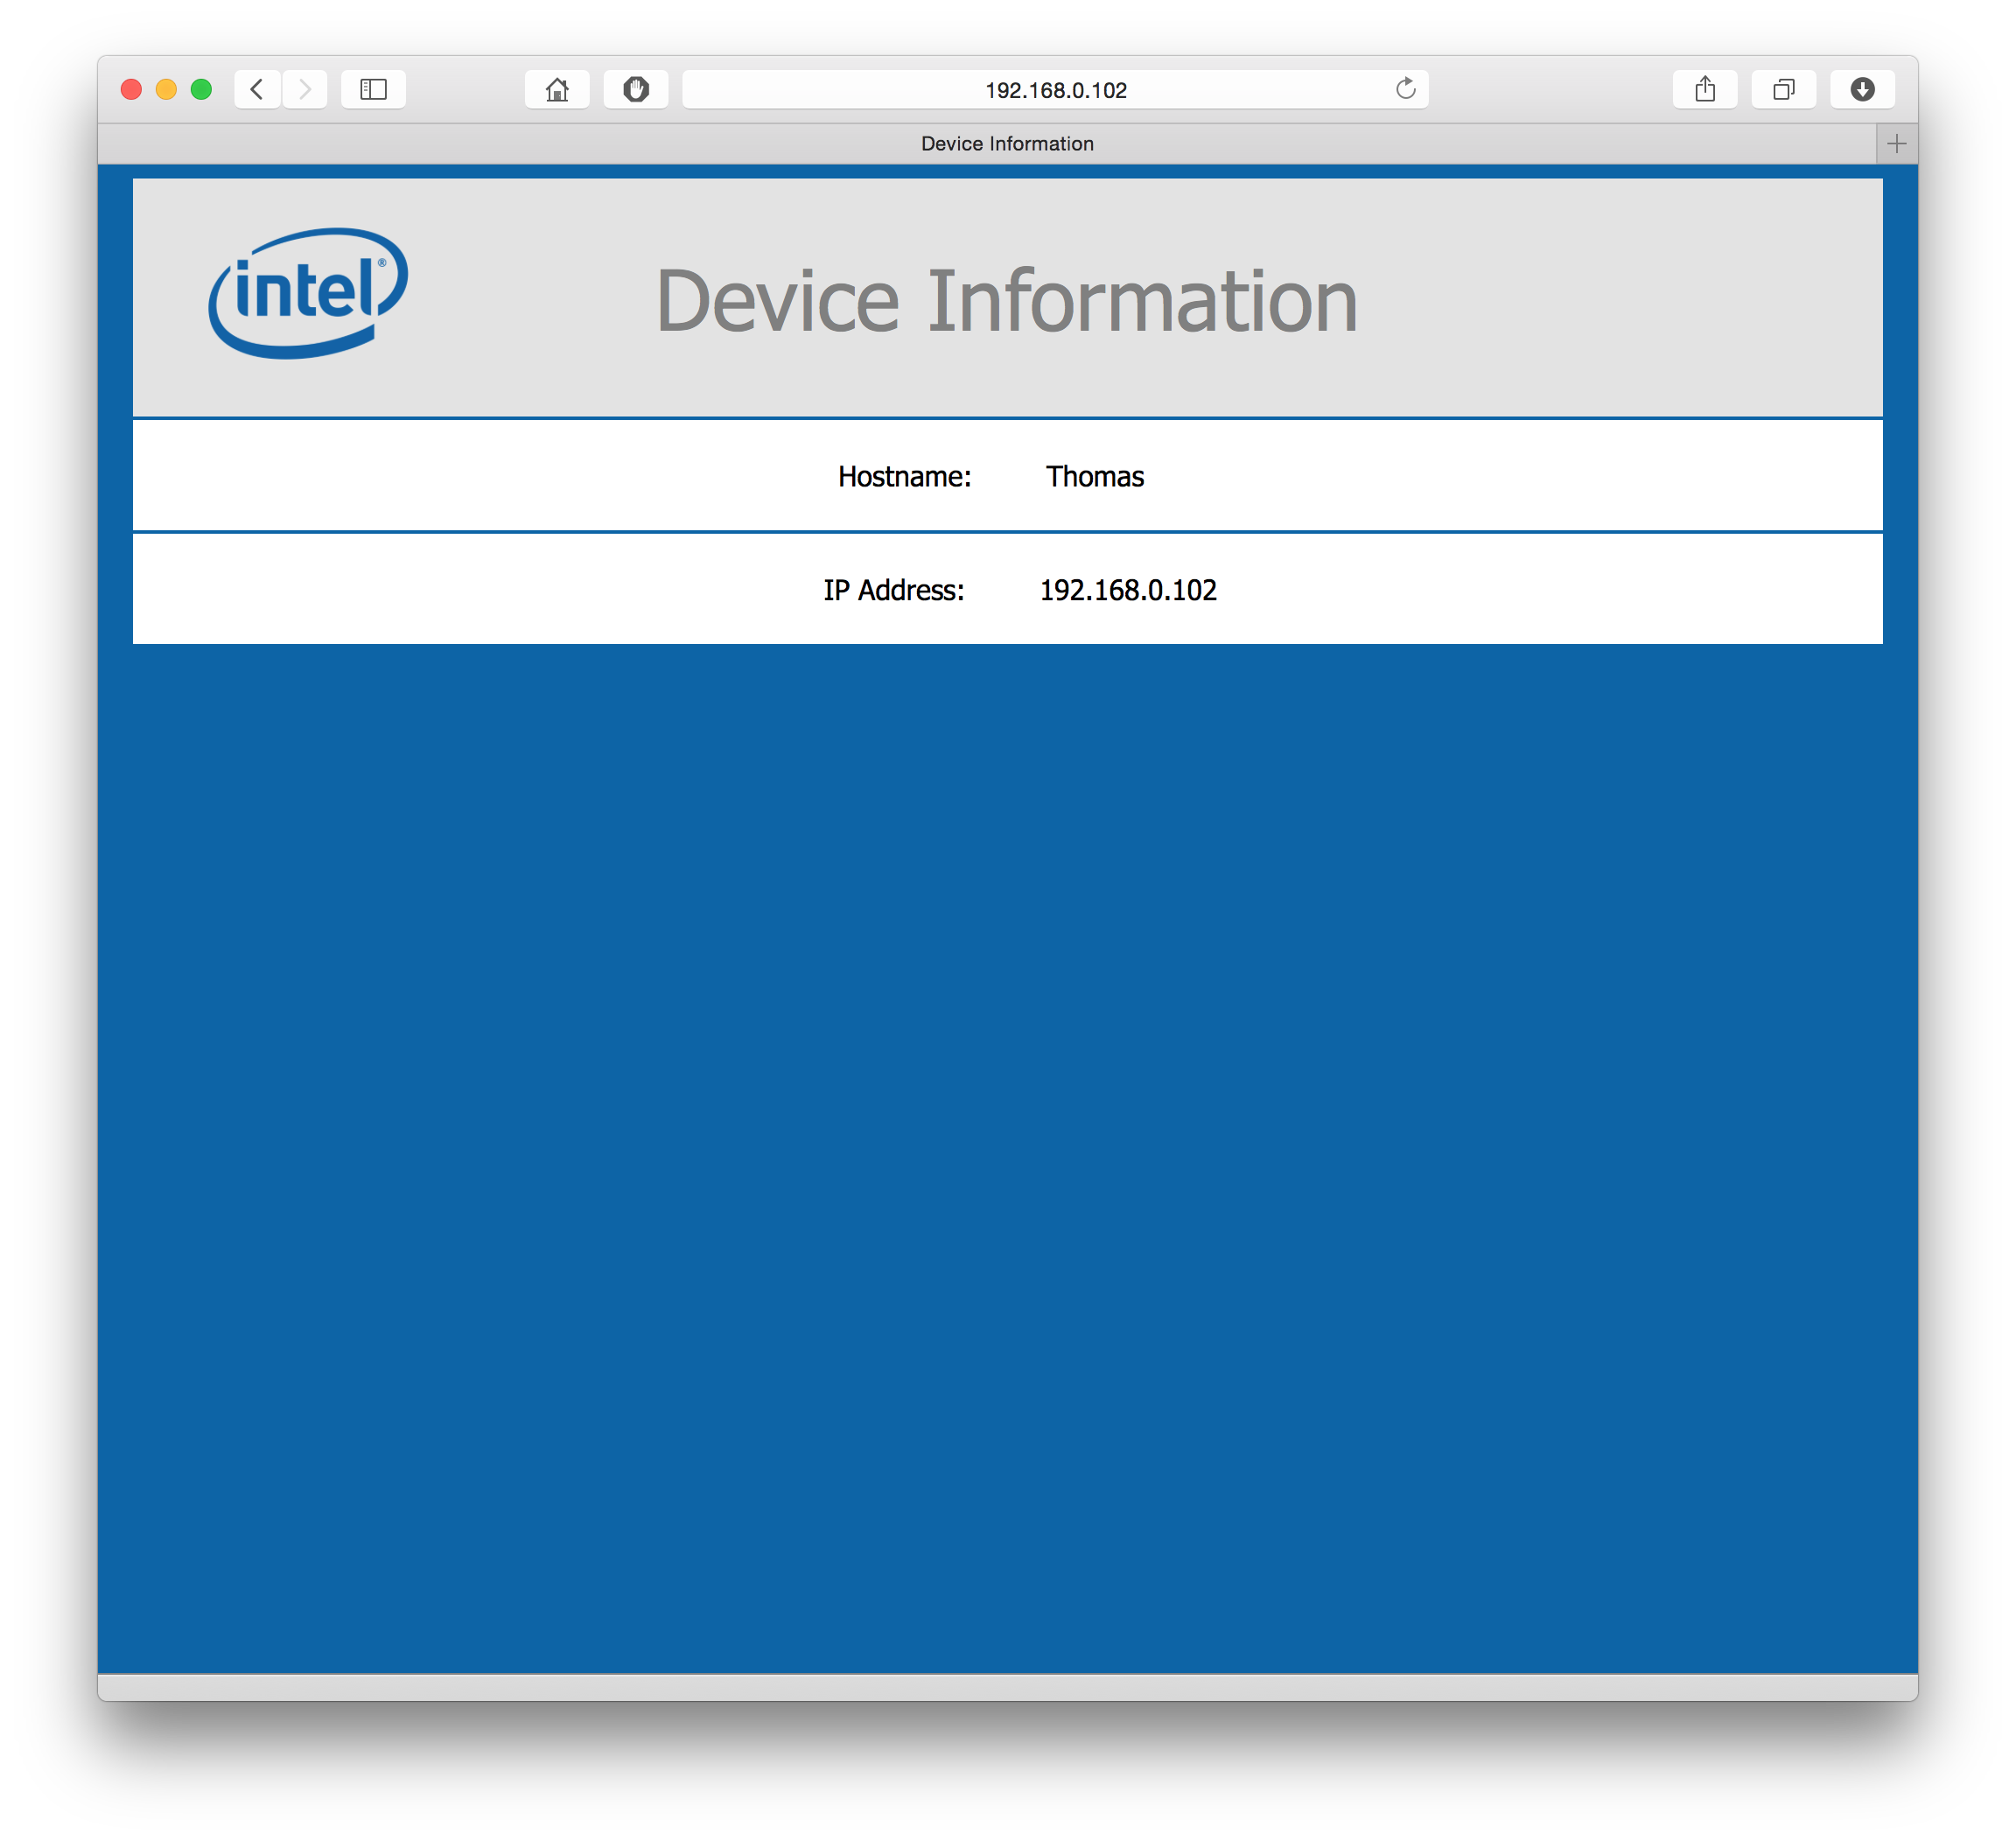
You won't glean a lot of information from this page, but it will provide some assurance that your Edison is on the WiFi network. Plus, just think of all the fun you can have with a tiny little credit card-sized computer that can serve up web pages like this!
You can use the console for other network-related stuff now, too. Try pinging your favorite web site with a command like ping sparkfun.com -c 4. Or check your network status with a command like ifconfig or ifconfig wlan0.
Now that your Edison's on the WiFi network, you can do all sorts of cool stuff. How about SSH-ing into it, so you can remotely interact with little computer's file structure?
SSH-ing into the Edison
If you've gotten this far, you may begin to realize that interacting with your Edison via the command line may get a bit tiresome. Luckily, now that you have WiFi set up, you can (figuratively literally) cut the cord and control your Edison through the network using SSH (Secure Shell). You can even download and upload files to the Edison over SFTP (SSH file transfer protocol).
In order to SSH into your Edison, you'll probably another piece of software installed on your computer. We like WinSCP for Windows machines and Cyberduck on the Mac.
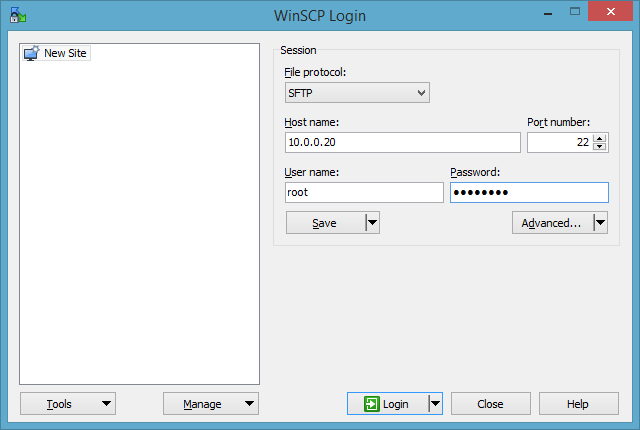
Using WinSCP (Windows)
When you open WinSCP, it'll ask you where and how you'd like to log in. Make sure "File Protocol" is set to "SFTP". Then, in the "Host name" text box, type the IP address of your Edison. For the "User name" and "Password" boxes, type "root" and the password you set (or leave it blank if you skipped that part).
(Personal frustration note: if you're having trouble SSH-ing into your Edison, you may need to turn off your Windows Firewall. Hopefully you don't have to ram your head against that wall for too long. Active VPN's may also get in the way!)
Once you click "Login", the program will attempt to remotely log in to your Edison. If it's successful, you'll be greeted with a file browser. These are the actual files living on your Edison! You can use this browser to upload or download files. This is a great utility if you're developing programs to be run on the Edison, your only other option is monochrome vi in the terminal (which would be pretty hardcore).
WinSCP also includes a utility for interacting with the remote host via a terminal. Go to "Commands" > "Open Terminal" and you'll be right back to the console.
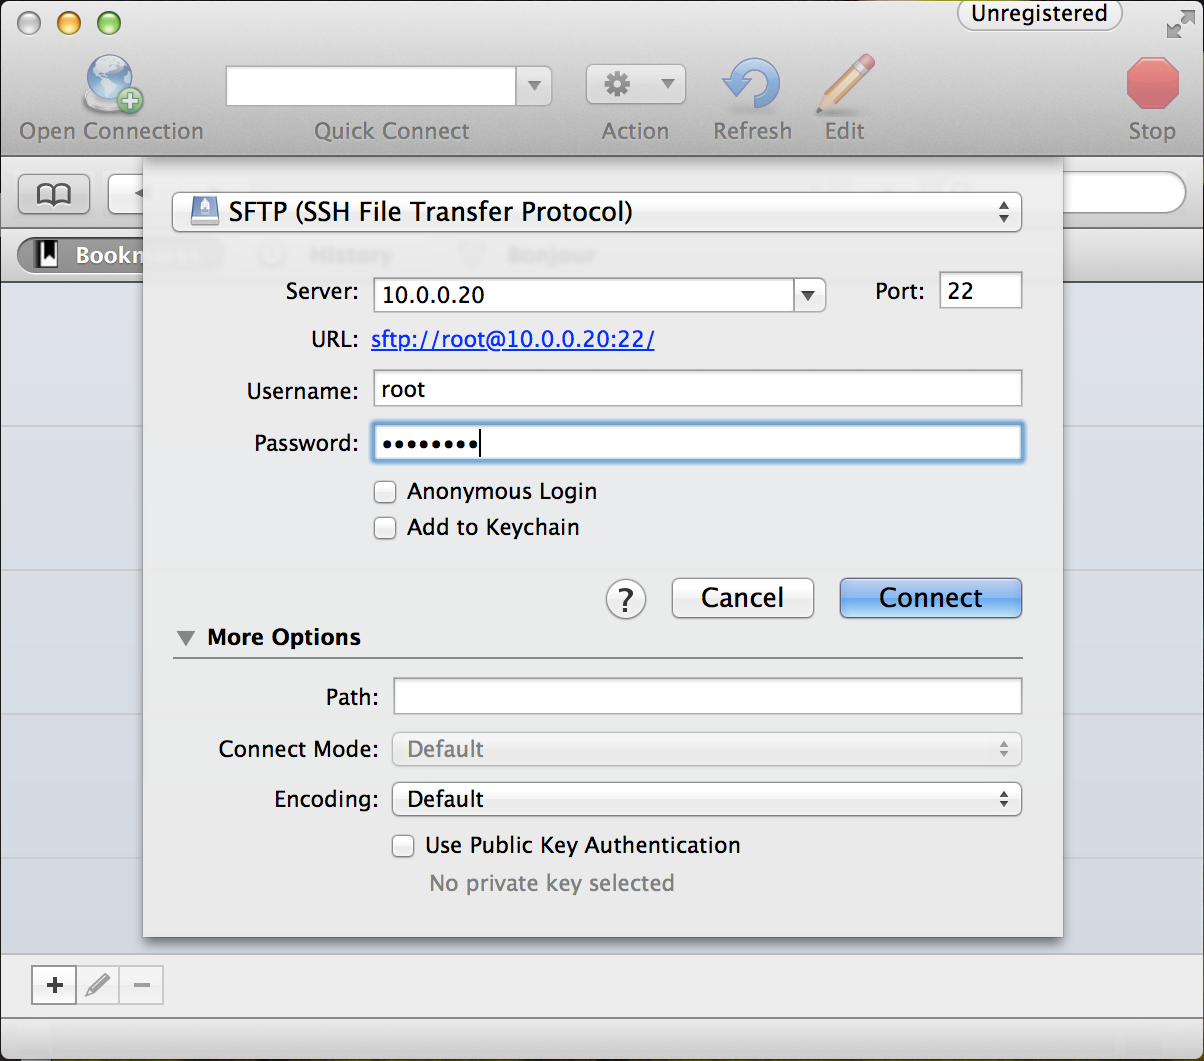
Using Cyberduck (Mac)
It'll be the same idea in Cyberduck. Type your Edison's IP address into the "Server" box. Then type "root" as the "Username" and your password if you set one. Then hit "Connect."
Like WinSCP, Cyberduck will present you with a file explorer. This will allow for an easy, graphical interace for managing your Edison's files.
If you'd like to interact with the console remotely, open up your Mac's terminal application. Then type ssh root@10.0.0.20, making sure to sub in your Edison's IP address. When/if prompted for a password, type that in, then you're back to the Edison console.
Resources and Going Further
Now that you've got an Edison connected to the web, what's next? Need some inspiration? Check out these tutorials
SparkFun Blocks for Intel® Edison - Battery Block
SparkFun Blocks for Intel® Edison - Console Block
General Guide to SparkFun Blocks for Intel® Edison
Loading Debian (Ubilinux) on the Edison
SparkFun Inventor's Kit for Edison Experiment Guide
- General Guide to Sparkfun Blocks for Intel Edison -- A general guide for using Sparkfun Blocks for Intel Edison in your next project!
- Loading Debian (Ubilinux) on the Edison -- How to load a Debian distribution (specifically Ubilinux) onto the Edison.
- SparkFun Inventor's Kit for Edison Experiment Guide - You don't need the kit to start programming the Edison with JavaScript!
- Console Block Hookup Guide -- A quick overview of the features of the Console Block.
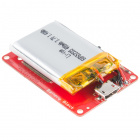
- Battery Block Hookup Guide -- A quick overview of the features of the Battery Block.
- GPIO Block Hookup Guide -- A quick overview of the features of the GPIO Block.
- Intel Edison Getting Started Guide -- This tutorial was written to help reinforce these guides written and hosted by Intel. They've got separate pages for Windows, Mac OSX, and Linux.
- Intel's Edison Home Page -- There's a wealth of information in Intel's Maker forum and throughout their Makers web community.
If you're new to Linux, we highly recommend checking Userland, a guide to all things shell.