Dungeons and Dragons Dice Gauntlet
 Dia
Dia 
Getting Crafty
If you haven't already, go ahead and cut the leather (or stiff fabric substitute) to your pattern, full size, which should make it about an inch larger than the felt on every side. If you want to put designs and embellishments on the front, it might be a good idea to wait until you've done all of the cutting you're going to do. I didn't do that, and as a result, ended up with my dragon design mushed up a little closer to my display than I would have liked it. Learn from my silly mistake!
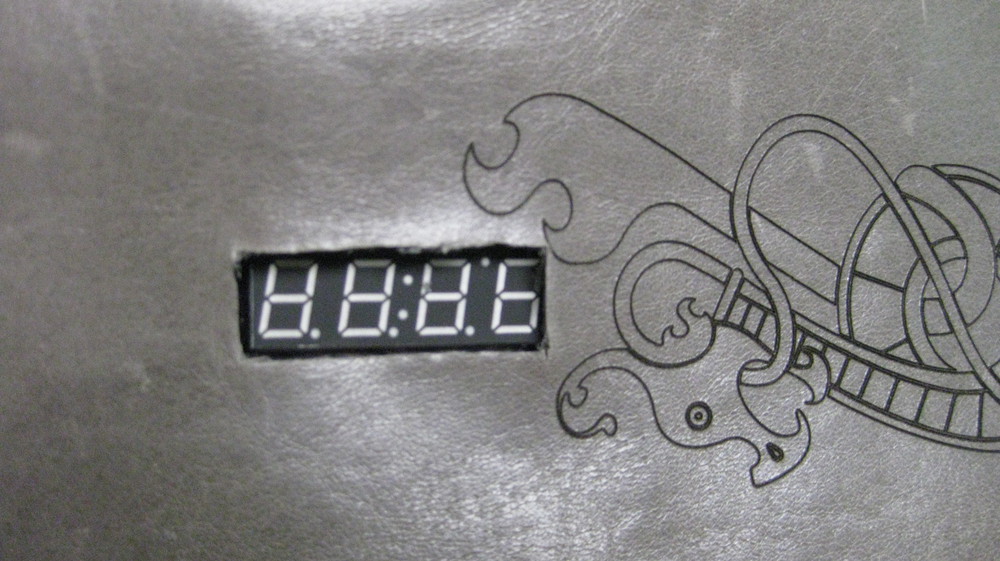
Remember that hole you cut in the felt to press the face of the display through? You're going to do that again now, but it's even more important that it be a nice neat hole and a good fit, since this is the going to be on the face of the bracer. I pressed the face of the serial display into the leather, traced around it with a pencil, and sliced it out with an Xacto knife. It's a little messy, and there are probably better ways of doing this. If you've got one, use it! The more finished this edge looks, the more professional the whole project will look. Really, that goes for all of the crafty parts of this project. If you've got more craft-fu than I do in these areas, use it! There's so much room for improvement!

Once you've got your hole cut, press the serial display through it. You should have the display on the front of the leather, and all of the rest of the electronics on the back side, still exposed and visible if you flip the whole thing over. At this point, I put a few dabs of hot glue on the red board to secure it to the back of the leather and keep things in the same place so that, when I cut the next holes, they'll be lined up properly.
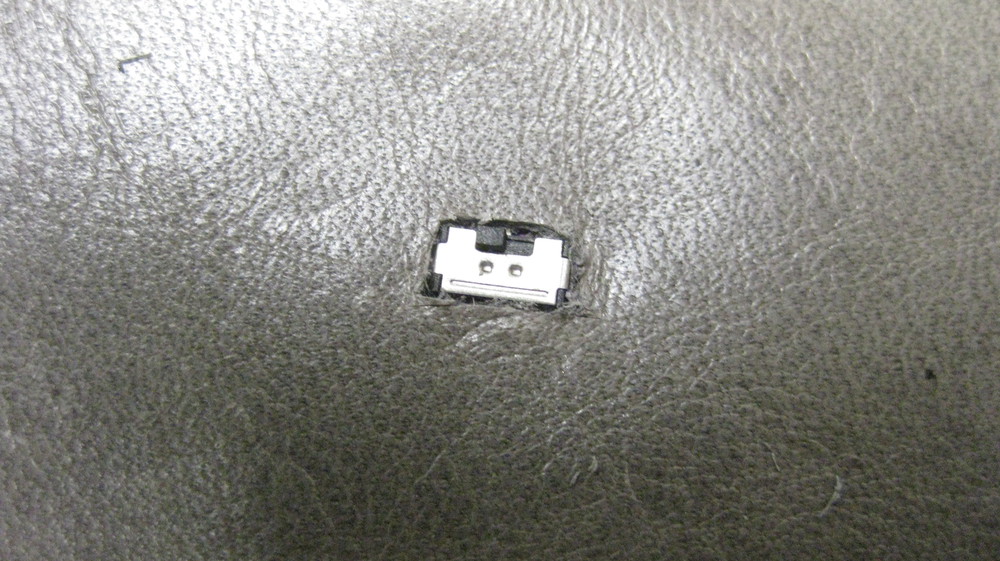
To cut the small holes for the switches, I just pressed the leather down against them, leaving indentations where the holes needed to be. This won't work with every fabric, but it should work with quite a few. If it isn't working for you, try feeling for them through the fabric with your fingers and gently tracing around each perimeter with pencil or chalk. Then, carefully cut that shape out with a craft knife. I did not cut out a hole for the entire purple board, just a very small hole so that only the silver switch shows through.

Note that my switches are not even REMOTELY in a straight line. I didn't worry too much about this, but it's entirely up to you where to put them. Straight line, not at all like mine, or even less of a straight line than I did. I've shown you where the traces need to go, and, as long as they get there, place them wherever you desire. In this photo, the felt isn't really attached to the leather. The only place where these layers are connected is the spot where I glued the display PCB to the leather. Everything else is just flopping around, as it were. That's because I want to be able to get to both sides of the felt after everything is put together, in case anything comes loose. The sad fact is that conductive thread stitches are just as vulnerable to tearing and loosening as any other stitches, and, over time, the circuit is going to need repairs depending on how frequently you use it. Make sure you're not making that too hard on yourself later!

I added a little bit of faux fur to the top and bottom edges of my bracer, because I wanted it to have a nice 'barbarian' feel to it. I made sure the fur was pointing off of the bracer in each direction. Then I cut the fur at the top edge off as short as I could, so I would have a nice flat surface to glue to the bracer, helping to keep it from sliding around.
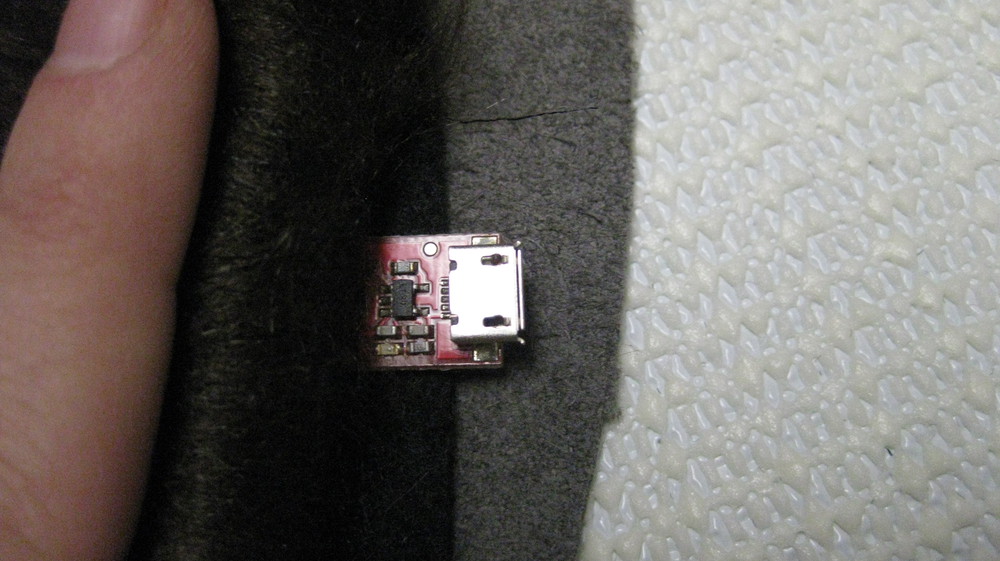
Make sure if you add fur or any other trim to these edges that you leave the mini or micro USB end of your charger board accessible. You want to be able to plug this in when the bracer needs to be charged up!

As a last touch on the back of the bracer, I added a small flap of a soft fabric. This part of the bracer has a lot of exposed electronics, and is going to be tied down close to your skin. I wanted to keep it from being scratchy, so this piece of fabric is just there to serve as a barrier between skin and electronics. I glued down only one edge of the fabric, so that it would be easy to get to everything underneath.

Last, you need to be able to close the bracer around your wrist. I used store-bought grommets and a leather lace. If you've got another way, absolutely go for it! Different styles of grommet tend to come with different application techniques. I used some pretty basic ones from the fabric store, which you pound in with a hammer and a little tool that comes in the package. You could pretty easily just attach leather or ribbon straps to both sides and tie them together, or use frog fasteners -- there are a lot of options here. If you use another method, attach them however the instructions say, and make sure that everything fits right before you attach anything permanently. You'll almost certainly want to borrow someone else's hands for that part. It's a pain to tie something around your own wrist!
Flip all of the number switches down, plug in your battery (if you haven't already), and flip the power switch on the underside up. You should get 'd8d' on the display. Now switch up one of the numbered switches and give your arm a shake. The bracer will roll a random number between one and the number on the switch you flipped up. If you've accidentally left more than one switch up, or no switches up, the display will show 'durr'.
Enjoy basking in the envy of your party!