Dungeons and Dragons Dice Gauntlet
 Dia
Dia 
Assembly: Sewing Power
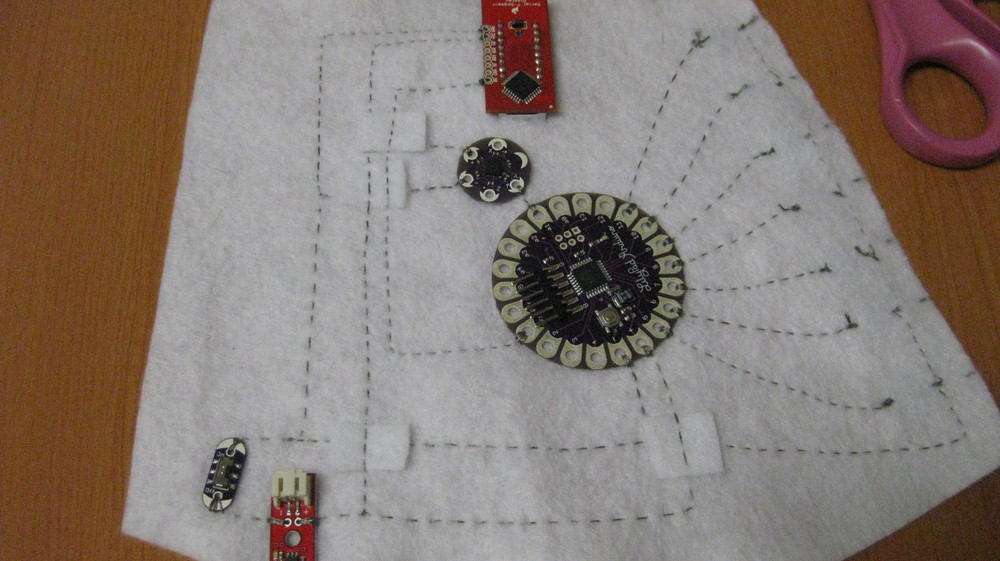
We're going to move on now to the positive traces. Connecting all of the pins labeled either (+) or VCC to each other. Take a look at the traces I've laid out in the copper tape. You can see that in three places, this trace is going to cross over places where you laid down negative trace. In those places, I've put down small pieces of felt to act as bridges. It's going to be critical that these traces not come in contact with each other, so cut each bridge big enough to ensure this. Be very careful when you're stitching over them that you either skip entirely over, or stitch very near the surface, so that your top trace doesn't go all the way through the bridge fabric and contact your bottom trace.

Here's that portion finished, with the felt bridges in place. Now, you've got your switches connected entirely, and you've got power and ground attached to all of your boards. You're missing an input from the accelerometer to the Arduino and an output from the Arduino to the serial display, so we'll do that next.

I've laid the traces out in copper again. I'm connecting the Y pin on the accelerometer to the A1 pin on the Arduino and the TX pin on the Arduino to the RX pin on the serial display. Connecting the accelerometer up is a snap. That's a very short, simple connection if you've set the circuit up the way I have. If you've made changes, it could be different. Connecting the serial display up is a little more tricky, because you're going to have to cross a few other traces again. I reused the edge of one of my bridges over the negative trace and added another one over the positive on the way to the display.
That's all of your connections. Now we just need to upload the code!