Dungeons and Dragons Dice Gauntlet
 Dia
Dia 
Assembly: Preparation
Our gauntlet circuit is going to look a little something like this:
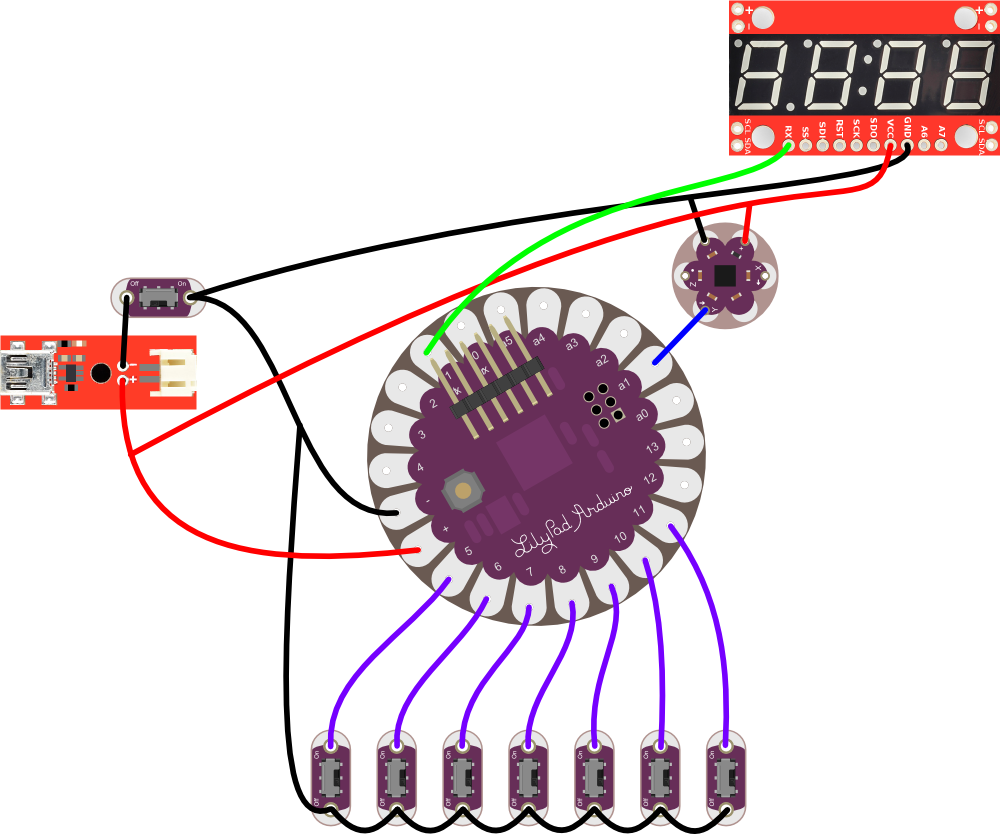
One of our switches controls current flow out of the battery, the other seven switches are connected to the LilyPad Arduino pins 5-11. The Y-axis of the accelerometer connects to "A1" of the LilyPad, and the "RX" pin of the display connects to "1" ("tx") of the LilyPad. The rest of our connections are just power and ground.
Bracer Preparation
Start with your bracer pattern. You can be as simple or as complicated about this as you'd like. There are a number of bracer patterns online, or you can create a basic trapezoid shape. Use the circumference of your wrist for the short side, the circumference of your forearm for the long side, and the length you'd like the bracer to be for the equilateral sides. Mine was about 9 inches long. If yours is shorter, you might have to condense my circuit a little bit to make it fit. You'll cut your leather to this size and shape, but let's start with the felt so that we can create the circuit. Cut the felt one inch smaller than the pattern on all sides, and lay out your circuit. It should look roughly like this:

Make sure that you have the LilyPad Arduino Main Board oriented properly. You want to be able to attach everything properly. The 7-segment display will need to be flush with the fabric, so start by tracing around the face of the display on the fabric and then cutting this rectangle out.
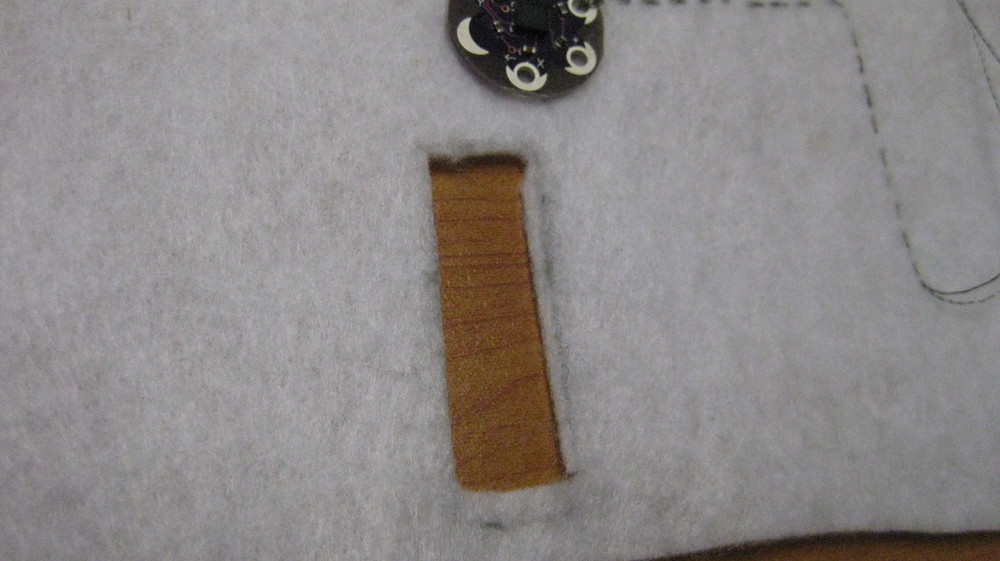
The side of the fabric you've laid the parts out on will be the back of the bracer. Press the display through the hole in the back to the front, like so.
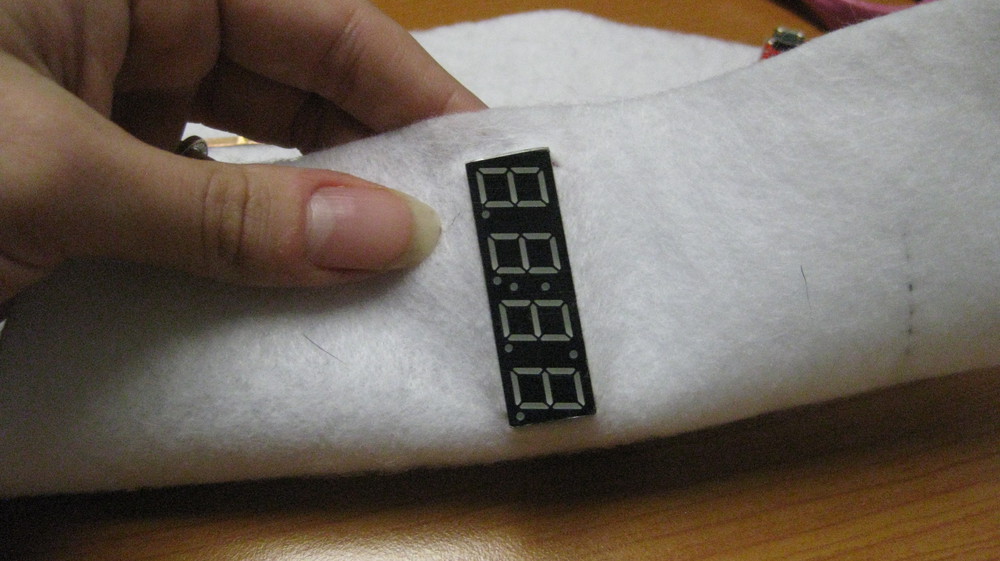
Now that the display is lying flush with the felt, so that only the red PCB is on the back side, it's time to begin sewing!