Building Large LED Installations
Introduction
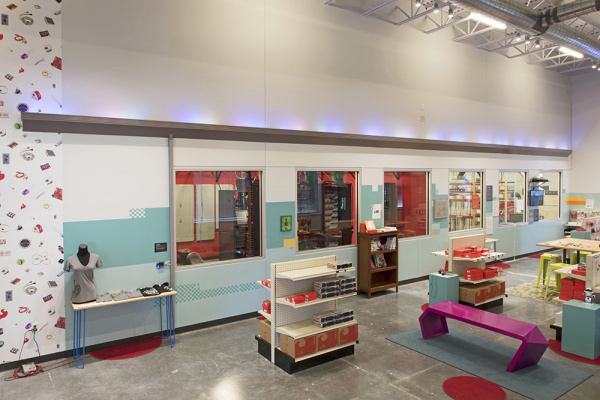
While designing the layout for the new SparkFun Emporium, I was given the opportunity to design a large LED art installation. I've helped build LED installations before, but had never had the opportunity to design one from the ground up. Thus was born the CandyBar, a 46-foot LED bar consisting of 8 meters of addressable LED strips (480 LEDs total), all controlled via a FadeCandy connected to a Raspberry Pi running the FadeCandy server.
Covered in this Tutorial
Controlling LEDs is one of the most fundamental tasks in embedded electronics, and it's often the "Hello World" for many beginners starting out on a new platform. However, LED-based projects add up quickly and can become complex very fast. This tutorial is intended to be a guideline for helping you design and build your own large-scale LED installation, while sharing some of the lessons learned from this build.
We'll go over the planning stage, pointing out considerations that will need to be taken as you design. This section will cover how you plan to control the LEDs, as well as power considerations. Next, we'll cover the build process. This section will cover how to build in stages for large projects, and how to make your installation transportable if need be. Last, we'll show the installation process and discuss the next steps to make your installation interactive.
Materials Used
Here is a list of all the SparkFun parts used in this project.
Other parts used in this build include:
- 24V/250W Power Supply
- OctoController and Dual Driver PCBs - Custom PCBs designed for LED installations (more info on these below).
- OctoController parts
- DualDriver parts
- Coilcraft Inductor for each DualDriver board.
- Ethernet cables of varying length. I used a 3ft. cable from SparkFun, and 15ft., 25ft., and 50ft. cables from Amazon.
No two installations will ever be exactly the same. This list is just here for reference and suggestions. Your vision and budget may vary, resulting in certain parts being added or omitted.
Suggested Reading
The FadeCandy GitHub is definitely the place to start if you've opted to use the FadeCandy in your project. There are tons and tons of examples showing how to control it through various means, from C++ and Python code to Processing.
A lot was learned from my friend Dan Julio, who built a very impressive LED installation, Luminescence, for The Dairy Center in Boulder, CO. His controller and driver PCBs were used in this design to ensure the installation would be robust and last as long as the space it's housed within. More information about these boards can be found on his website.
This FadeCandy LED Curtain tutorial written by Phillip Burgess was also very helpful. Learning how to set up the FadeCandy Server with multiple FadeCandy devices or with an irregular number of LEDs requires altering the configuration file for the server. This tutorial helps clarify how to setup said configuration as well as offering lots of other great tips.
If you need to brush up on some more basic concepts, here are some that pertain to this tutorial.
- Ohm's Law & Electric Power - Together, these tutorials teach you how to calculate all the necessary power requirements your LEDs will require.
- LED Basics - Learn about the finer details pertaining to light-emitting diodes.
- How to Solder - There's lots to solder in any installation.
- Working with Wire - Being a pro at wire splicing and soldering will make the build process much easier.
- Getting Started with Raspberry Pi - If you've never worked with the Pi or similar Single Board Computer before, you may want to check this out.
