Building Large LED Installations
 Joel_E_B
Construction
It's wise not to start building until you have all the parts you think you'll need. As you build, you may find a need for parts you didn't think of during the design phase. Or, as in my case, you may find that you didn't get enough of a particular material.
The actual assembly and construction is my favorite part. It's very satisfying to watch your project come to life, piece by piece. In my case, I needed a very long space to work in. All the pieces of hardboard were placed in one long row, just as they would be in the final installment.
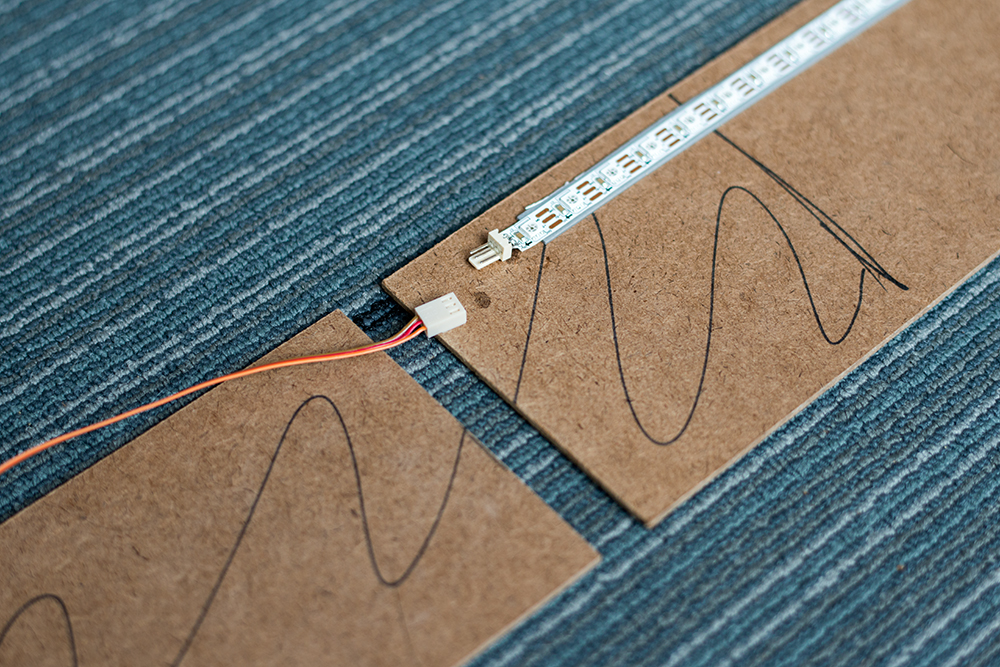
Each segment was marked where the LEDs would be attached and where the driver boards would go.
To attach the strips to the driver boards, the opposite ends of the strip that weren't needed were cut off and connected via screw terminals.

As planned, some of these connectors ended up near the end of the hardboard sections, making connecting and disconnecting a breeze. However, some of the segments did not line up with the hardboard. These strip segments were affixed with polarized connectors.
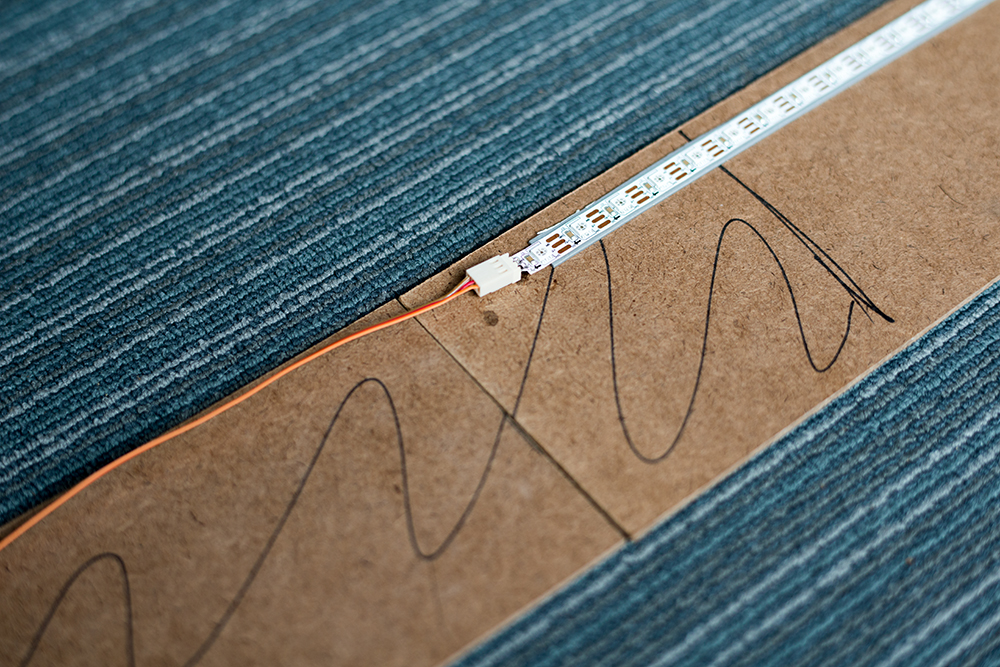
With everything marked and the LED strips prepped, it was time to adhere the strips and drivers to the hardboard with double-sided tape. Ribbon cable was used to connect the portions of LEDs that didn't need to be disassembled.
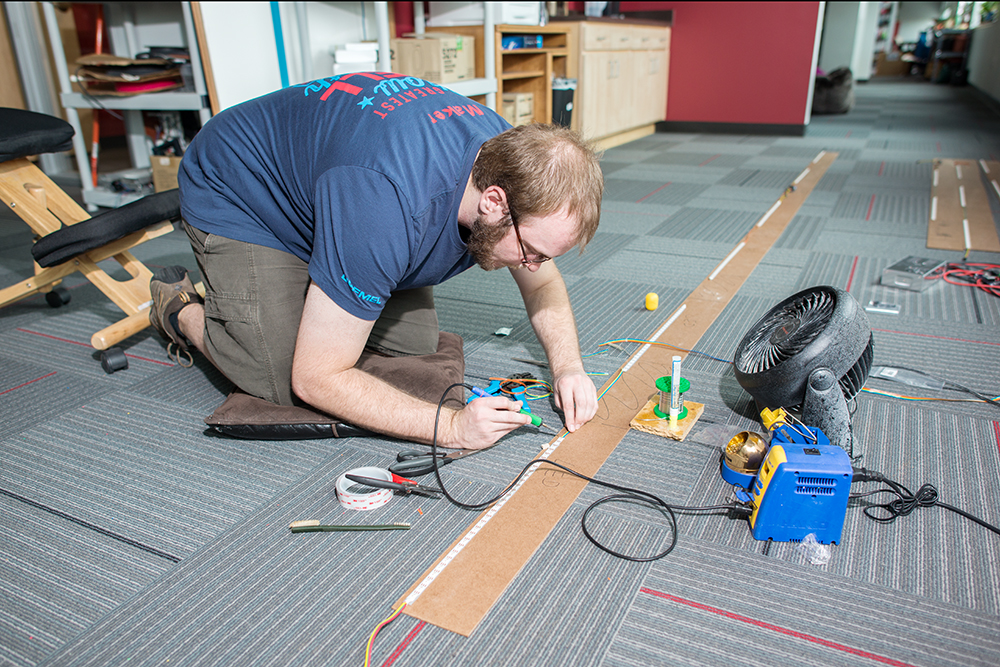
Once everything was soldered, it was time to test it all out. The FadeCandy server has a nice button to turn all the LEDs on or off for a quick test. With the solder connections all tested, the next task was to figure out the LED mapping.