Building Large LED Installations
Contributors:
 Joel_E_B
Joel_E_B 
Installation
Once you have all the bits and pieces assembled, it's time to install them in their permanent (or temporary) resting place. A word of advice: high-up, long installations can be a pain to troubleshoot.

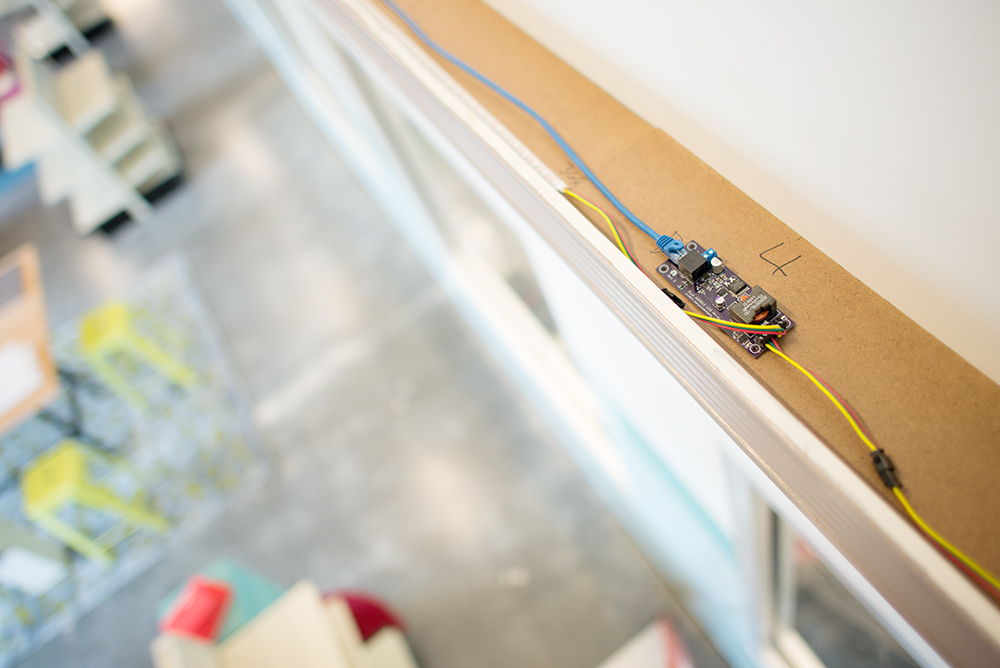
Each driver is connected and tested after installation.
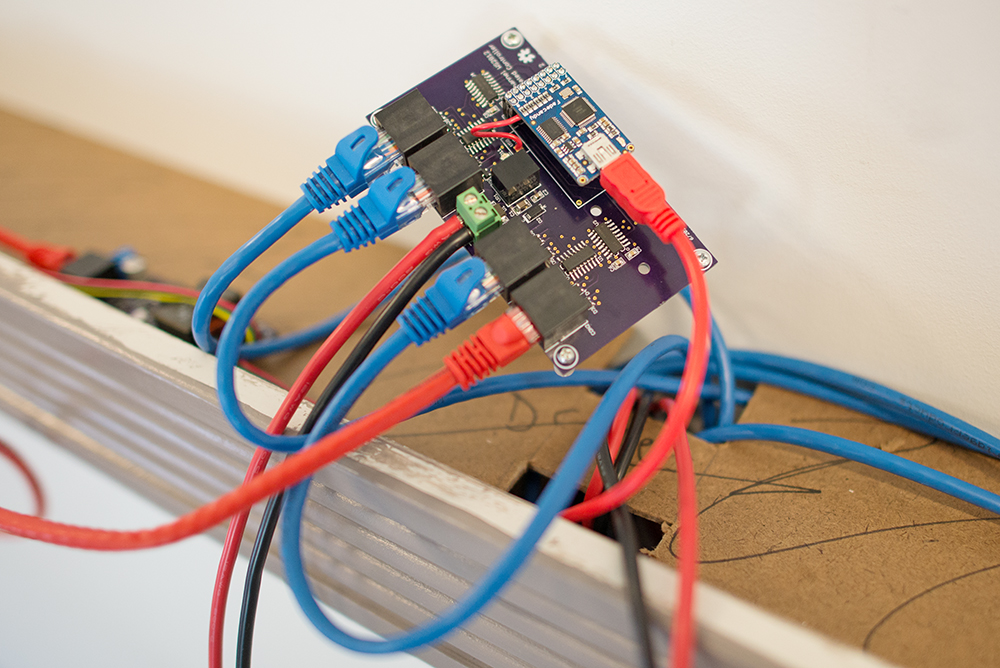
Heads up! Be careful not to attach any of the Ethernet cables while the system is powered.
Each cable runs back to the controller board.
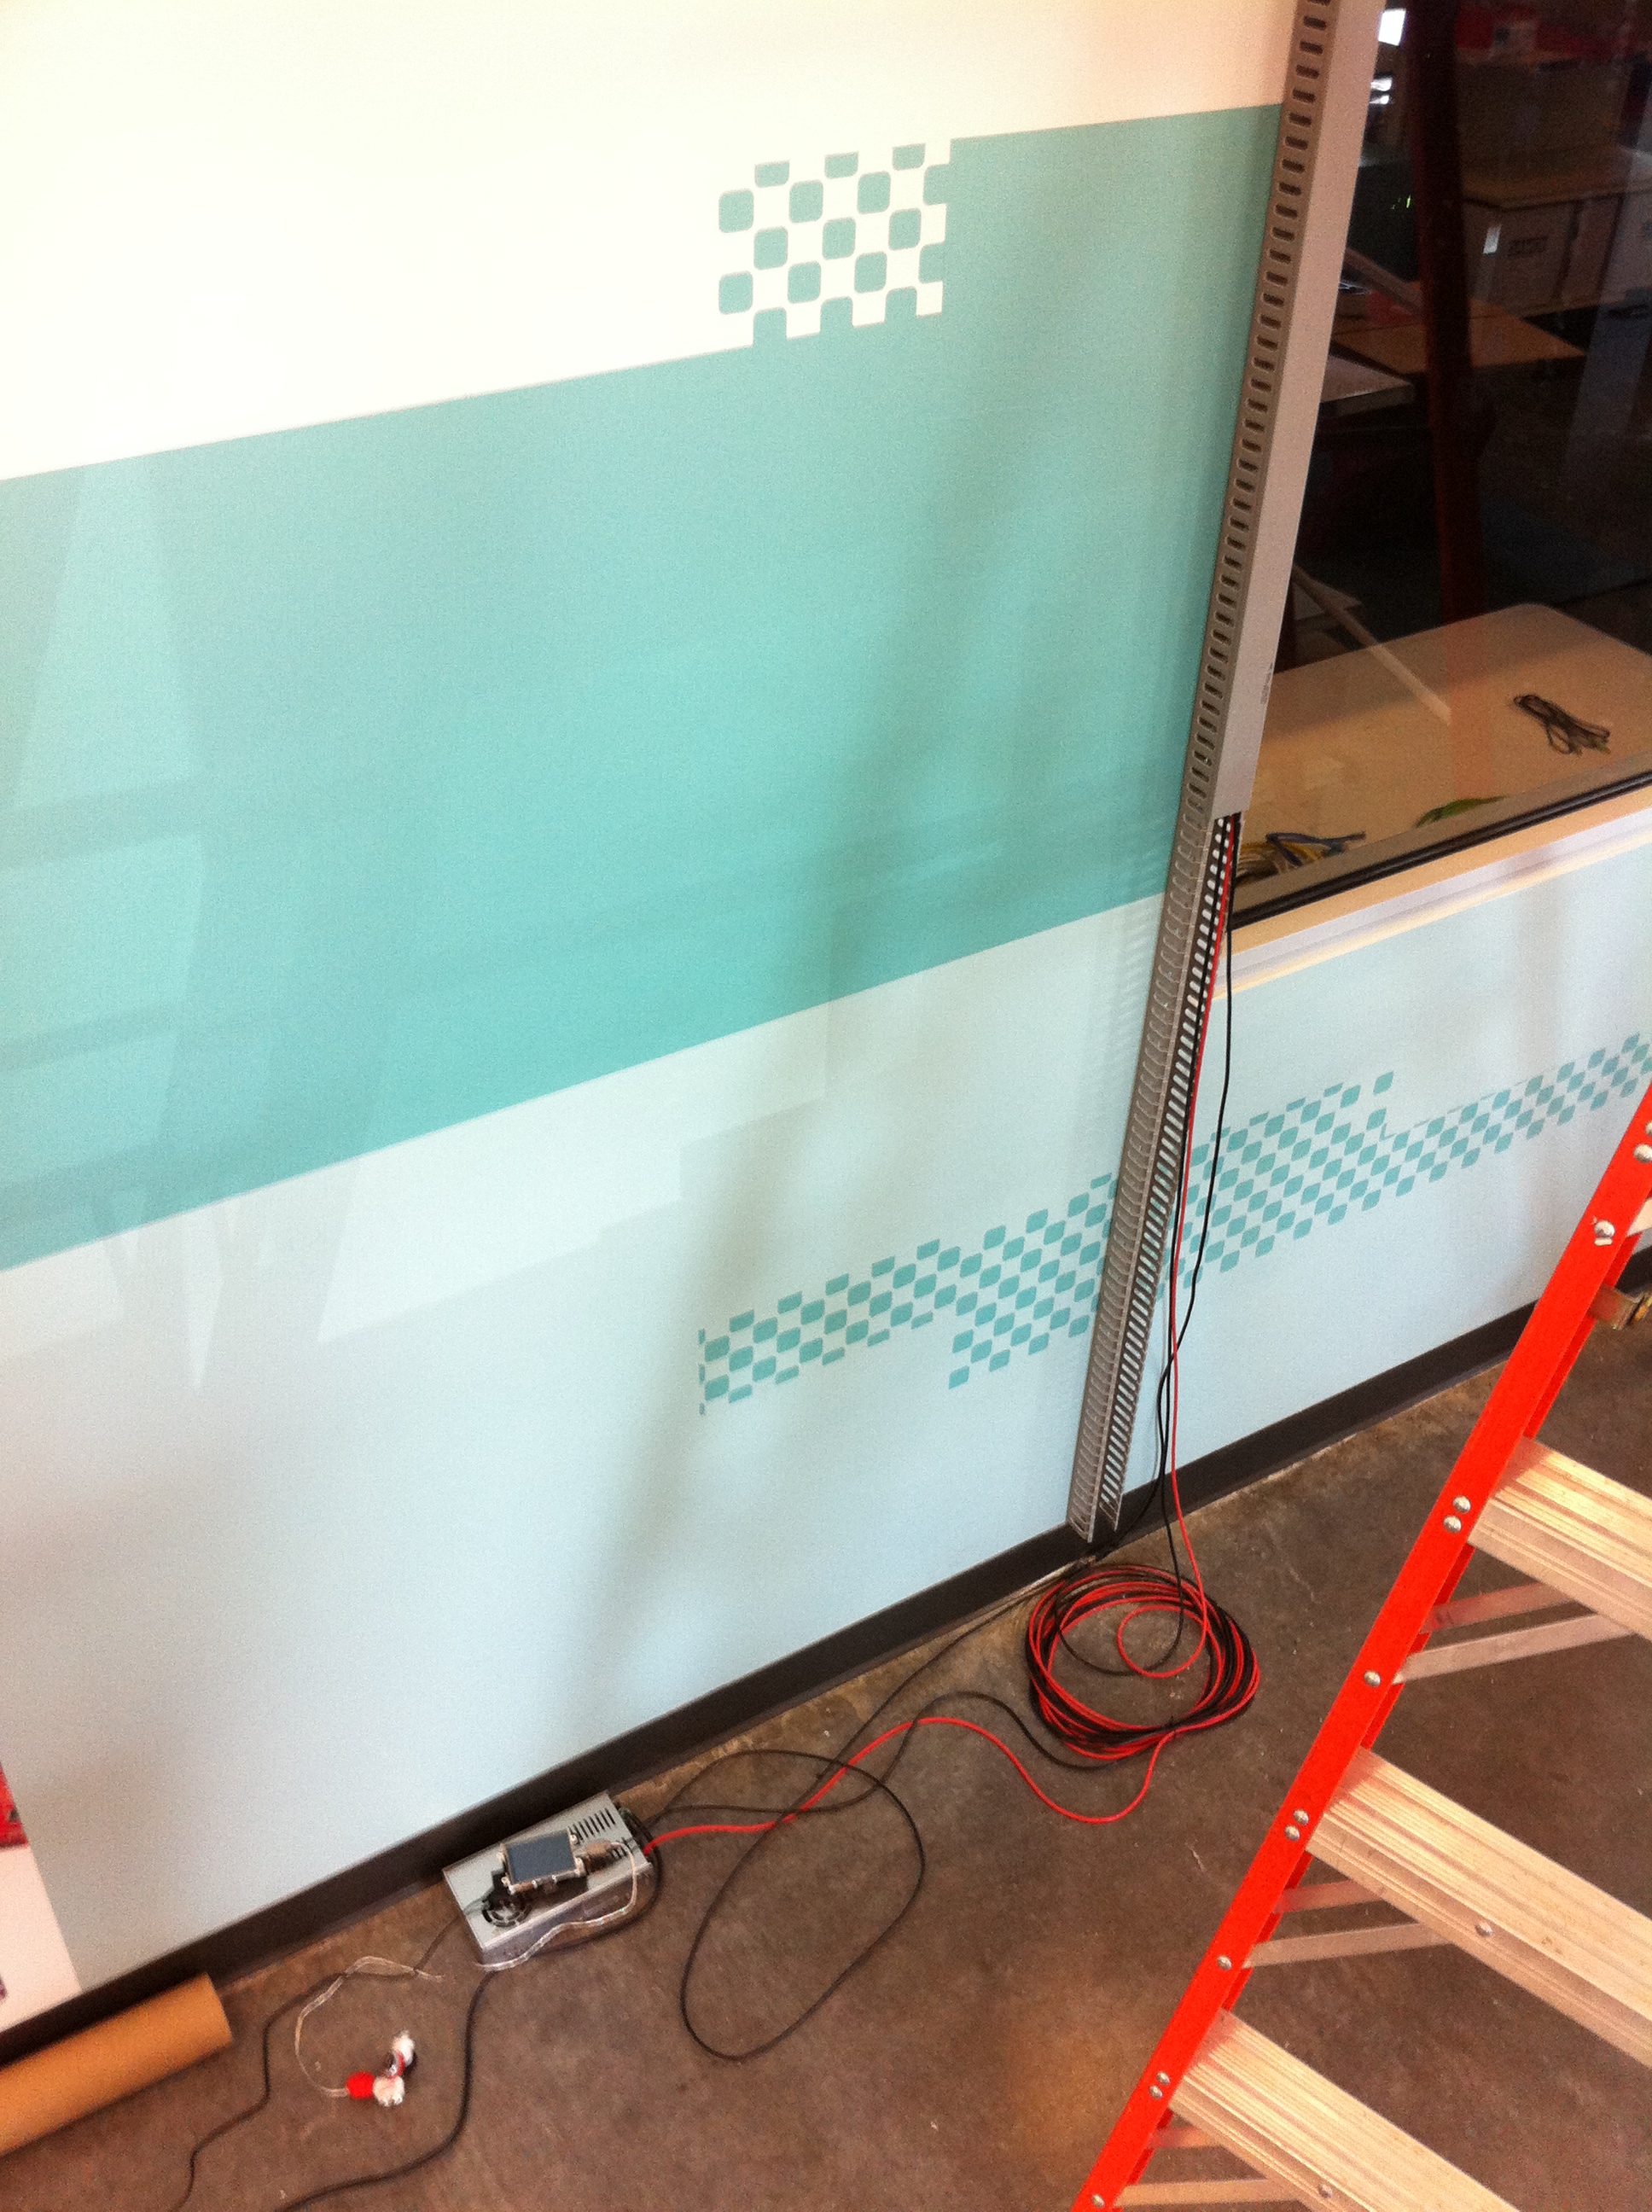
Power cables and an extra long mini-USB cable from the FadeCandy run from the controller board through the ledge, through a wall-mounted cable keeper and attach to the Raspberry Pi and power supply.
Here's a block diagram that shows what all the connections look like.
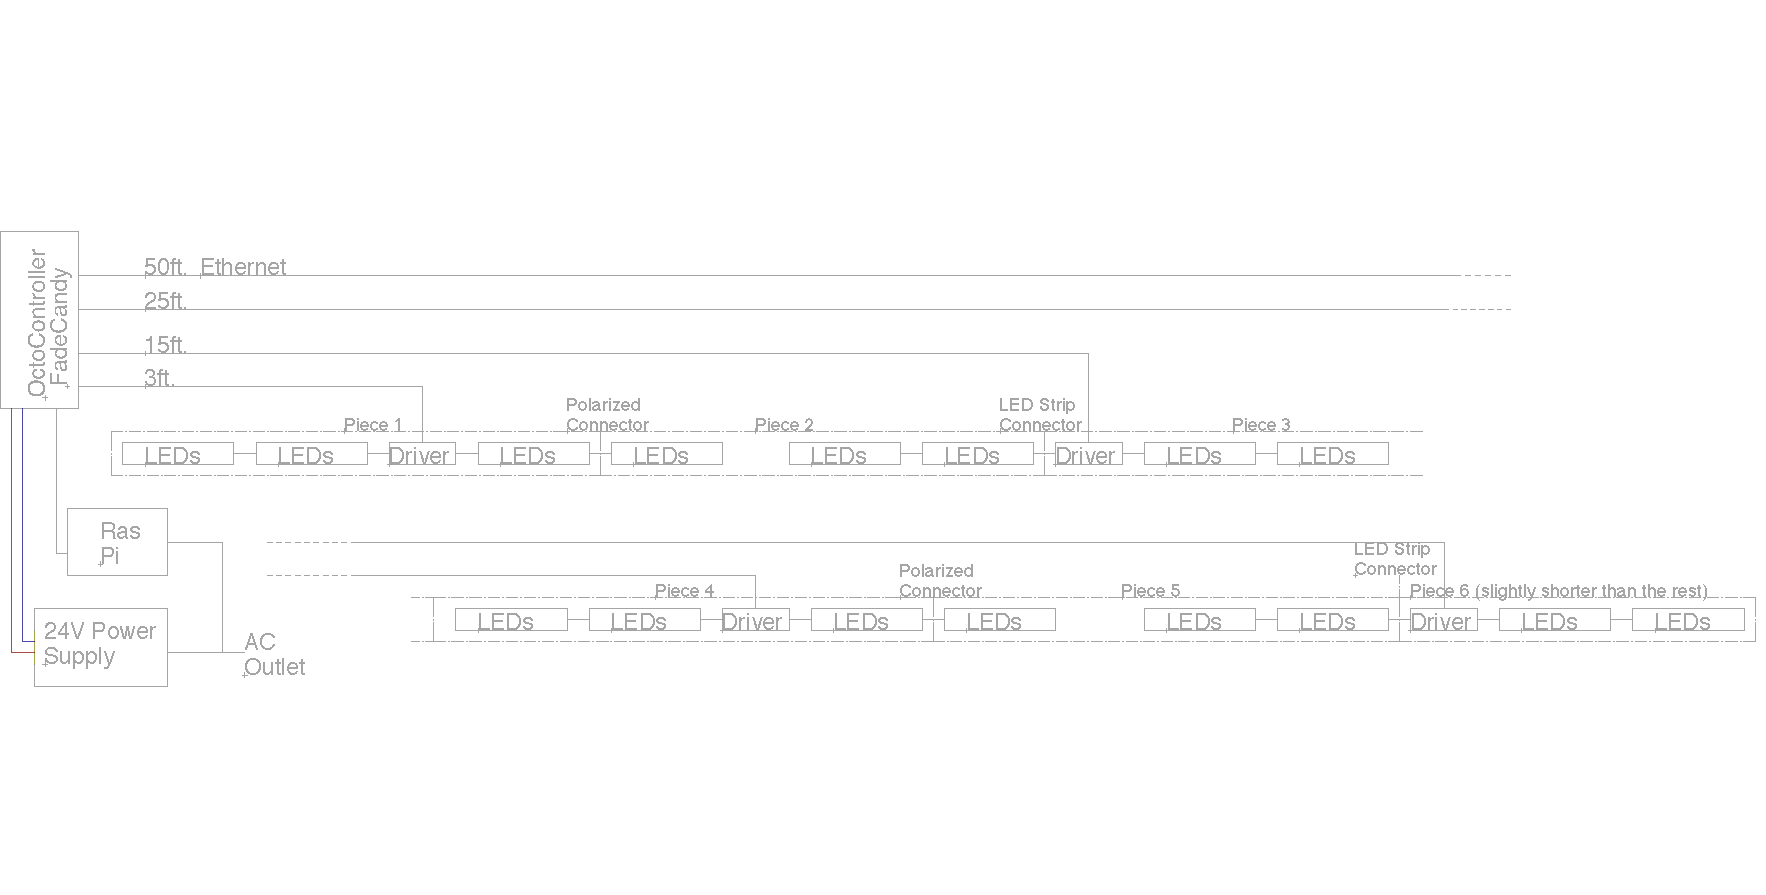
Click for a larger view.
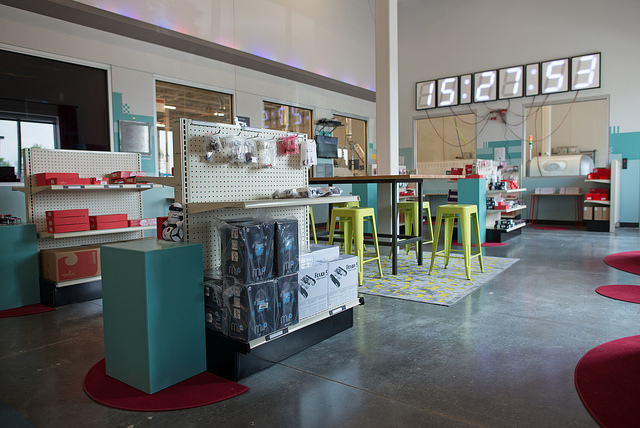
Once you have everything installed, it's time to fire it up, and bask in the warming glow of your art.