Building a Safe Cracking Robot
Handle Puller
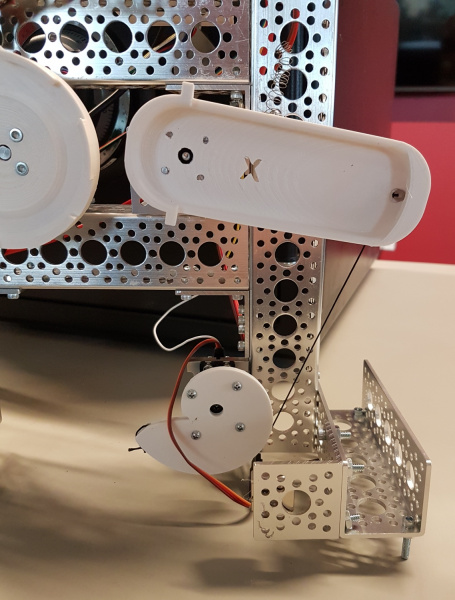
We tried a few different methods to non-permanently attach to the handle. First, we had to model the safe handle then design and print a connector. It’s basically a shroud with an idler pin to rotate around with a 40 lbs cord attached to the end of the shroud. A small spring is used to bring the shroud and handle back to return position when the servo returns to the rest position. You don’t want to let the handle rest under its own weight or it might fall onto the dials and get caught in the indents on disc C.
We really wanted to use an off-the-shelf servo for cost and ease of use. A basic 83 oz-in servo worked ok, but it didn’t have enough throw to guarantee that it could pull the handle down far enough to the open position. Rob had the breakthrough: using a nautilus design we can apply increasing torque to the handle as the servo head pulls on the string. It works extremely well.
Additionally, we modified our servo to give us analog feedback (there are good tutorials 1 and 2 on how to do this). Analog feedback is important; when you tell the servo head to go to position 175, did it actually get there? Doing an analogRead() lets us know if we’ve arrived.
To detect if the safe is opened, we tell the servo to pull on the handle by going to PWM value 80. If we've dialed in the right combination, the the servo is free to fully pull down and move to this PWM value. The analog value when the handle is pulled down is approximately 273. If the servo gets blocked (wrong combination) the servo’s analog feedback will be less than 250. The tryHandle() function does all this for us and returns true if the analog feedback goes above 260. The PWM and analog values will be different for each robot setup, so we've written a few functions to manually adjust the servo to get the opening conditions.
