Beginner's Guide to KiCad
 Nate
Nate 
KiCad Project Window
Download and Install KiCad
Note: This tutorial was written using KiCad 4.0.6 on Windows 10. (i.e. Use this version to follow along.)
v5 Workaround: Users attempting to use more up-to-date versions of KiCad will inevitably run into issues following this tutorial, step-by-step. However, one of our customers has graciously provided various workarounds for v5 that may be of interest to others who are pursuing the same route. Check out the comments section for more info.
Users can also check out these other tutorials on KiCad (v5):
Let's get started! Head over to KiCad's download page and download the latest version of the software for your specific platform:
Warning: Make sure the domain is kicad.org when downloading the KiCad software!!! When installing KiCad, please always verify the installation signature. Starting with KiCad version 5.99, all installs are signed by KiCad Services Corporation.
For more information, check out this note from one of the KiCad developers in the KiCad Forums: Warning Avoid All Links to ... or read about it from Hackaday: KiCad Team Releases Warning Regarding Domain Name.
Run KiCad
Once installed, run KiCad. A main navigation window will display where you will be able to open all the periphery programs like schematic capture and PCB layout.
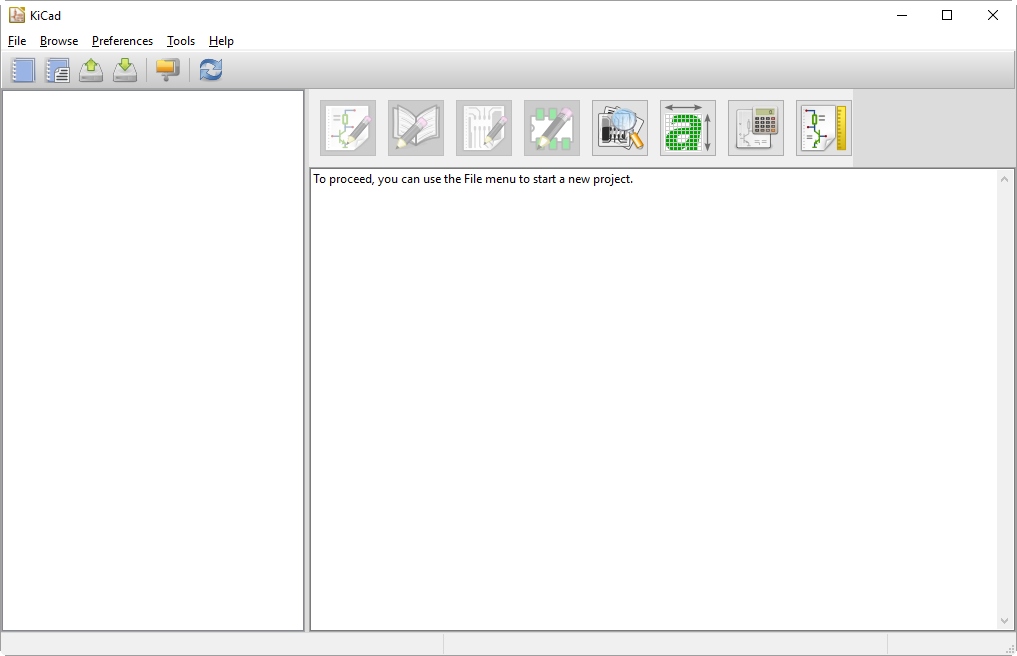
The KiCad project window looks quite empty and sad. Let's open an example!
Setting Up a Project
The ZOPT2201 UV sensor designed originally in SparkX is a great I2C UV Index sensor and will serve as our starting example for this tutorial. Download the ZOPT220x UV Sensor Breakout designs for KiCad and unzip the four files into a local directory:
Once the four files are located in a local directory (try looking in your downloads folder for ...\ZOPT220x_UV_Sensor_Breakout-Tutorial), click File -> Open Project and open the ZOPT220x UV Sensor Breakout.pro file.
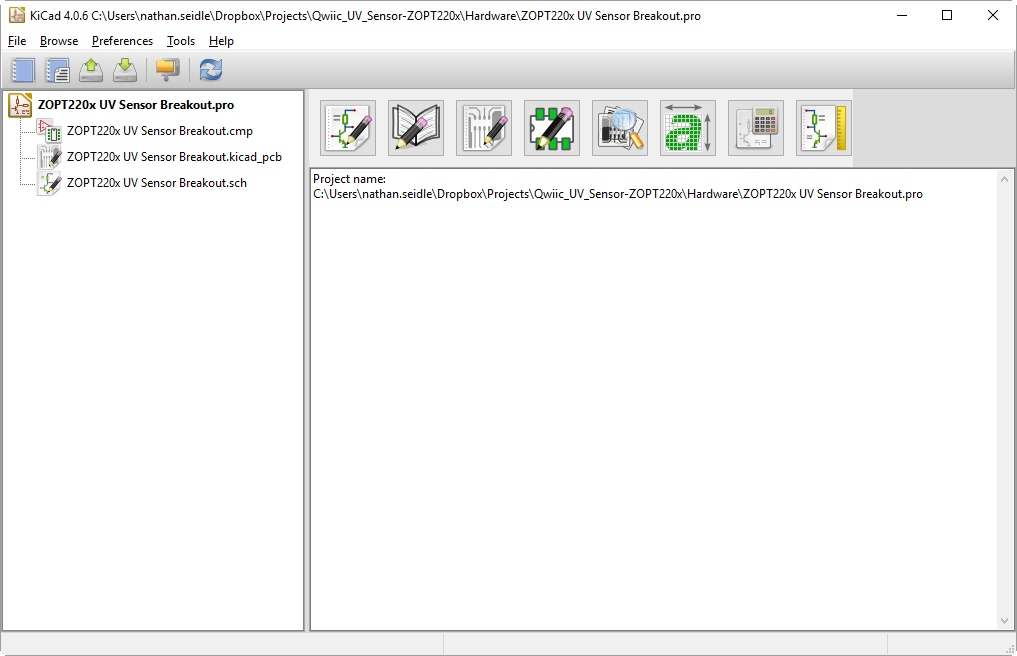
What are all these files?
- ** *.pro** - Main project file to keep track of the file structure.
- ** *.cmp** - Defines which footprints go with which schematic components.
- ** *.kicad_pcb** - The PCB layout.
- ** *.sch** - The schematic.
These four files are all you need to share a KiCad design with a fellow collaborator. You may also need to share a footprint file, which will be explained more later on in this tutorial.
You may have had your first critical-judgment-eye-squint. Why is there a file to define which footprints go with which schematic components? This is fundamental to KiCad and is very different from how EAGLE works. It's not a bad thing, just different.