Beginner's Guide to KiCad
 Nate
Nate 
Creating Custom KiCad Schematic Components
Once you've learned to create your own schematic parts and custom footprints, you become unlimited by what technologies you can play with. Let's get started!
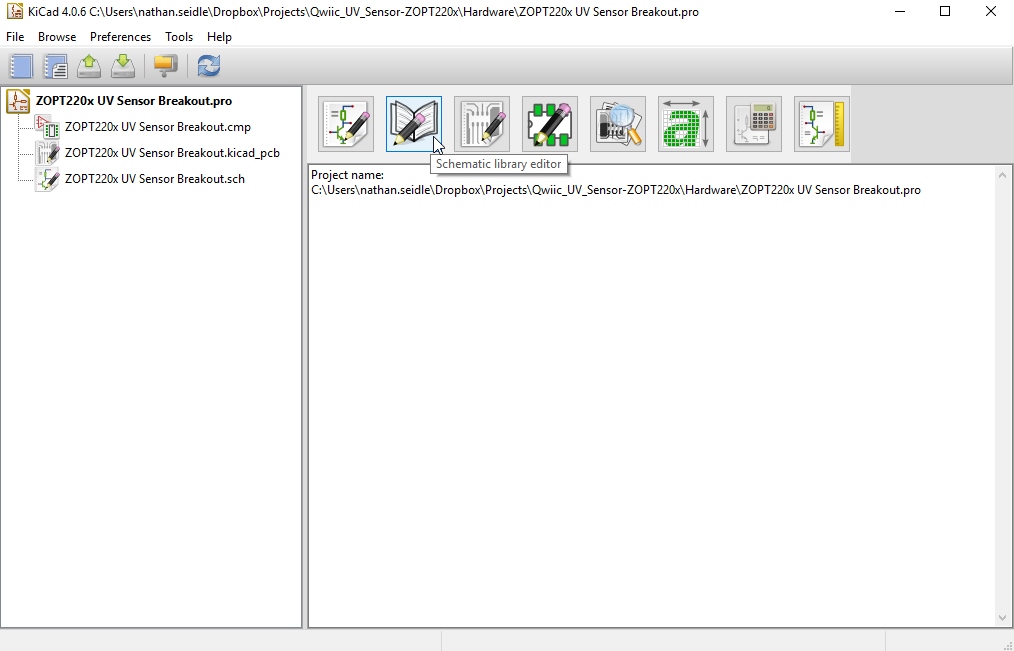
From the main project window start the Schematic library editor.
This process is similar to how we started a custom footprint library. First, let's find a schematic symbol we want to start our custom library with. The photocell is just as common as it gets. Let's pull in the 'R_PHOTO' schematic component from the device library and use it to start our new custom schematic component library.
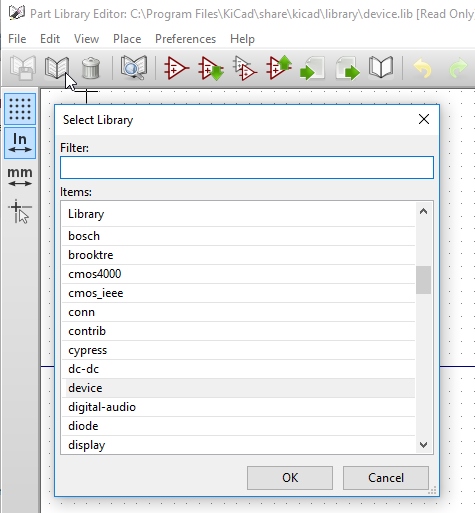
Start by clicking on the 'Selecting working library' (i.e. book) icon located in the upper left corner. Then select 'device' to set the working library.
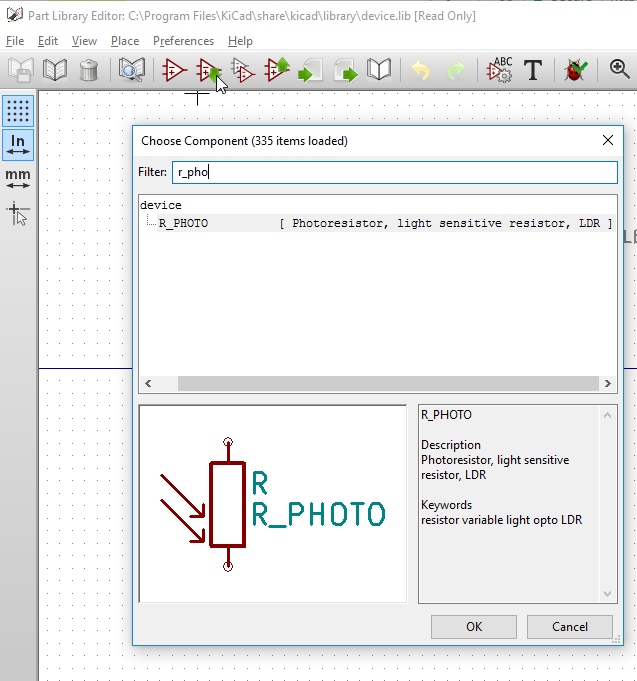
Click on the 'Load component to edit from current library' button and type r_photo in the filter to quickly locate the photoresistor component. When located, click 'OK'.
Click on 'Save current component to new library' button
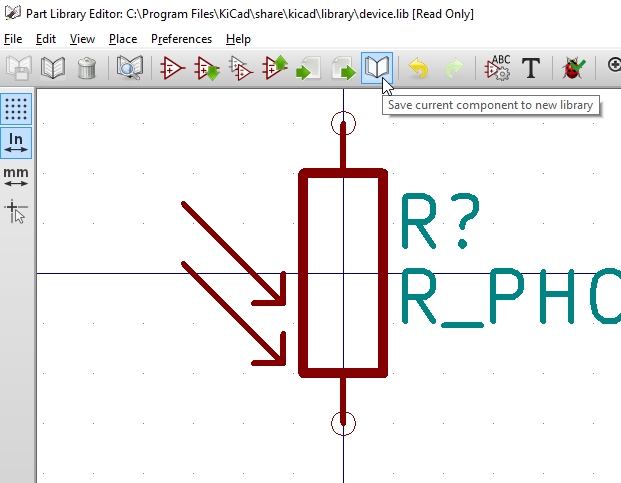
I recommend you store this *.lib file in the same 'C:\KiCadLibs\' directory we stored the footprint library within. I called my lib file 'CustomComponents.lib' so that I know these are mine.
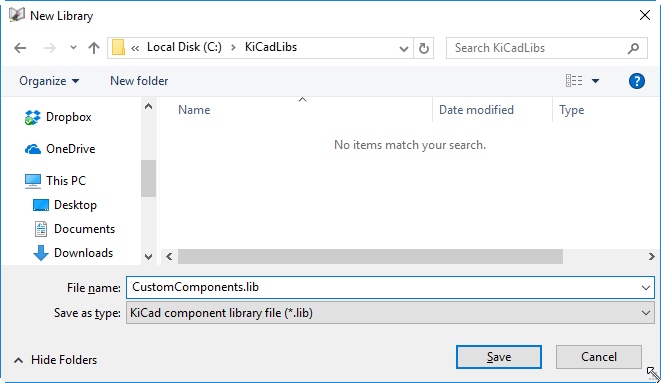
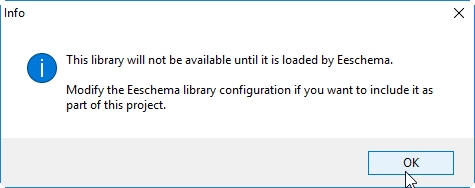
Once you click 'Save', a warning will pop up. This is just KiCad's polite way of letting you know that you can't access your library until you link to it. So let's do that.
Click on Preferences -> Component Libraries to view the current set of libraries. In the image below, we can see the stock schematic component libraries that ship with KiCad. Next to the 'Component library files,' click 'Add'.
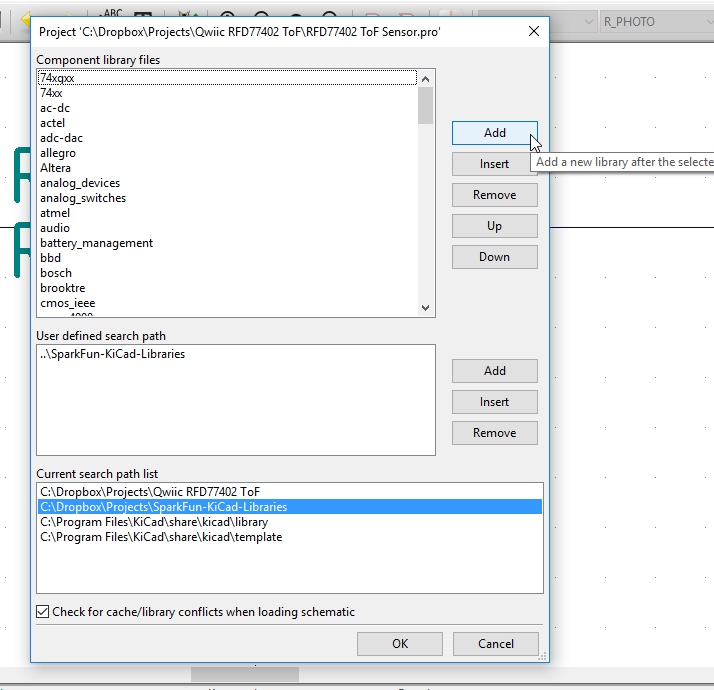
Navigate to your 'C:\KiCadLibs' directory and then open 'CustomComponents.lib'. It should now appear at the bottom of the Component library files list. Click 'OK' to return to the library editor.
Again, click on the 'Select working library' button but this time either scroll to your custom list or type 'Custom' to find the 'CustomComponents' library. Click 'OK'.
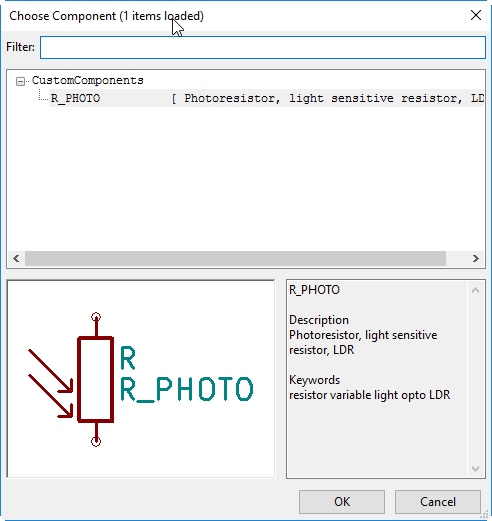
Then click on 'Load component to edit from the current library' button and we should see only the photoresistor schematic component. Double click on R_PHOTO to begin editing it.
Now at this point, we can add new symbols from scratch to our library and we can also copy from one library to another.
How to Copy a Component to Your Custom KiCad Library
KiCad is always changing and they've made leaps and bounds improvements but copying a schematic component from one library to another is still a bit wild.
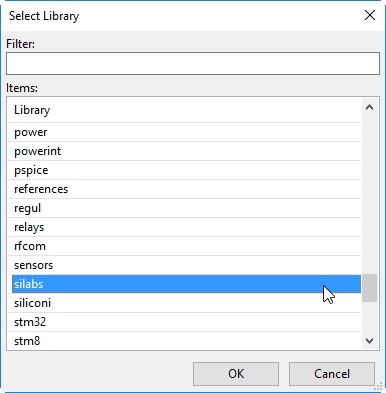
For example, let's copy the CP2104 from the silabs library into our custom library. Start by setting the active library to the one that contains the part you want to copy by clicking on the 'Select working library' button. In our example, we want to set silabs as the active library.
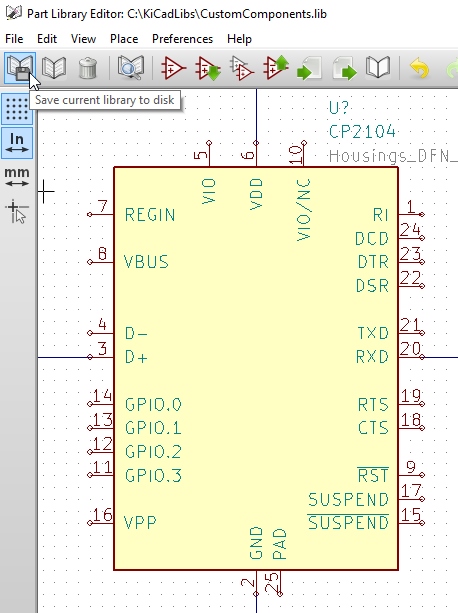
Load the CP2104 component by clicking on the 'Load component to edit from the current library' button.
Now set the active library to the library we want to copy the CP2104 into. For this example, that means that we need to click on the 'Select working library' button and set the active library to 'CustomComponents'.
Click on the 'Update current component in current library' button to save the component in CustomComponents.lib. The 'Save current library to disk' button will become enabled and you can save this component to your custom library.
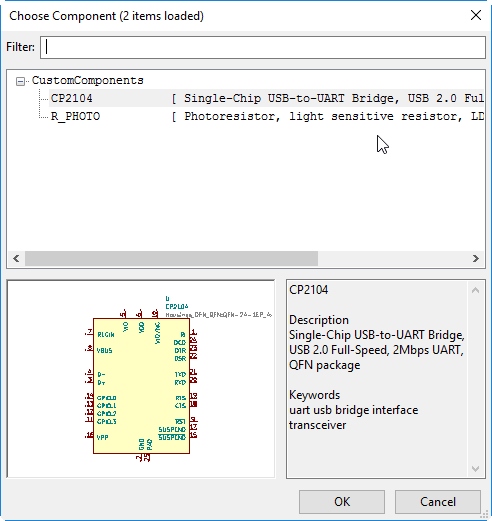
To verify it's now in the library click on the 'Load component to edit from the current library' button. You should see your new shiny CP2104 in the list.
How to Delete a Component from Your Custom KiCad Library
Bad CP2104! Bad component.
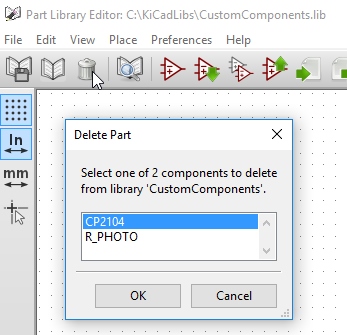
To remove a component, be sure you've set your custom library as the active one. Let's try removing the component that we just added in our custom library CustomComponents.lib. If you have not already, click on 'Select working library' to set the active library to CustomComponents. Click on the 'Delete component in current library' (i.e. the trash can) button. You'll be prompted for which component you want to remove. Select CP2104 from the list.
Click 'OK' and then 'Yes' to delete the component from the library. Click the 'Current library to disk' button and 'Yes' to save.
Shout out to Joan_Sparky! He is the best! (No relation)
KiCad Library Convention
Be sure to check KiCad's KiCad Library Convention once you get comfortable creating components. These conventions take into account a heap of industry specialized knowledge that we can all benefit from.